What is Playgrounds?
Playgrounds is a development environment used to test around with Swift code without the need of all the messy stuff that is needed to make an app. This course will be done entirely in Playgrounds, so we can play around with the full capabilities of Swift.
How do I get Playgrounds?
Playgrounds only works on iPad and Mac platforms. The only way to use Swift to develop apps and games is through Mac, and iPad only has the bare necessities of Swift Development. However, there will soon be an update in late 2021 to bring app development to the iPad.
All downloads are available for free above.
Swift Playgrounds - iPad
If you are using an iPad, your only option is Swift Playgrounds. Swift Playgrounds is a great place to explore Swift, and on your iPad too. There are tons of different projects within the app, with interactive challenges as well.
Xcode/Swift Playgrounds - Mac
If you are using Mac, you have two options. You can either install Xcode or Swift Playgrounds. They both have major differences.
Xcode has the Playgrounds environment built inside, as well as all the tools you need to create apps with Swift. If you want to go deeper after this course, this is the way to go.
Swift Playgrounds for Mac is the exact same as the iPad version. So if you don’t want to end up making apps and just want to learn Swift, you can use this.
Creating our first Playgrounds file
This is the only moment where Xcode and Swift Playgrounds set up will differ, so make sure you follow the steps.
Xcode
When Xcode finishes installing, you will see a screen like this.
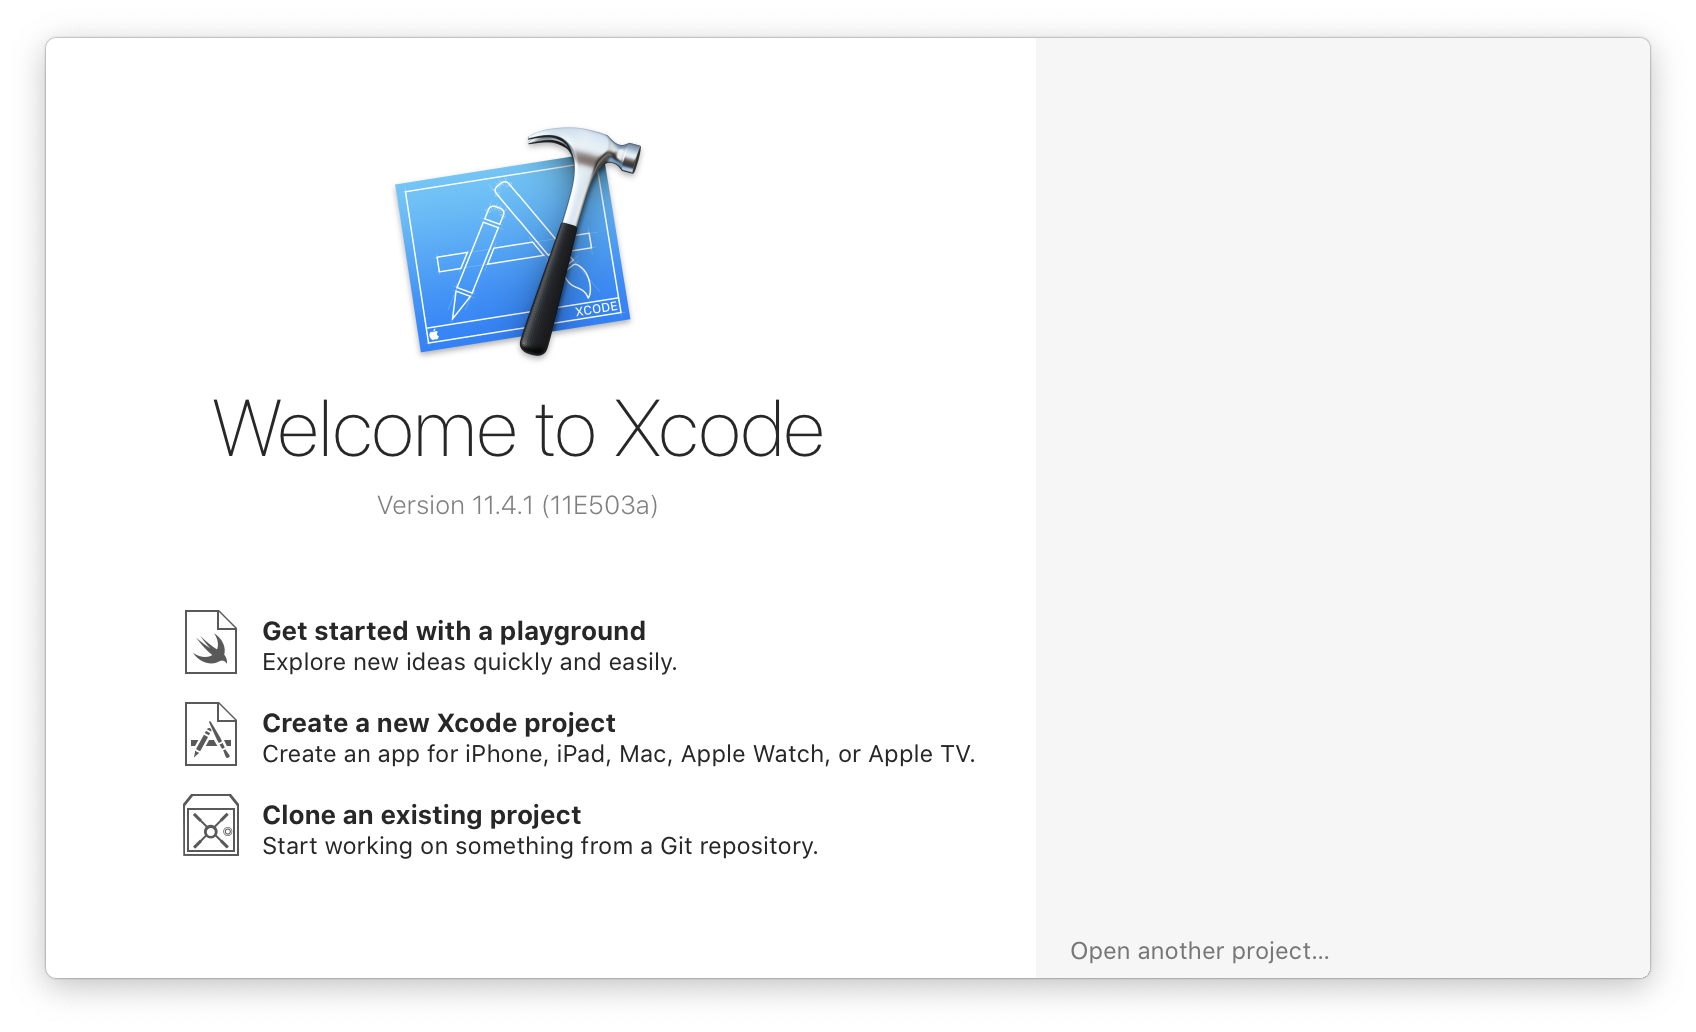
Click on Get started with a playground. Then, click Blank, and then name it whatever you want, and save it somewhere safe. You should see this afterwards.
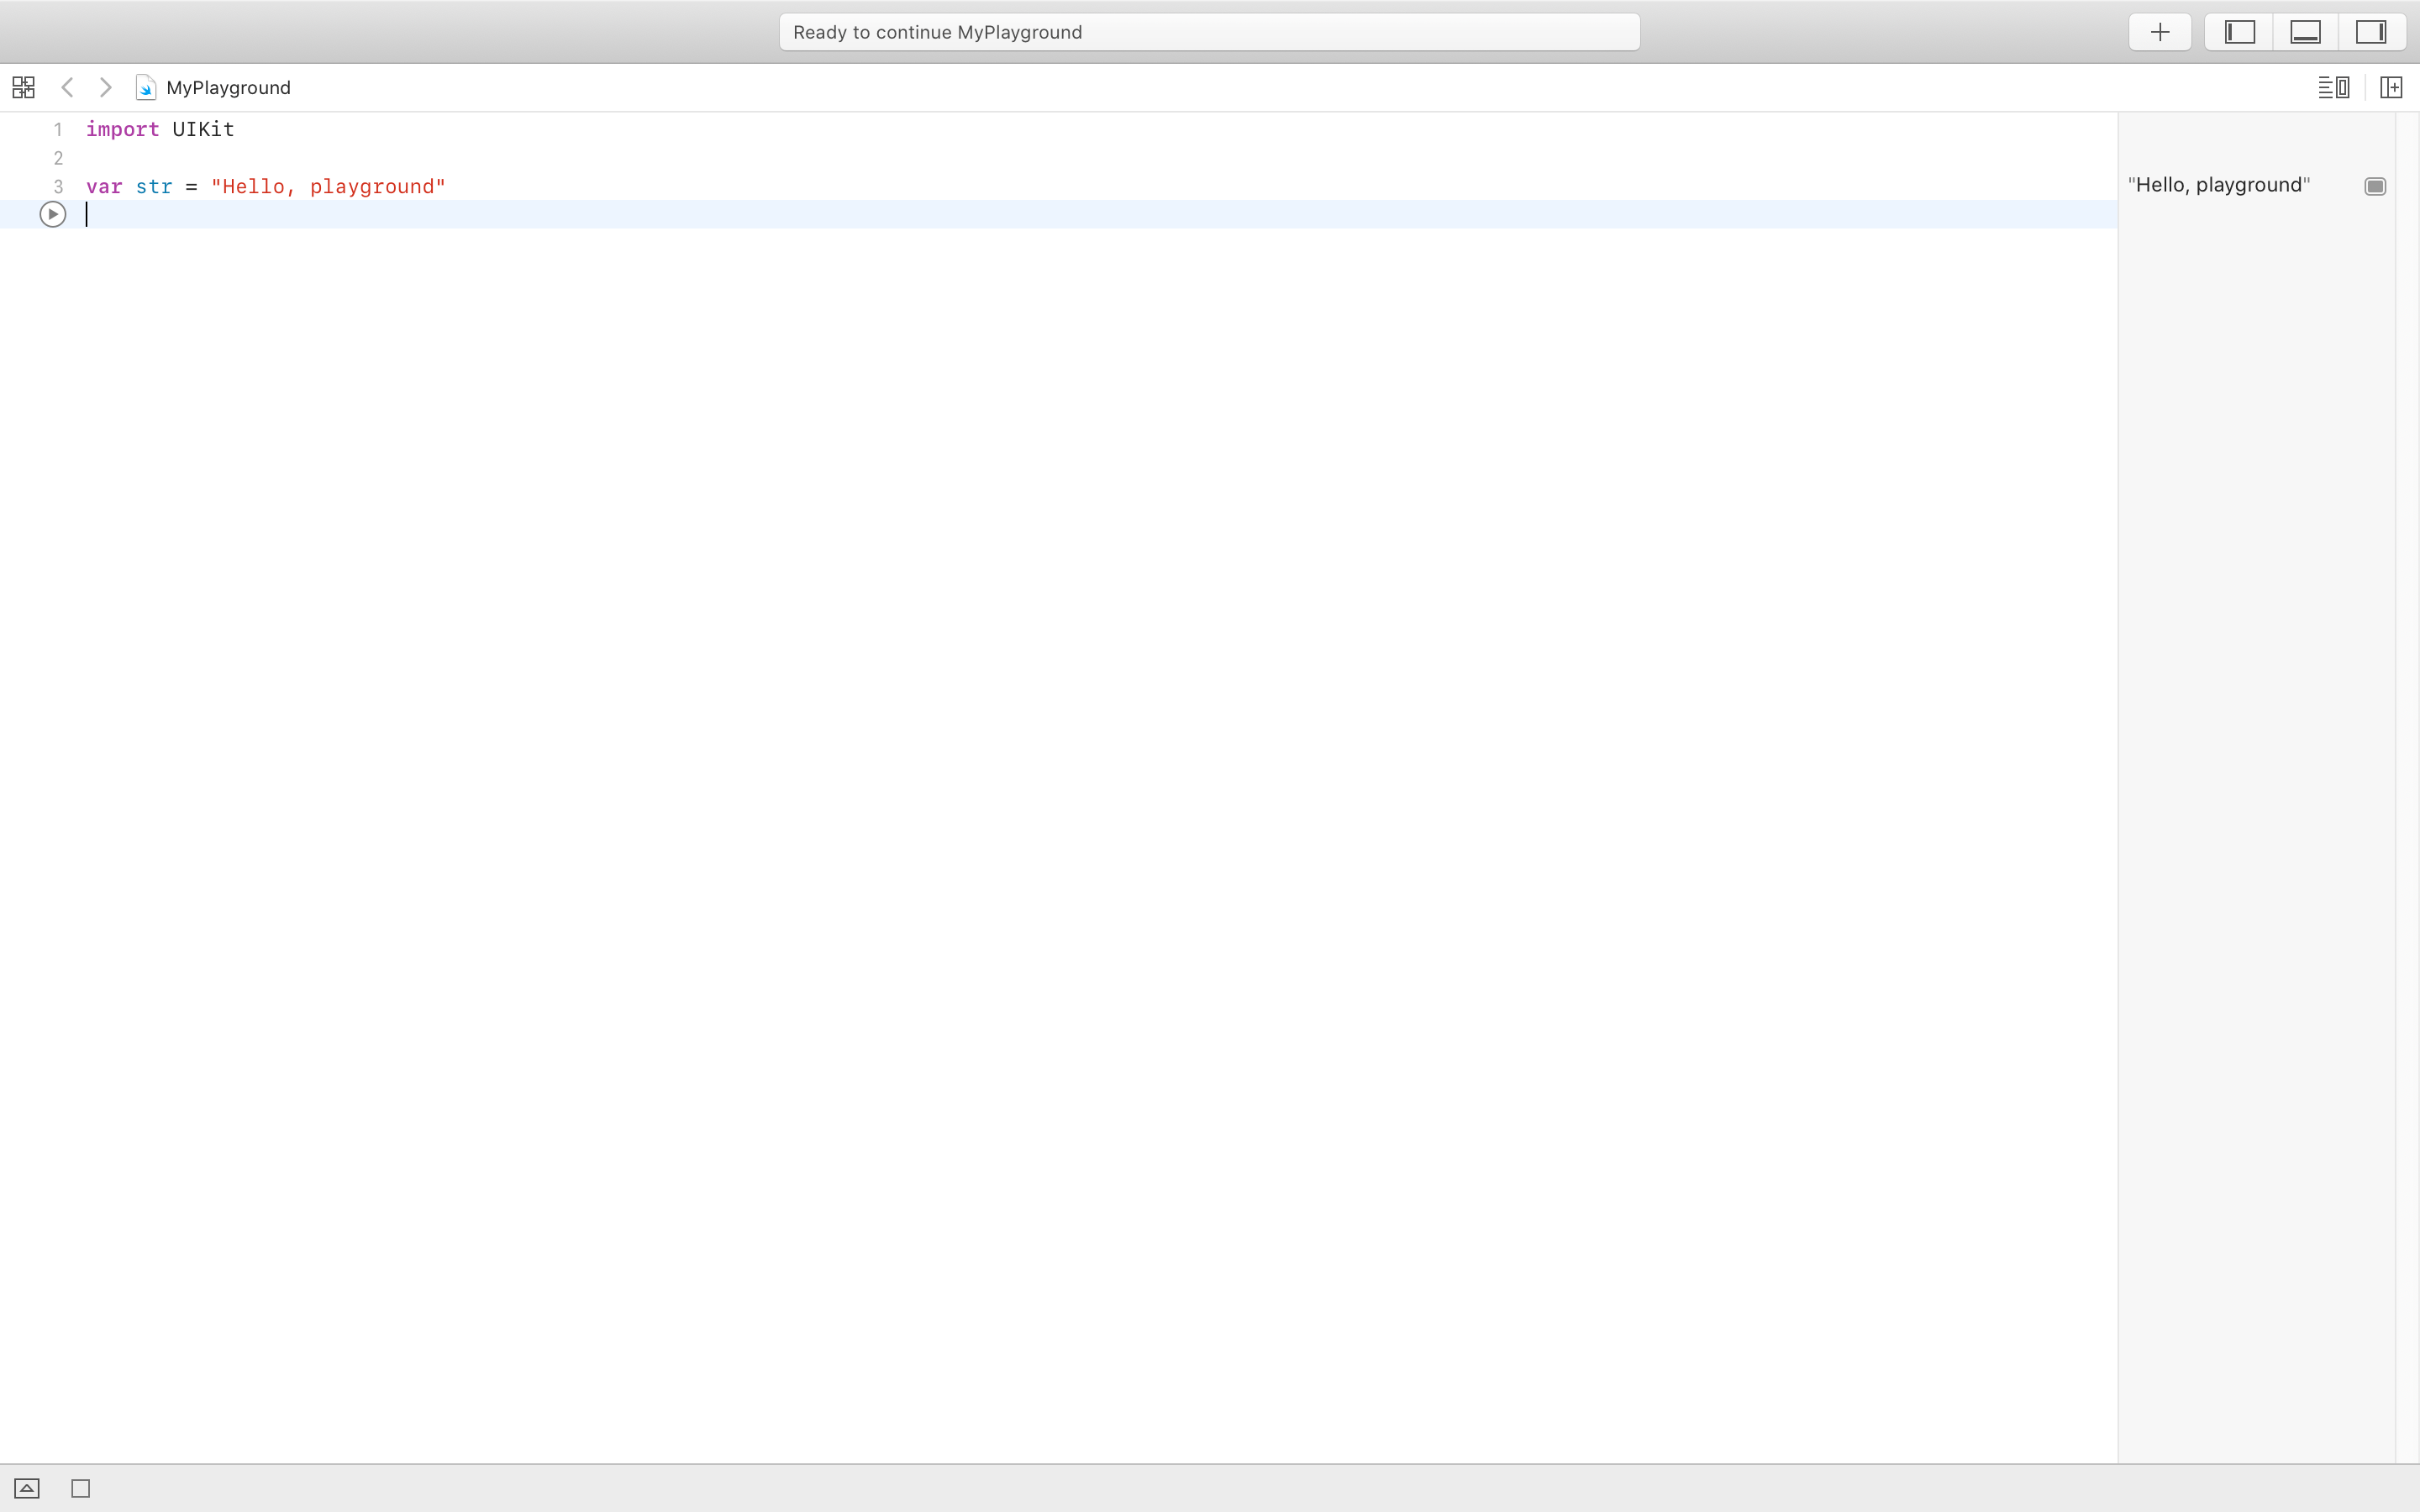
The right panel is where we will be able to see all of our variables and their values, regardless of whether we print them or not.
At the bottom left, you will see the play button, which controls whether to do automatic/manual running. Make sure that you are running your code throughout this course.
You will see some code on the screen that looks like this:
import UIKit

var str = "Hello, playground"
You don’t need to know what the code does/means, we will go over that in the next lesson.
You will see a blue stripe on the left of it, that goes down till that last line and has another play button. This does the same thing, but you can section off which parts to run. Click on it to run the file. Then, you will see Hello, playground on the right panel.
Hover over it, and you will see an eye icon and a box icon. If you click on the eye icon, it magnifies the text. If you click on the box icon, it will show the variable value directly underneath the code.
Swift Playgrounds
When Swift Playgrounds finishes installing, open the app and you will see a screen like this.
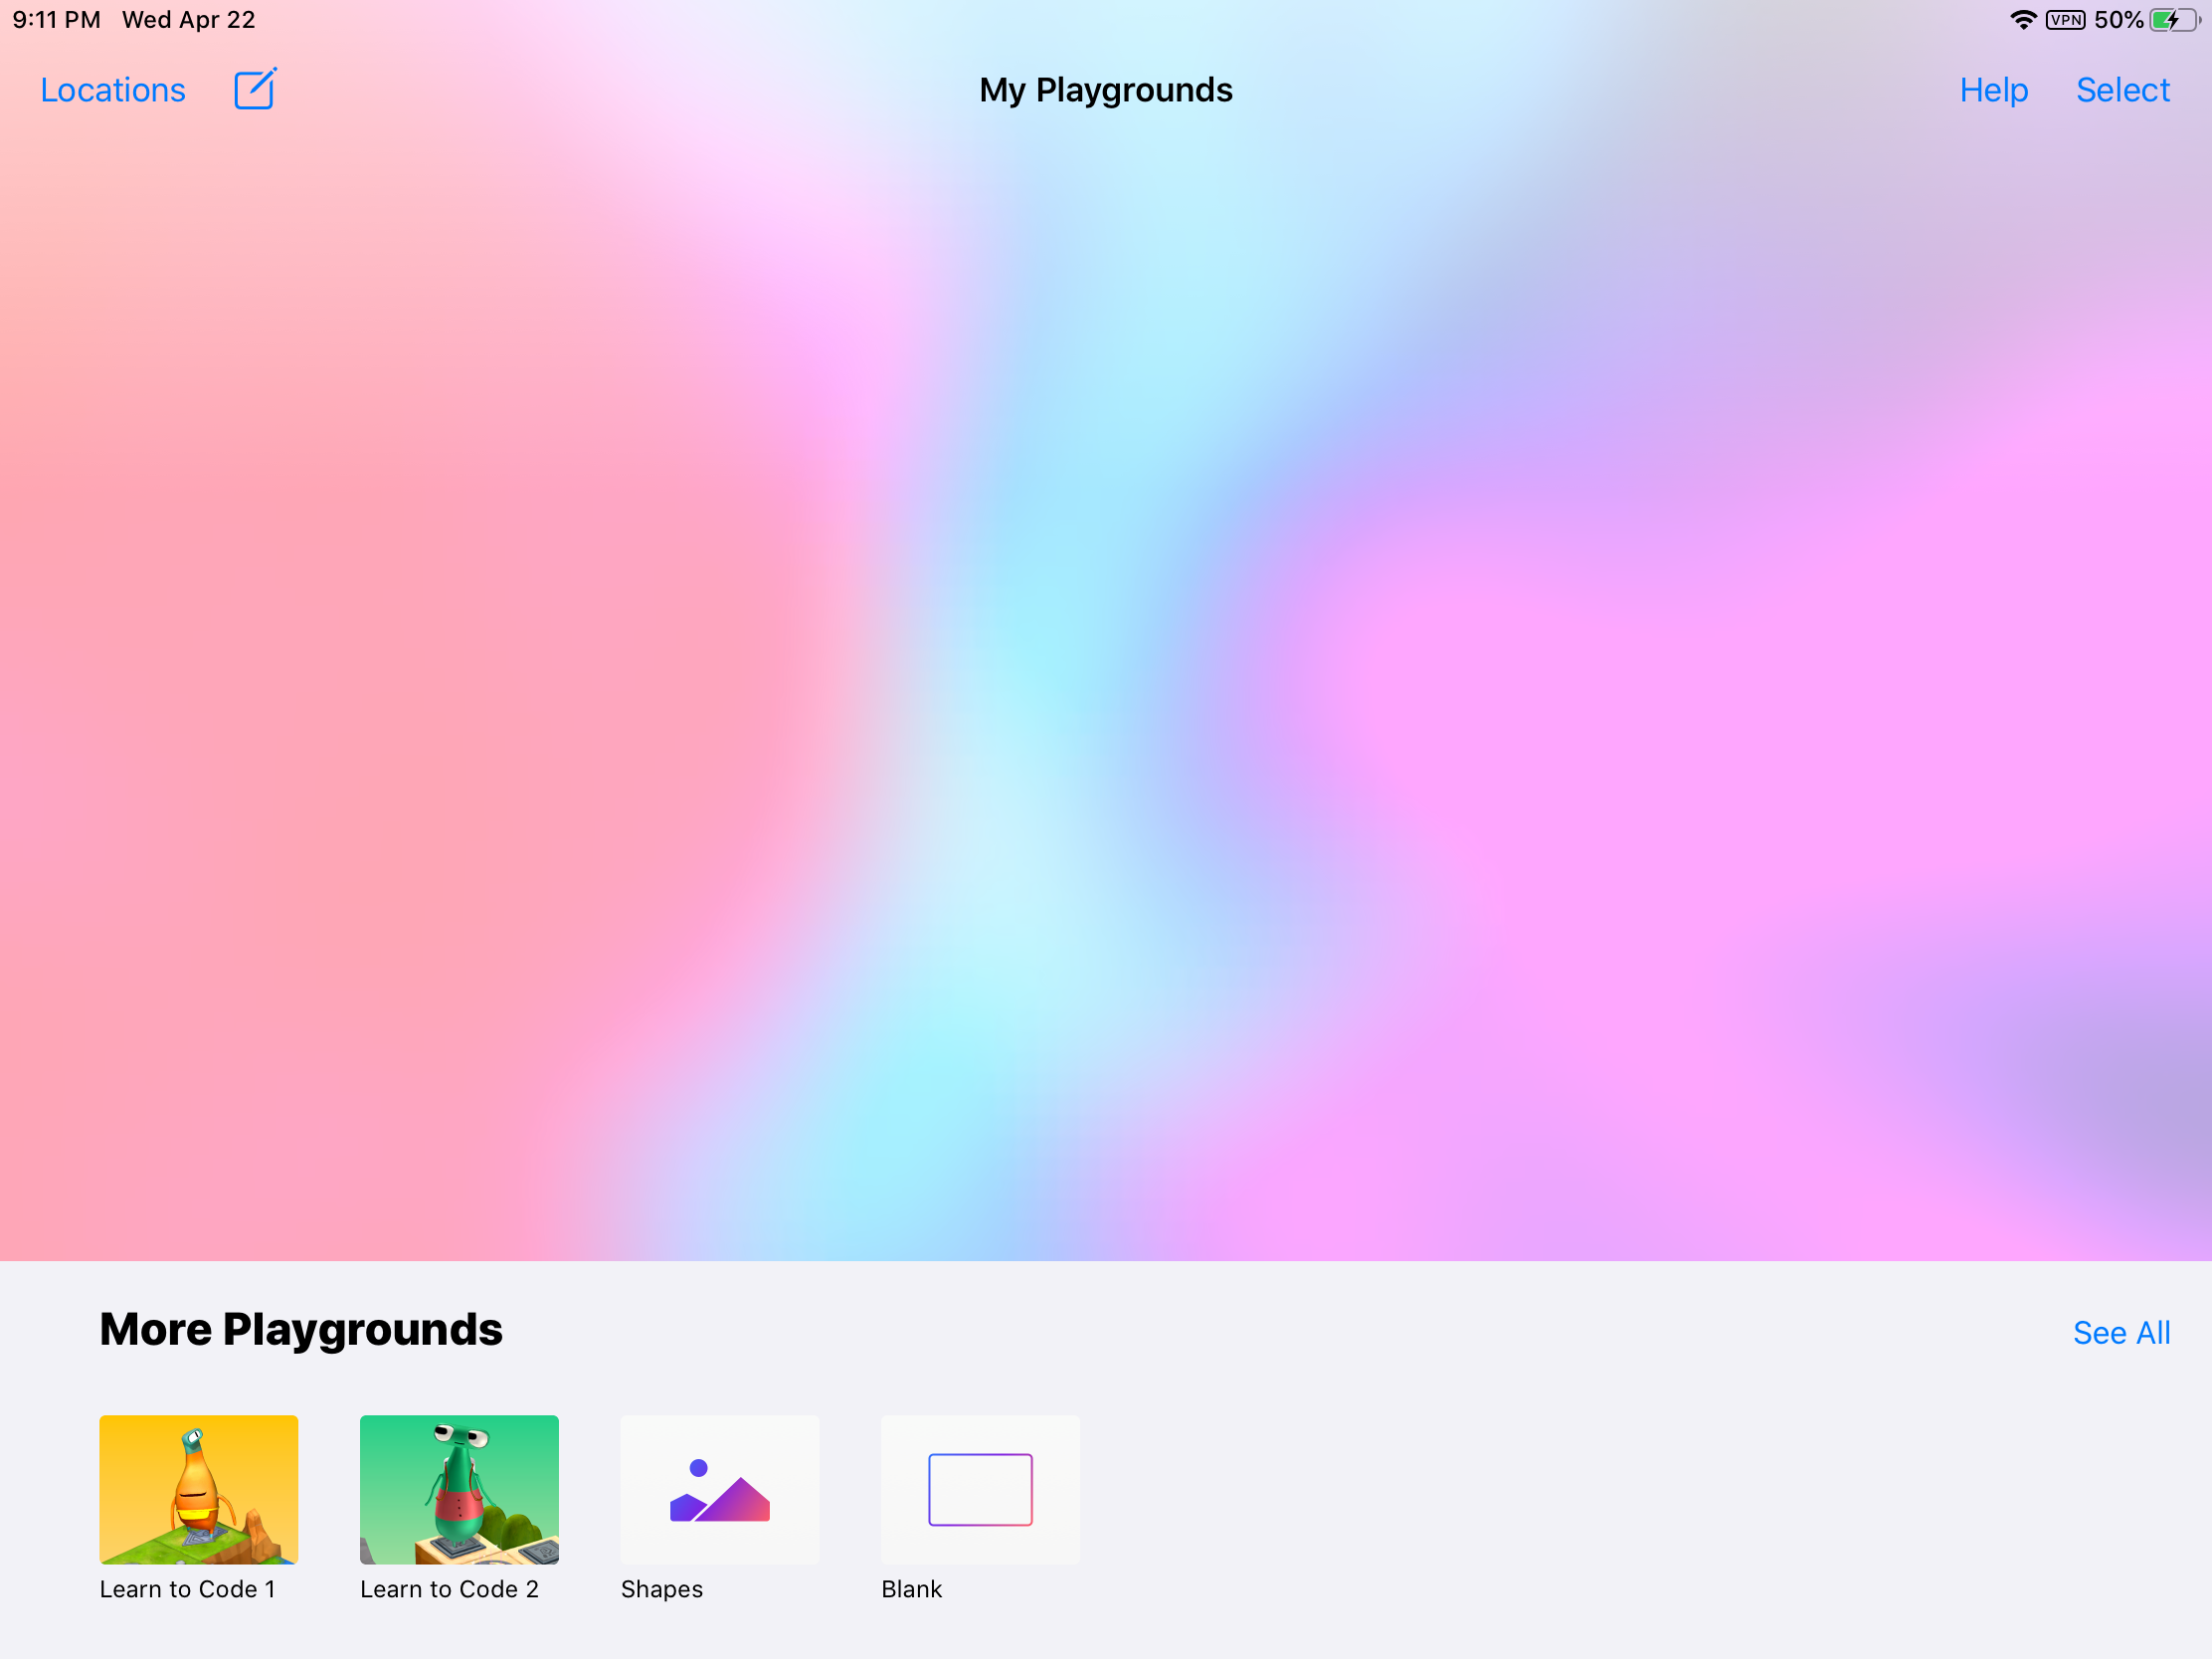
Click on the write icon button on the top right. It will open up a playground file. This screen will popup.
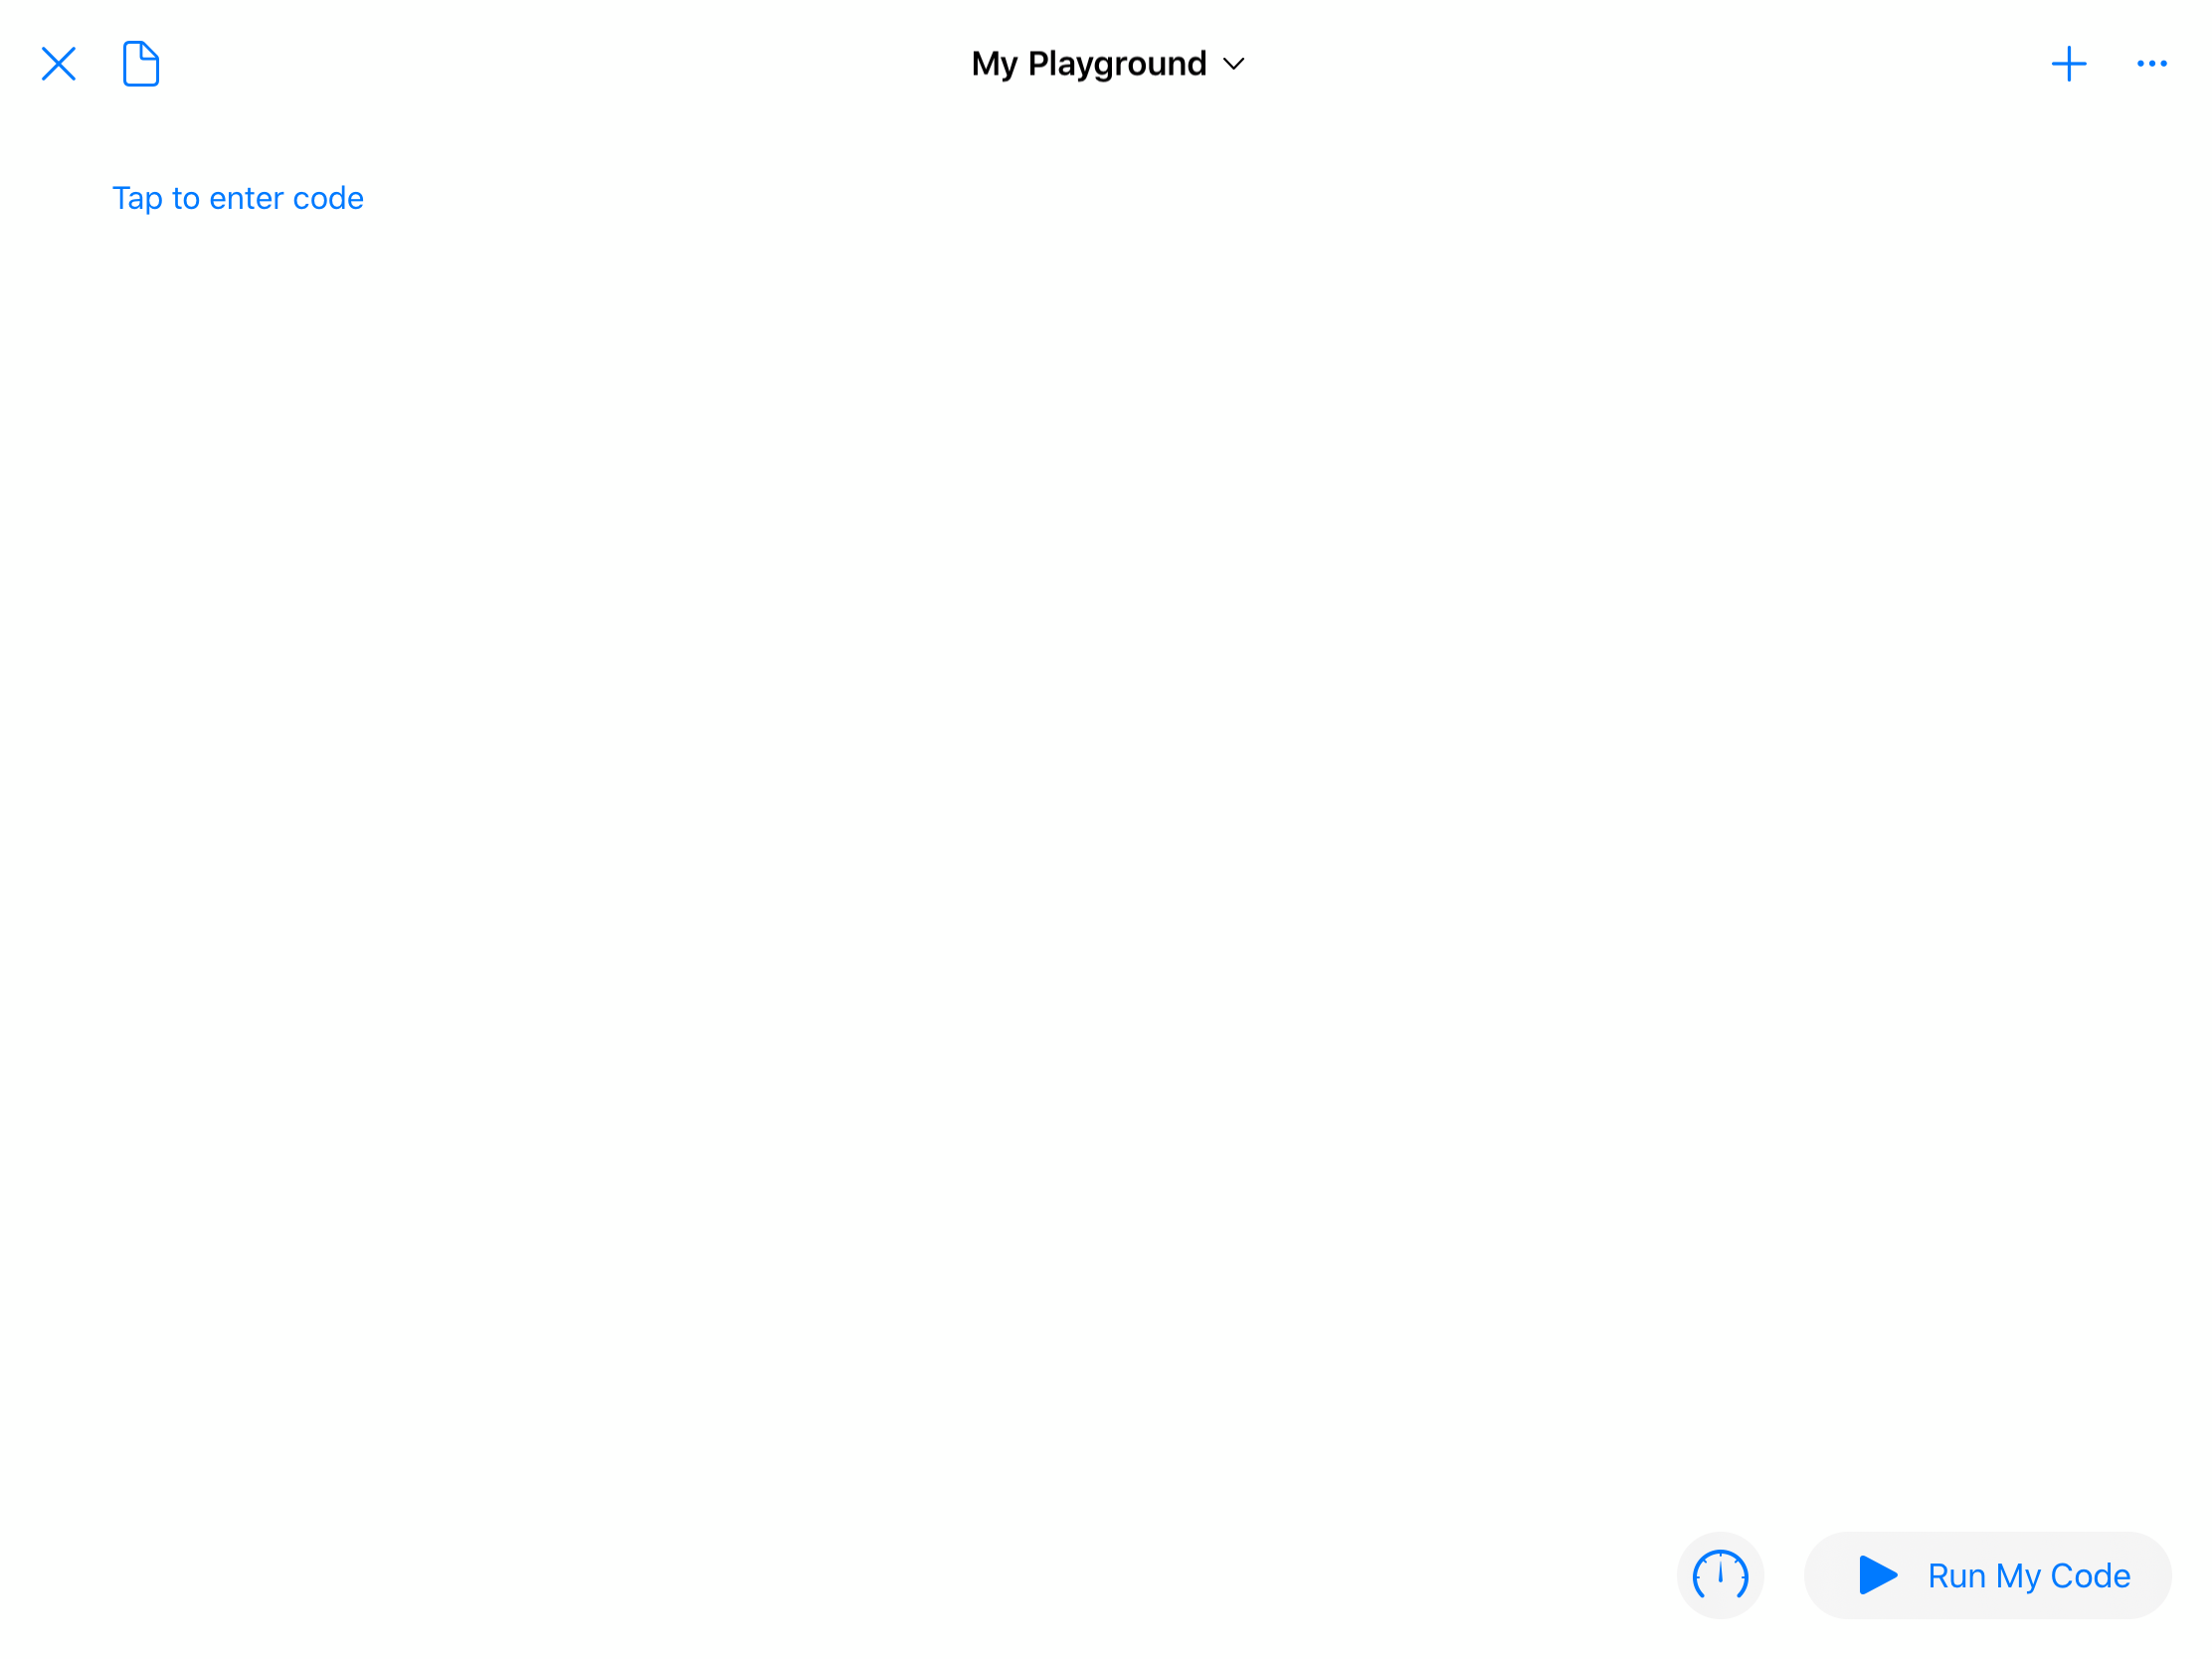
Click on Tap to enter code and type in the following code:
import UIKit

var str = "Hello, playground"
Once you are done, click on the button that says Run My Code. When you do this, an ABC icon will appear on the right. If you click on it, it will show Hello, playground. Make sure that you are running your code throughout this course. If you click on Add Viewer, this will appear under the code. If you click on that, you can customize the Viewer to your liking.
Let’s get ready to program!
This was a long lesson, but don’t worry. In the next lesson, we will go over the different types of variables and data types in Swift, and start programming.