IDEs
Earlier in the documentation, we mentioned IDEs, such as Visual Studio Code. Again, an IDE is an Integrated Developer Environment. For programming your FTC robot in Java, there are two options, with pros and cons. We are talking about Android Studio and OnBot Java.
OnBot Java
- Wireless Upload by default
- Very Basic Text Editor
- Easy to setup
- Great for rookies
Android Studio
- Wired Upload (Wireless with some work)
- Full IDE with full FTC Software Development Kit (SDK)
- Designed for those who are more advanced in Java
- Requires additional downloads
We know there are both pros and cons to each, and that your preference matters. You will be able to try both in this course. Some lessons/quizzes/projects may only be possible in Android Studio, but we will let you know if that is the case.
Getting OnBot Setup
In the last lesson, we established WiFi-Direct between our Robot Controller and Driver Station. Logging onto OnBot is even easier. First off, make sure the phones are connected.
Wi-Fi Direct Settings
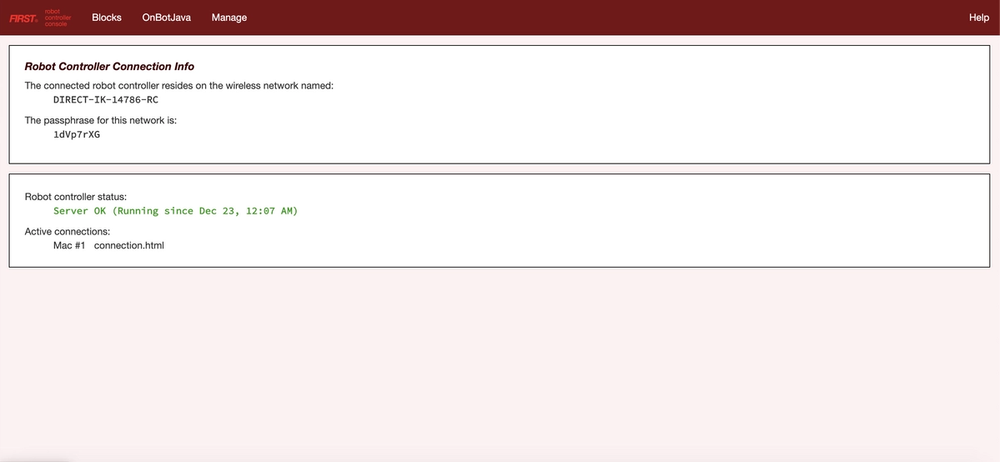
On either phone, press and click on Program & Manage. You will see "Robot Controller Connection Info". The page will show the wireless network, password, and the web interface link. Stay on this page.
Login to the Wifi
On your computer, go into WiFi Settings, and select the wireless network mentioned above. Type in the password and login. When you are connected, go to your web browser(We prefer Chrome), and type in the web interface link. It should be: http://192.168.49.1:8080.
If you see the OnBot home page when you type in the link on your computer, you have successfully connected to OnBot. In the next section, we will setup our file to get ready to program a TeleOp program.