Before we start this lesson
Sprites are basically what represents an object with graphics. We are using sprites, but in this course, we are not going to create or use sprites from other sources, instead, we are just using squares for convenience. If you want some free assets to use for your projects or with this lesson I highly suggest that you take a look at the YoYoGames Store filtered by free.
Creating the player, enemy, and walls
Now that we're in the project, look on the left side,
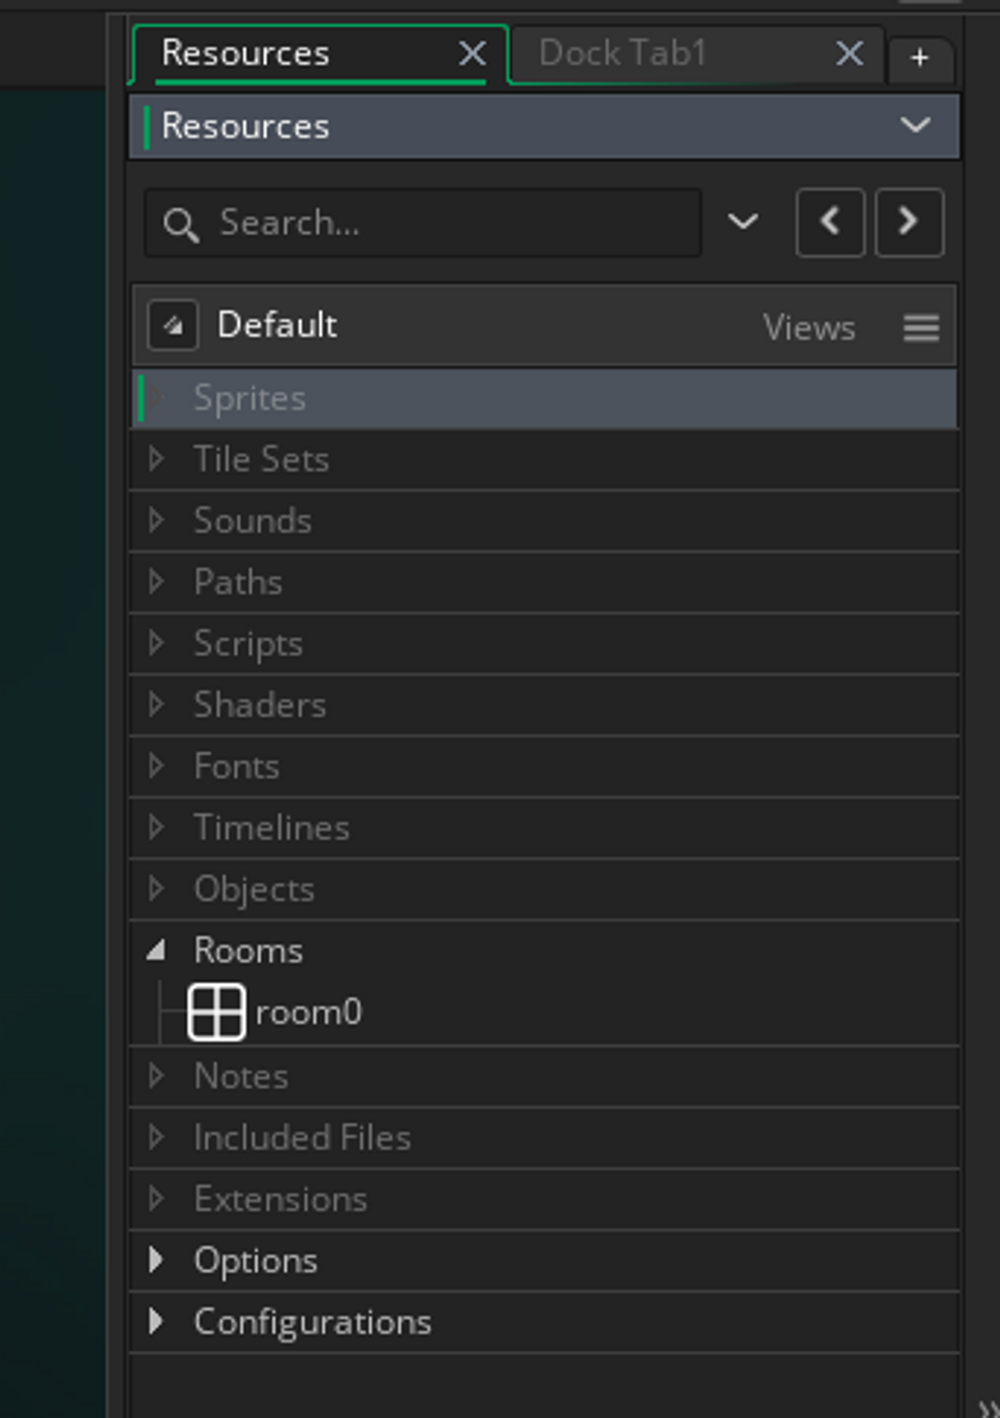
This is the resource panel. Right-click on sprites and you will be given multiple options. We are going to focus on the options:
-Create Sprite
-Create Sprite From Image(s)
The first option is for creating your own sprites, the second one is where you can import images for your sprite. In this case, we are "making" our own sprites. Click "Create Sprite" and you will be presented with something like this:
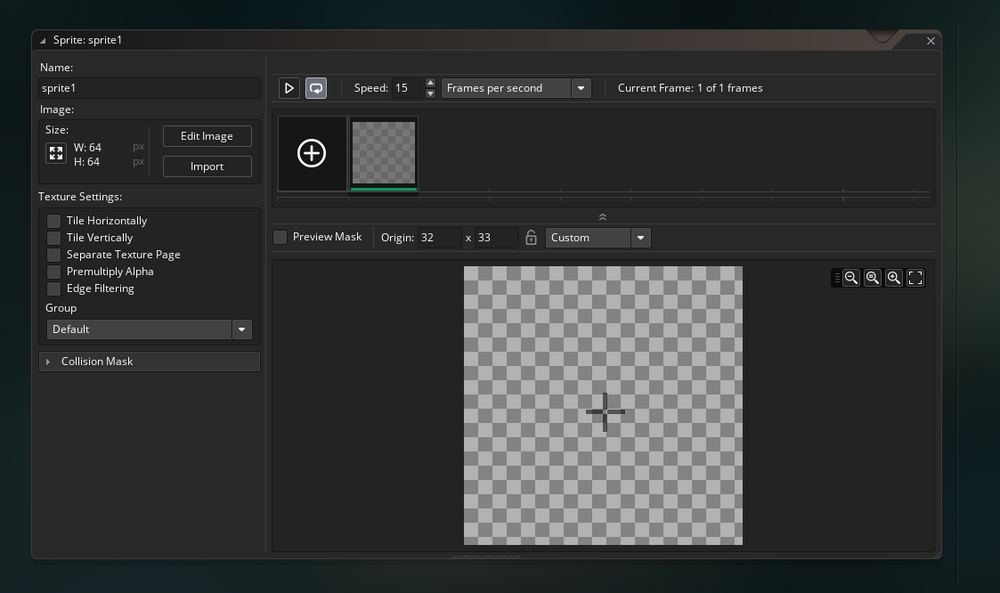
Do you see "Origin"? Next to that, you will see a drop-down list you can click on. Select the option, "Middle Centre" and after that click the lock button.
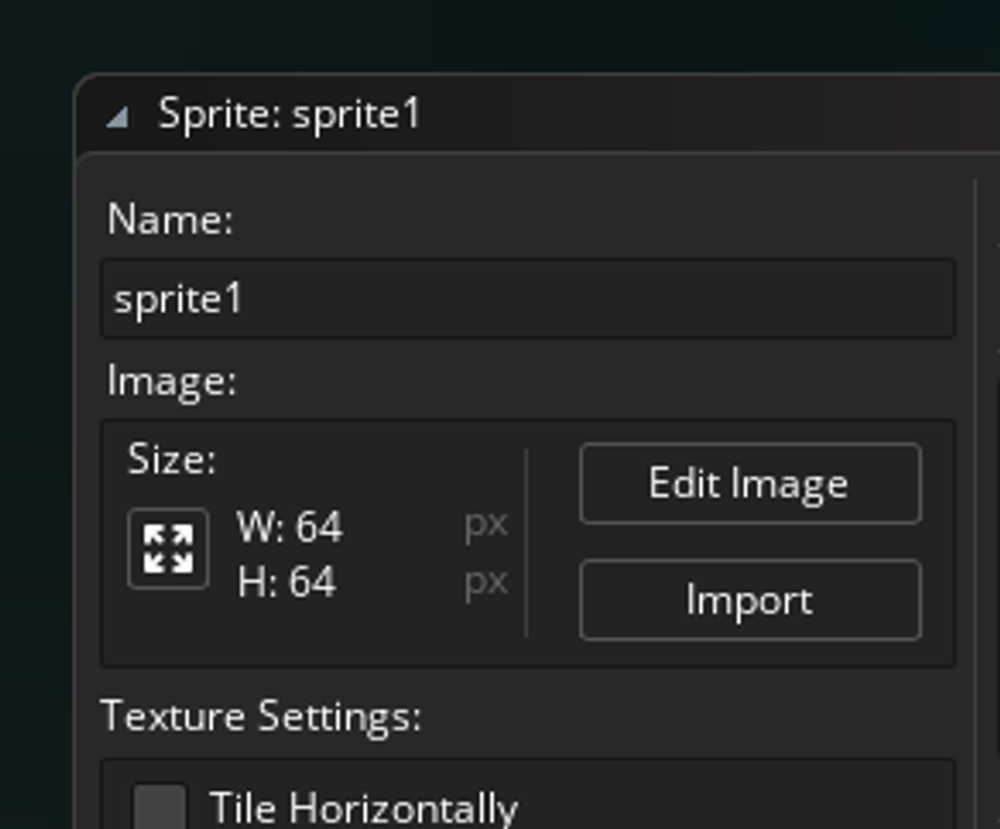
Now click the icon with four arrows pointing outwards. This is how you can resize your sprites. We are going to set this to 32x32 px. Now click on "Edit Image". You will be presented with this:
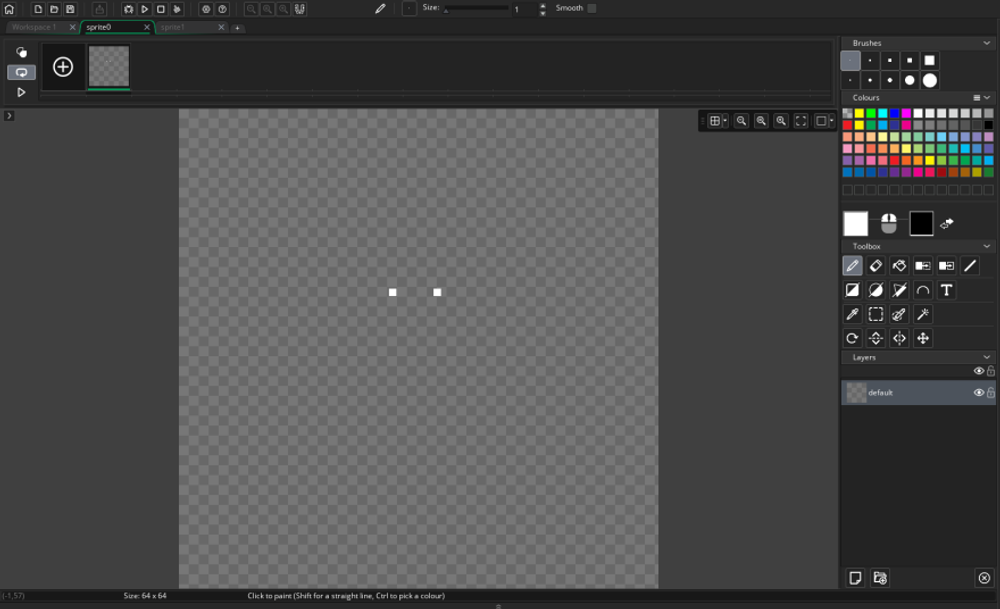
On the left panel, click on the bucket icon and select the color of your choice for your player. Name it, "sprplayer". Make a duplicate of this sprite by right-clicking on the sprite we've made and click on "Duplicate". Make sure you name it "sprenemy" and "spr_wall" and give all of them a different color. I will be using green for my player, red for my enemy, and grey for my wall because of clarity.
What's next?
Now that we've created our basic sprites, it's time to understand how we can use them.