What you will need
If you’re reading this, you probably already have a browser. You will also need a text editor to write the HTML. Technically you can use any text editor, even TextEdit on Mac or the default Notepad app on Windows. However, we recommend getting a better editor designed specifically for code. We'll be using Visual Studio Code for this course, but some other common options include Atom and Sublime Text.
Install VS Code
To get Visual Studio Code, head over to code.visualstudio.com and download the right version for your operating system. Follow the download and installation instructions.
Create an HTML file
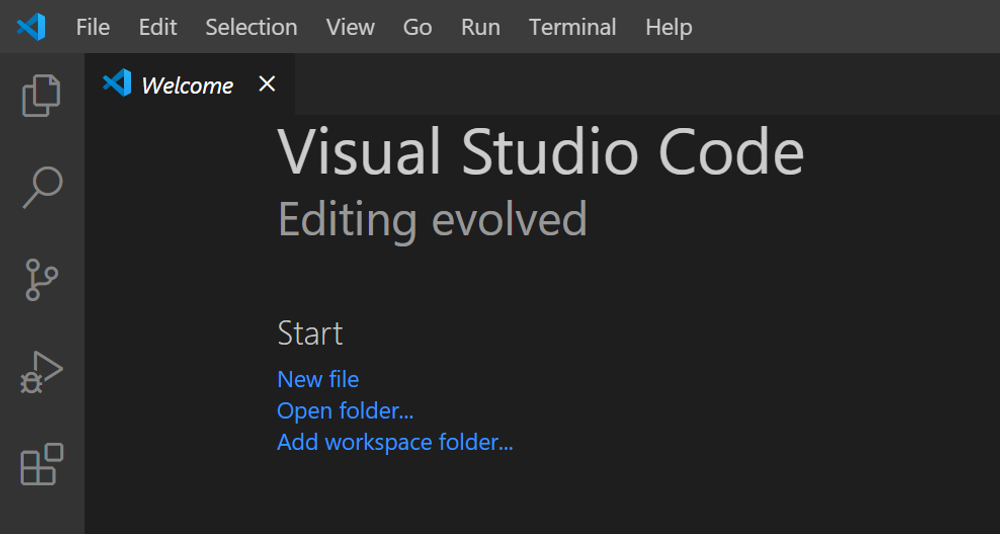
Once you have VS Code installed, open it. On the Welcome Page, click "Open Folder..." under the Start menu, create a new folder for this project, and select it.
Once the folder is open in VS Code, create a new file by clicking on the "page" icon next to the folder name in the menu on the left. Name the file "index.html":
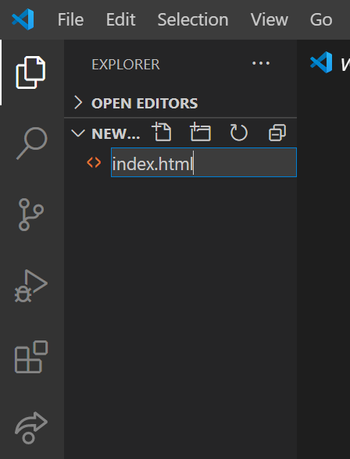
The default or home page of a website is named "index". The .html file extension saves the file as HTML, which means VS Code will color code it correctly and provide the right shortcuts.