The Icon
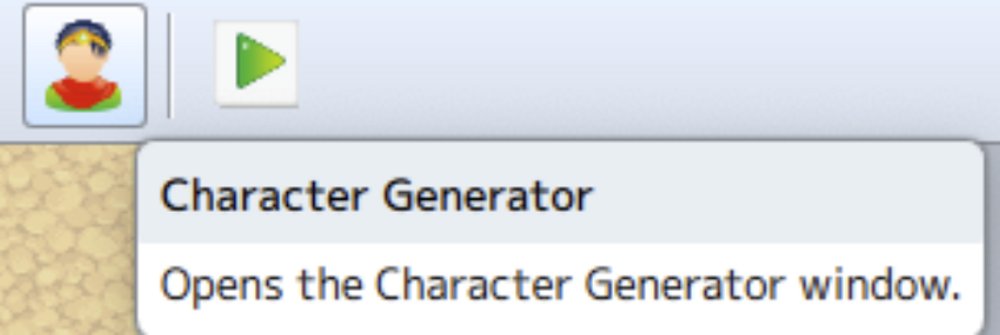
The character generator can be accessed by clicking the red and green character icon at the top right of the toolbar.
How do you use it?
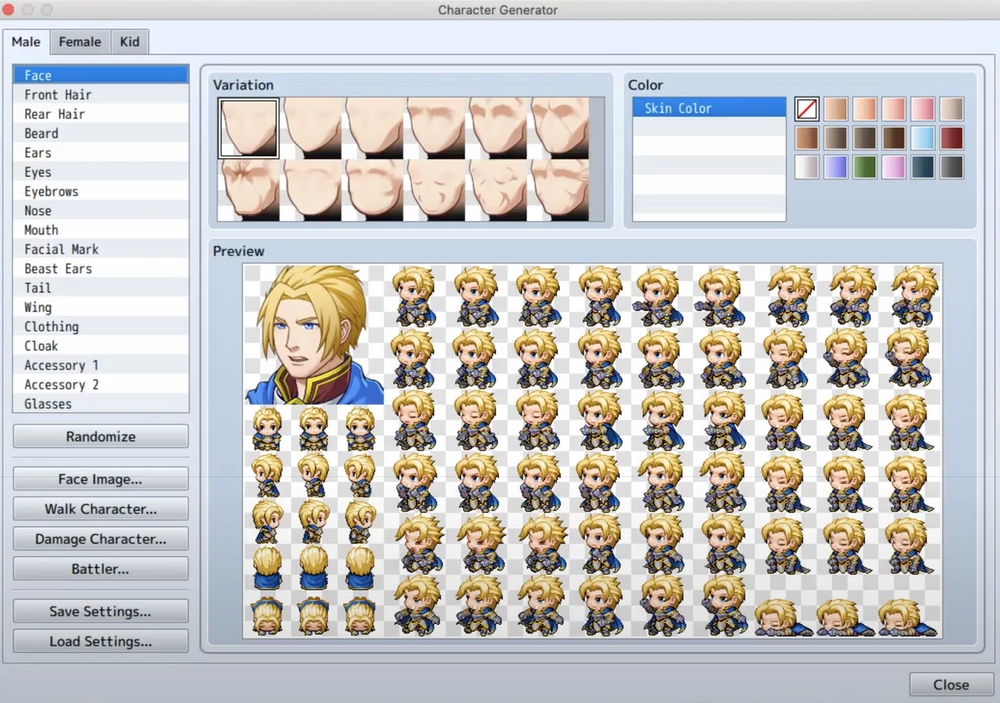
It’s pretty self explanatory. In the pop-up window, select the “Male” or “Female” tab. Then, select the part of the character to modify (Hair, face, Nose, Clothing, Glasses, etc.) Select the Variation and Color of the part of the character you are manipulating. Then, you can see a preview of all the different views of the character in the preview box.
Exporting the character
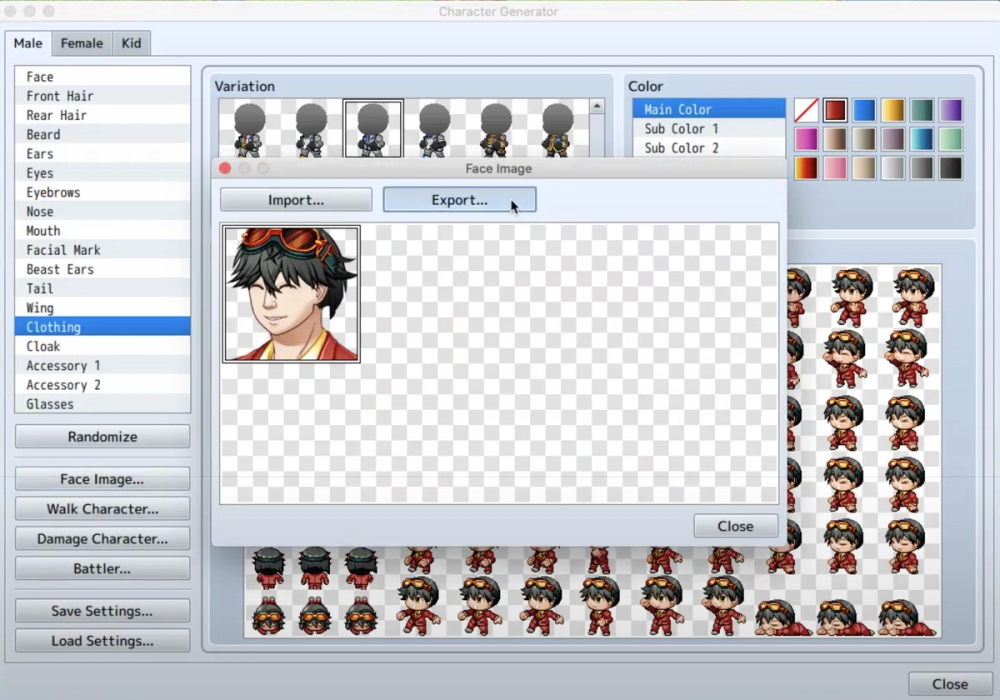
Once your done customizing your character, you have to export each piece of it. To do this, click Face Image…, then click Export, then give the file a Name and save it. Do the same for the other 3 parts (Walk Character, Damage Character, and Battler).
Using your character for an NPC
To make an NPC look like the customized character, select the NPC event. Then, click on the Image, and select the Image of your customized character from the list shown. The image file should have the same name you gave it when you first exported the character. Then, click “OK.” You can do the same thing for the images in dialogue boxes as well.
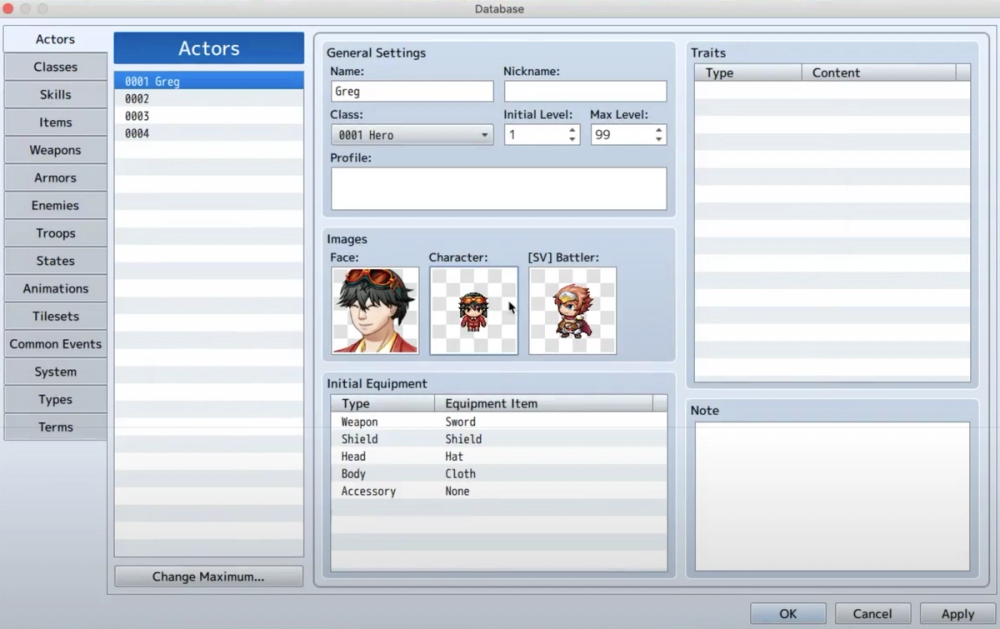
Using your character for the main player
To make the main player appear as your customized character open the Database (The gears icon). Then, select the “Actors” tab. Select the particular actor you would like to modify. Lastly, double-click on each of the images of that actor and select the images of your customized character. Then, click “OK” and that’s it!