Creating an Event
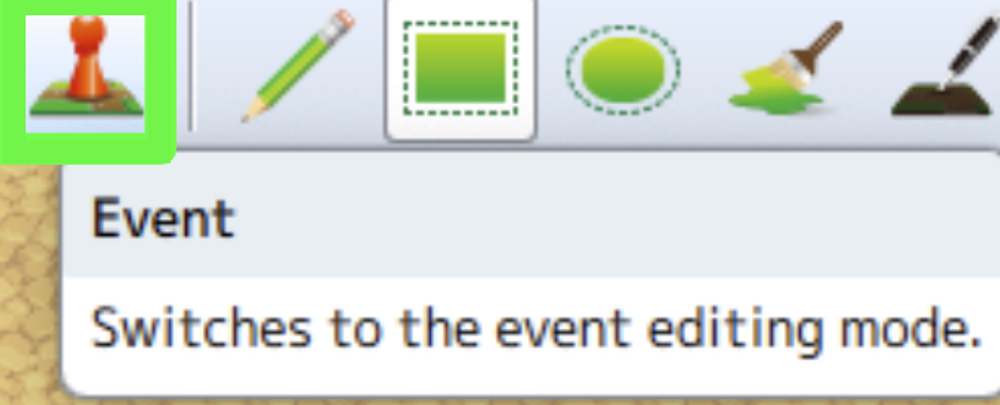
To create an event, we must first switch to the Event Editor. Simply select the icon with a red pawn instead of the icon with a map (the Map Editor). The Event Editor allows us to create events on our map. Events are basically things that change or happen on your map in the game in response to actions done by the player, or other things that may occur while the game is played, like pressing a certain button, or just moving the Player to a certain tile.
In the Event Editor, a grid forms across the entire map that outlines each tile. As events occur on tiles, we must first select a tile to create an event. Simply double-click a tile to open the Event Editor for that tile.
Triggers
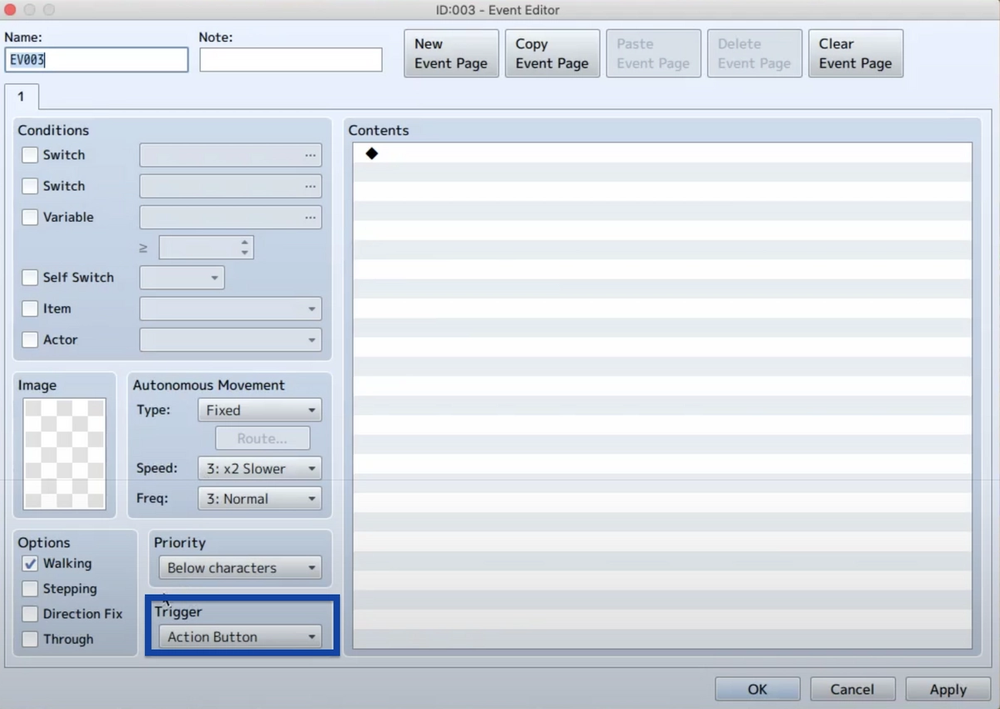
Look around the Event Editor window. Notice how there is a Trigger field. Remember how we said events occur in response to certain changes in the game made by the player. Those changes, are the Trigger. First, select the trigger you would like to use for the event. There are multiple options for the Trigger. Select one from the dropdown and continue.
The options are:
- Action Button: requires the player to press the game’s default action button (the Enter key in our case) for the event to start.
- Player Touch:triggers the event when the player walks into the event’s tile(s).
- Event Touch:triggers the event either when the player walks into the event’s tile or the event moves into the player’s tile. (We’ll get into these later)
- Autorun: runs automatically when the Conditions (can be modified in the Conditions field) have been met and takes over control of the game completely
- Parallel:runs automatically when the Conditions have been met but doesn’t take control away from the player.
Priority
Once you have selected a Trigger, we must pick the Priority of the event. This simply is the layer of the map that the event resides on. Is it on a tile below the character level, at the character level, or above the character level?
Image
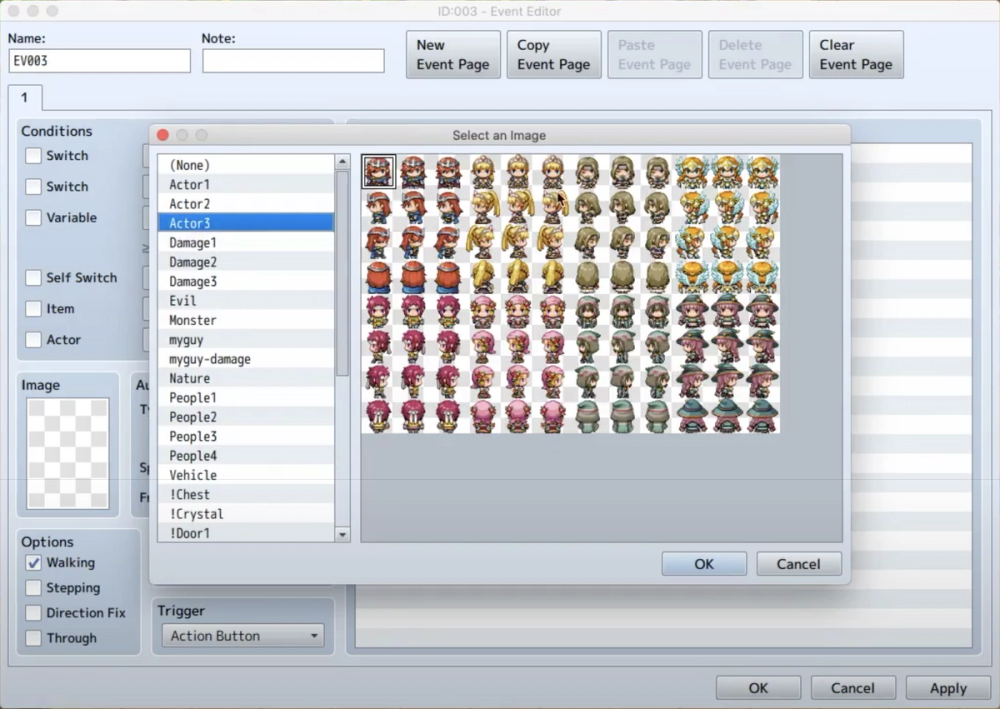
After this, we can pick the Image. Double click on the image field, and pick an image from the RPG Maker MV Library that opens up. If you’d like, you can also pick an image that you’ve made yourself.
Contents
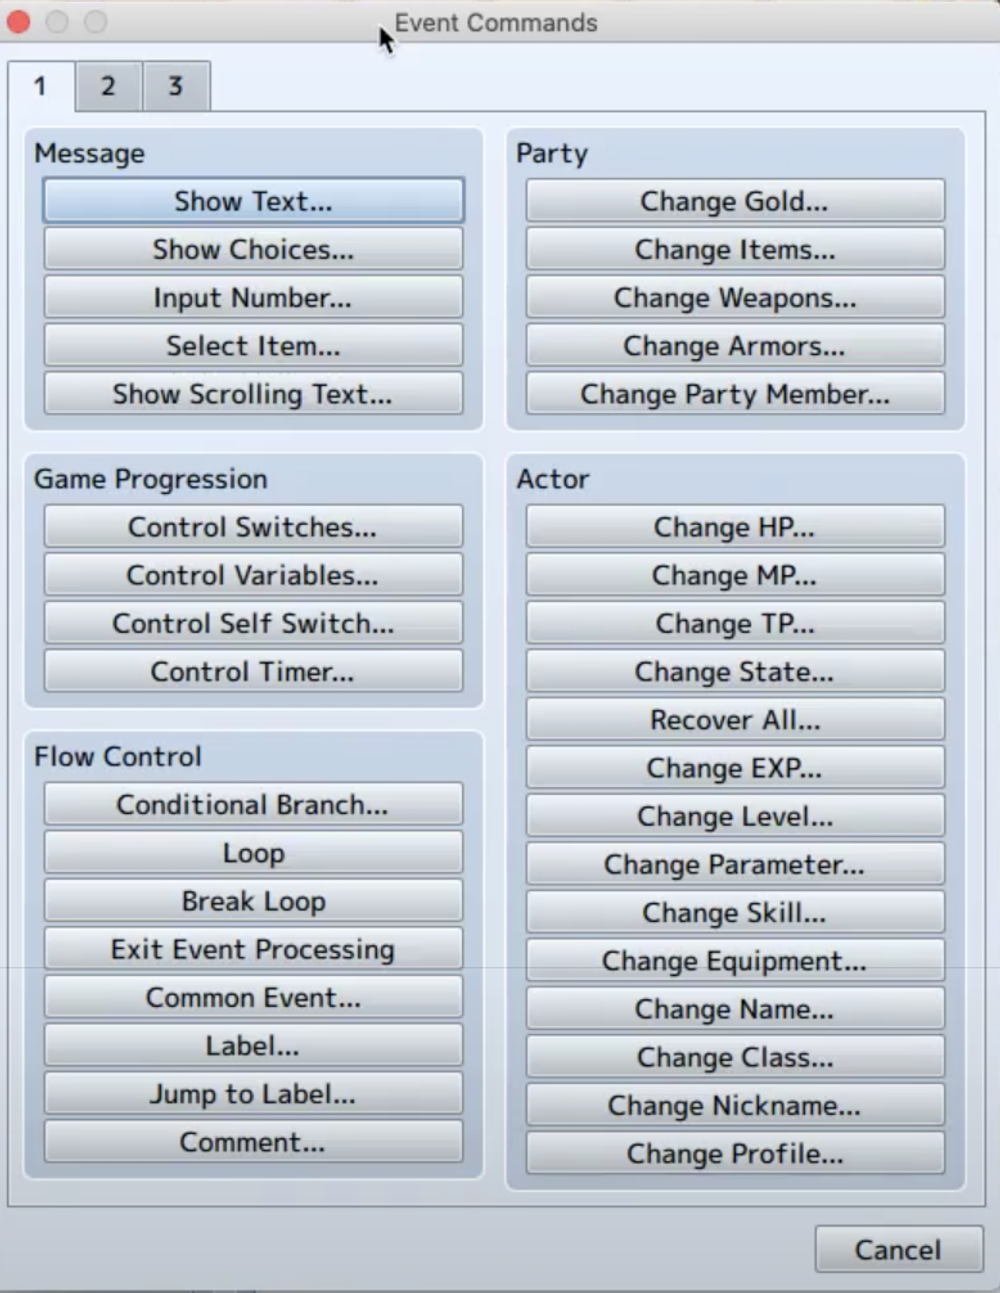
Finally, we can add the most important part of the event, what occurs during the event itself! To do this, double-click anywhere in the Contents field. A pop-up will open with multiple tabs of different options for the event. You can pick any option you’d like and select it and edit the settings for that particular event action, before adding it to the Contents. You can add as many actions/changes as you’d like.