Types of Tiles
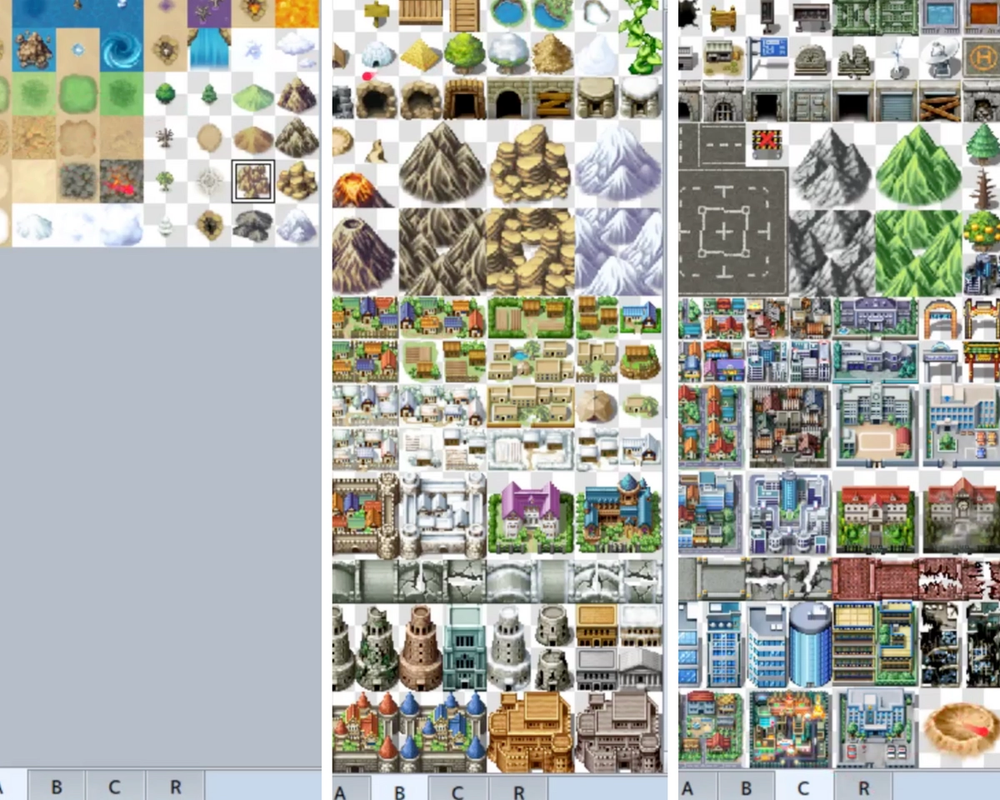
There are different subsets of tiles that can be used on a map. The first tab of tiles or ‘A’ tab is used for basic elements like grass, path, bricks, water, etc. The other tabs are used for decorations and details that are added onto the map after the base tiles. They are added on top of base tiles and add complexity to the map. Examples include fence, mountains, trees, etc.
Creating your first map
To build your map, first make sure your are in the map-editing mode and not in event mode. To do this, just make sure that, right next to the undo button on the toolbar, the map-like icon is selected and not the one with the red pawn on a green surface. Then, simply select a tile and click on the map to place the tile. The first map you make is typically the overworld map, so the tiles available to you will be made for a more broad perspective with mountains and towns as individual tiles rather than more local buildings and trees.
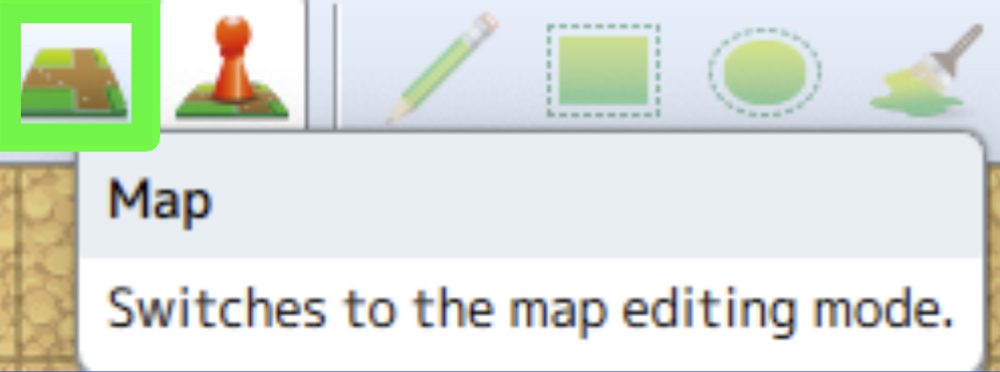
At the top of the screen, there is a toolbar with a pencil, rectangle, ellipse, and paint brush. The pencil allows you to draw the tile into multiple spots on the map by dragging the mouse. The rectangle allows you to make a rectangle-shaped area of the selected tile, you can guess what the ellipse does, and the paintbrush fills in an area of a uniform type of tile with the selected tile (like the more familiar paint bucket). Start from the base tiles on tab A before adding the tab B, C, and R tiles on top of them.
Our Practice Project
For our practice project, we’ll start with a map of the overworld. So, create a map full of grass (using the paintbrush) with mountains at one end and a small town at the other end, all connected by a path.
Types of Maps (Interior, Exterior, etc.)
There are different types of maps as well. There are 3 main types:
- Overworld: A map of your game’s entire world
- Outside:A map based on a location that consists of interior spaces like buildings, rooms, etc. A map of a town or lake would be a good example.
- Inside: A map based on a location inside a room, a more local setting.
Creating Additional Maps
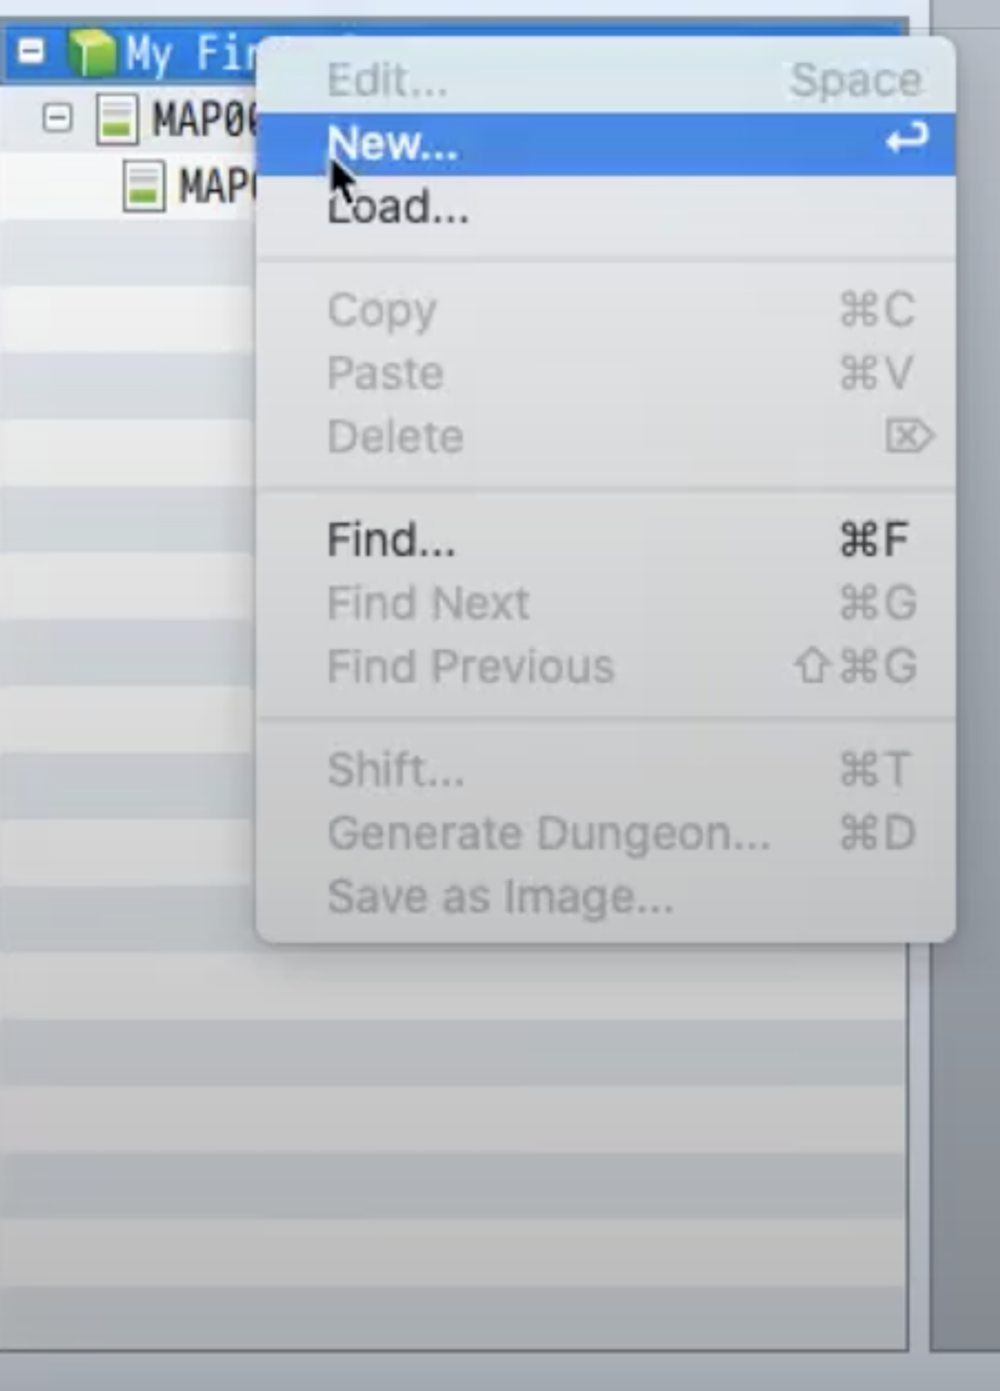
To create another map aside from your first map, right-click on your game’s title listed in the list of maps on the bottom left. Then, click New. In the pop-up window, select a Map Name, Display Name (The name that the player sees every time he transfers to this map), and most importantly, the tileset. The tileset is what decides the type of map you will be making (Overworld, inside, outside, etc) as it is what chooses the tiles you are allowed to use. Pick other characteristics like width and height as well. Then, click OK. To change these settings again after creating the map, just select the map from the list, and click the Space Bar.
For our practice project, create an exterior map for the small town, which we will connect to the overworld map in a later lesson.