The Hidden Gem
There are thousands of tools in Photoshop that allow you to move or delete an object. In this lesson, we have already gone through a good amount of them. However, this tool is my favorite and the “best” tool to use when it comes down to deleting a background. Just right-click the eraser tool and select the Background Eraser Tool. Now it may seem a little too good to be true, and it is. This tool has a major drawback that makes people shy away from this tool.
Why does no one use it?
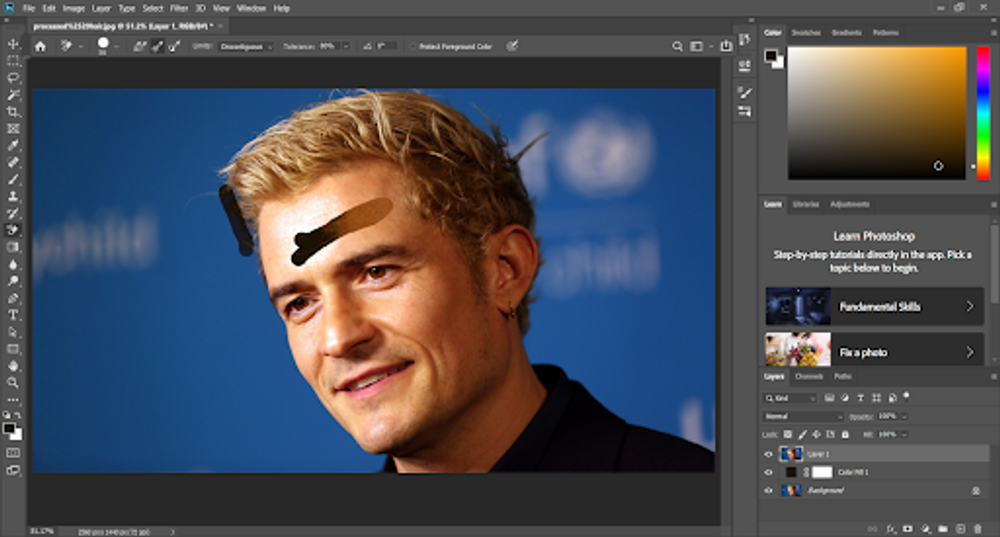
The main problem with this tool is that it works destructively. If you are erasing the border of a part of an image, and you accidently draw over the face of the person, you can’t fix the image. Before you start though, you want to make a new layer (Control/Command J) and then select the adjustment layer tool in the bottom right. Select a solid layer color adjustment (black) then select OK. Then move the layer copy above the mask layer. Below is what a “mistake” looks like with this tool. Because we made a layer this tool isnt deleting the actual photo, and because we made the black layer, you see the black color through his head.
How does it work?
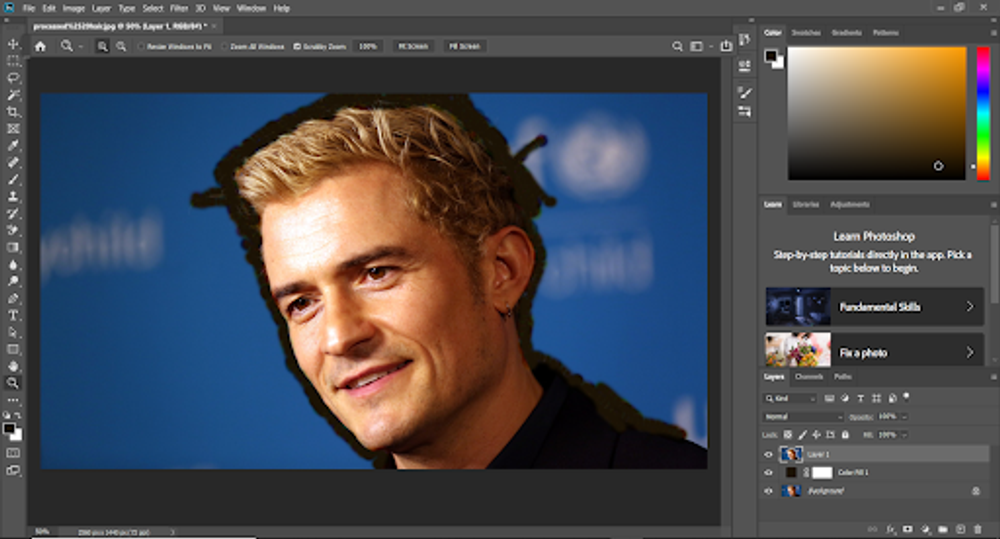
So basically, this tool takes the color that you originally click on and samples the color. What this does is that the eraser samples the color of where the brush is and takes those colors. When you drag over an area, if the color is somewhat constant, the black color will stay the same. Now let’s talk about the tools at the top. We have three main settings for the background eraser tool; contiguous, discontiguous, and fine tune. You also have the tolerance percentage. These are the 4 settings that you will be using during this process. They all do their own things, but normally set your adjustment to discontiguous. Once you have done that, just start drawing around the area you want to cut out. If you see that some of the color is being left behind, then higher the tolerance level. You want to make sure that you start in the area that you want to be deleted. The image below is the photo after the Background Eraser tool was used.
Making it Non-Destructive
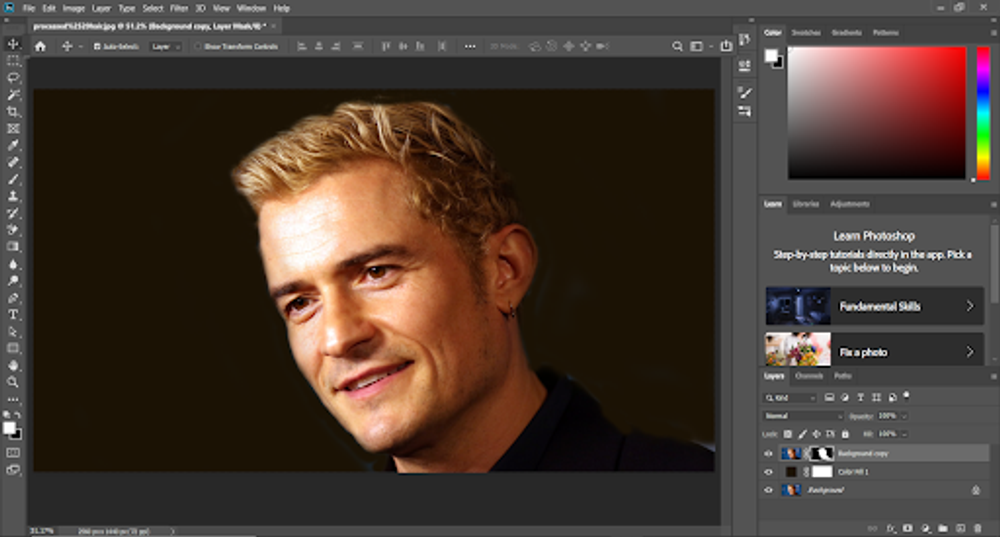
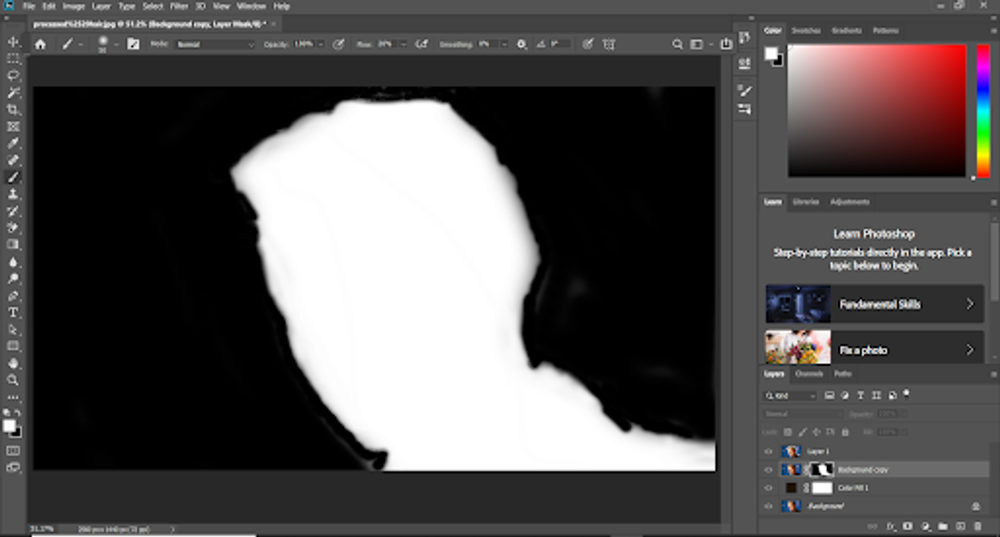
Earlier, we talked and showed how this tool can be hurtful and could destroy your photo. Take the background layer and copy it (Command/Control J) and then bring the new layer above the solid color adjustment layer. Now while holding Control/Command, select the thumbnail image of layer 1. You will see a dotted layer appear around the area you want to cut. Come down to the new layer that we made, and click the mask tool in the bottom right. You can now delete the top layer of the image(layer 1). Hold the Ait/Option key on your keyboard and select the silhouette layer next to the background copy. Simply take a brush and(with the color black) paint in the area that we do not want to keep. Below is an image of what the picture should look like.
Making it Real
Now that we have this weird silhouette of our original photo, we now need to turn it into a usable object. Hold the Alt/Option key again and select the mask. Now you have the part of the image that you cut out. Now you can do whatever you want with this object.