Moving through different images
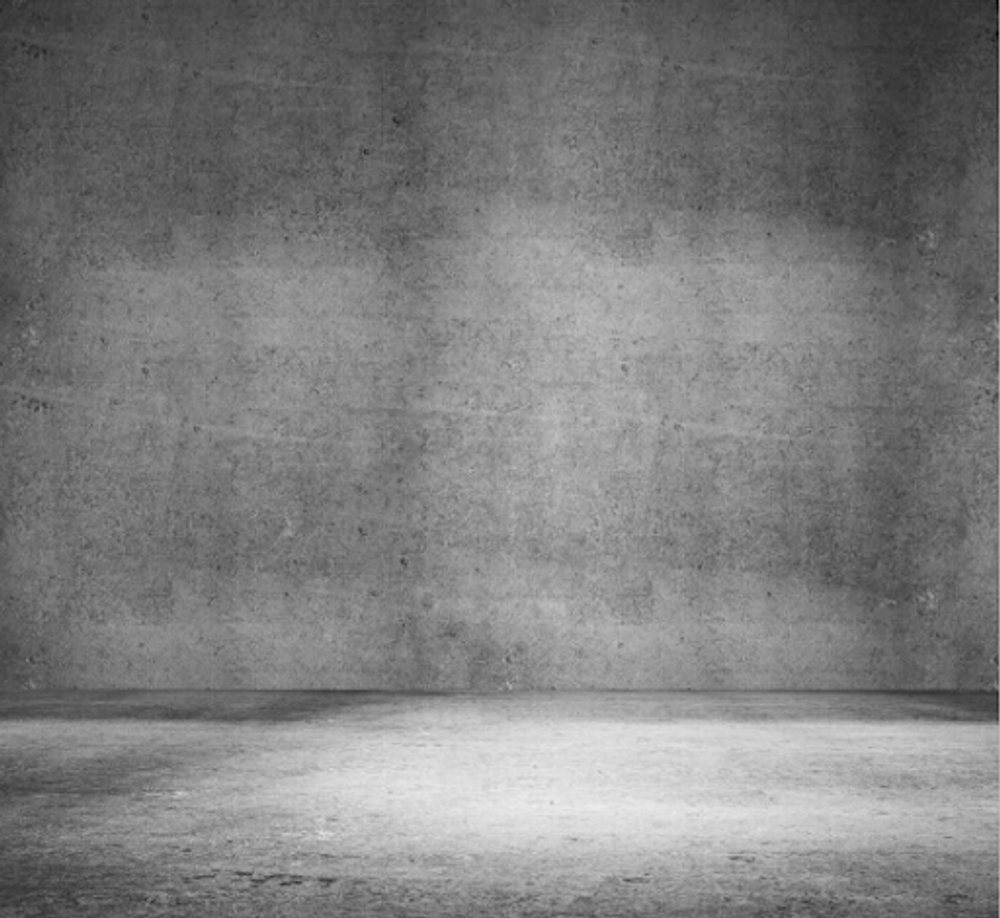
Probably the most wanted item out of Photoshop is how to move an image from one picture to another. Say we have a very cool background and we want to add ourselves or our family into the scene. Wouldn’t it be nice if we could go to the beach and brag to our friends without actually going? And doing it is not that difficult. First you need to open both of the images from Bridge, the one with the background and the one with the “person”. In this example I will be using a concrete background and a businessman.

Adding from One to Another
To move an image from one to another, select the move tool and drag the image to the next tab. Once you’ve done so the image will pop up on the other page. DO NOT LET GO of the image while you are dragging because it will not work. Your end page should look somewhat like my page.
Big Problemo
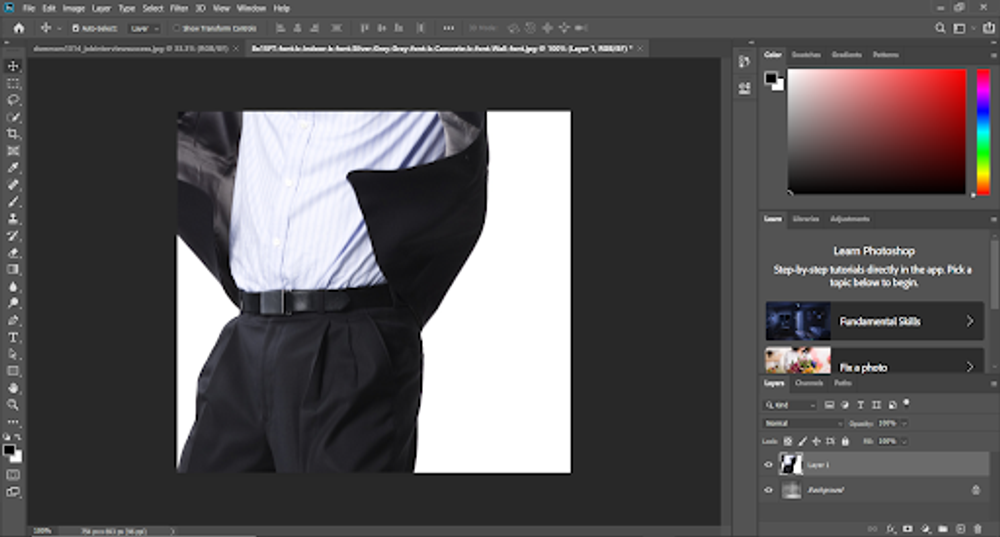
Now everyone and their grandmother can tell you that this is not the image. The body of the man is way too large, way too big for the screen. This is because the pixel scale of each picture was drastically different. All you have to do is just zoom out really far(using the magnifying glass tool while holding option/control) and select the Edit tab. We are going to be using the Free Transform tool from before. Grab the tool and and the handles should appear. If these handles do not appear, then you are not zoomed out far enough. Hold shift while you are scaling down the image so the image is proportionate.
Are we done?
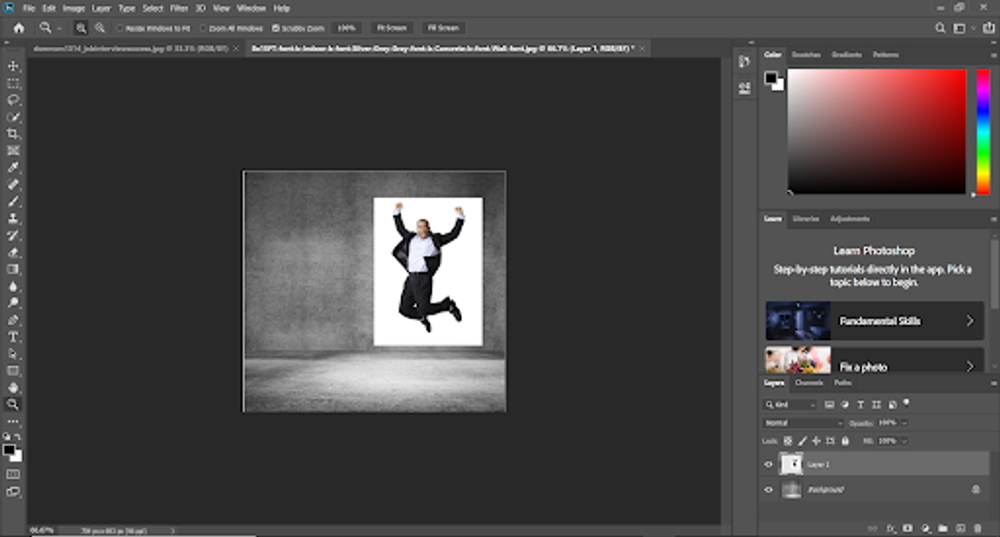
Of course we aren’t done! Though we have accomplished our goal of moving one image to the next, the picture doesn’t fit well with the surroundings and looks like a cut-out. We just have to quick-select the person, remembering that we can easily take away from the selection but it is very difficult to add more. Once the whole person is selected your page should look like the following.
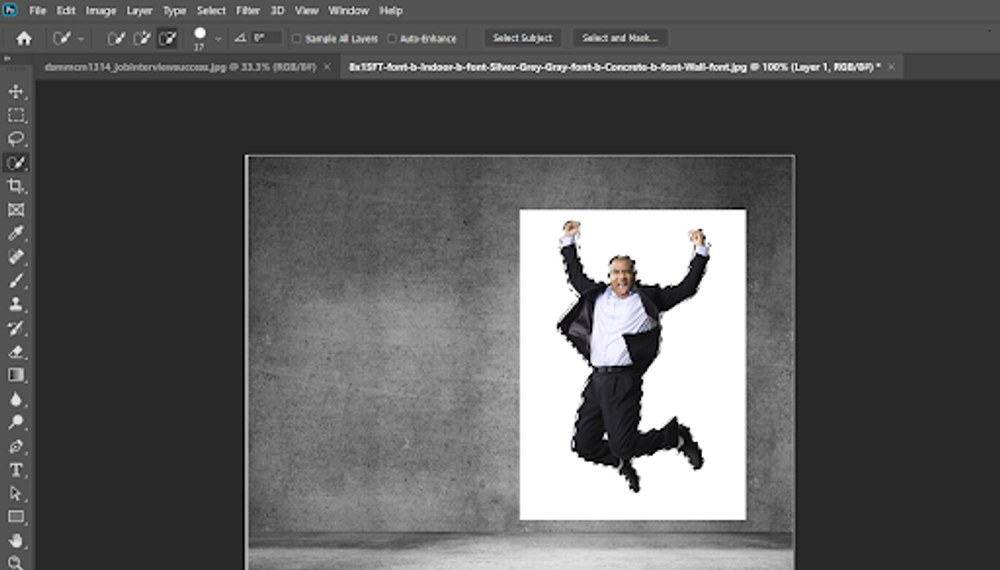
Refine Filter
Once you have selected the image, you will see a menu pop up at the top. Ignore these pop ups because they do not work as well as the trick I am going to show you. While you hold shift, you need to select the Select tab, and click Select and Mask. This will pull up the secret tool refine filter. This allows you to use the image basically freely. Below is the pop-up box you should reach.
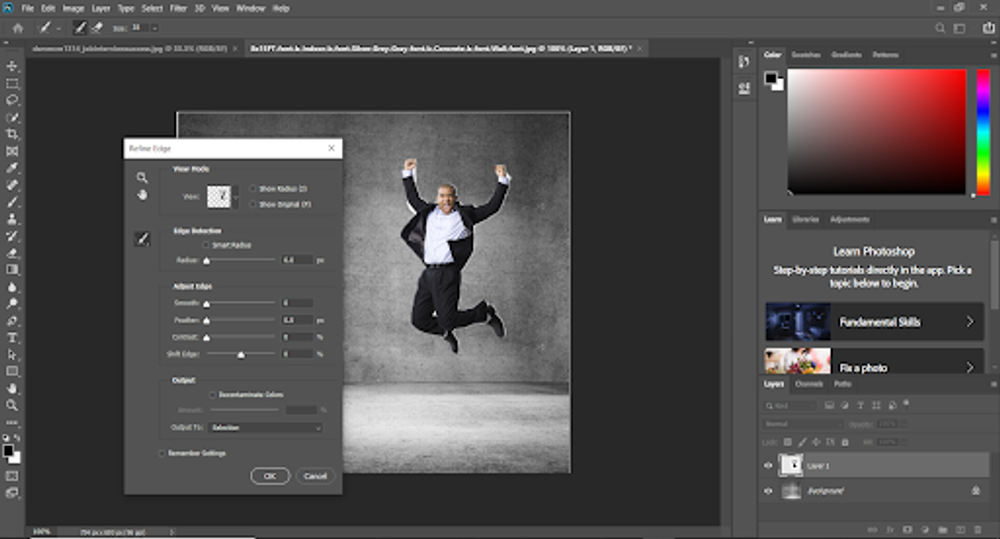
So what does Refine Filter do?
Refine Filter allows you to control how to image is supposed to look. The first menu allows you to see the image with a black background, a red background, and most importantly a ByLayer background. As you can see the image has magically lost the background. As you can see from the image above the layer section is selected and the background is mostly gone. There are some small things that we can fix.
Smaller Particles
To remove these smaller white areas in the photo, we just have to adjust some of the sliders to match the photo. The first thing you want to do is check the smart radius box and move the radius slider in the positive direction. This will get rid of most of the small white wisps within the photo. The next thing you want to do is check the Decontaminate Colors box and crank up the amount to around 60 percent. This will cause smoother motion and cleaner looks on the image. The final touch should be changing the final dropdown from New Layer with New Mask to just New Layer. Your screen should look similar to this.
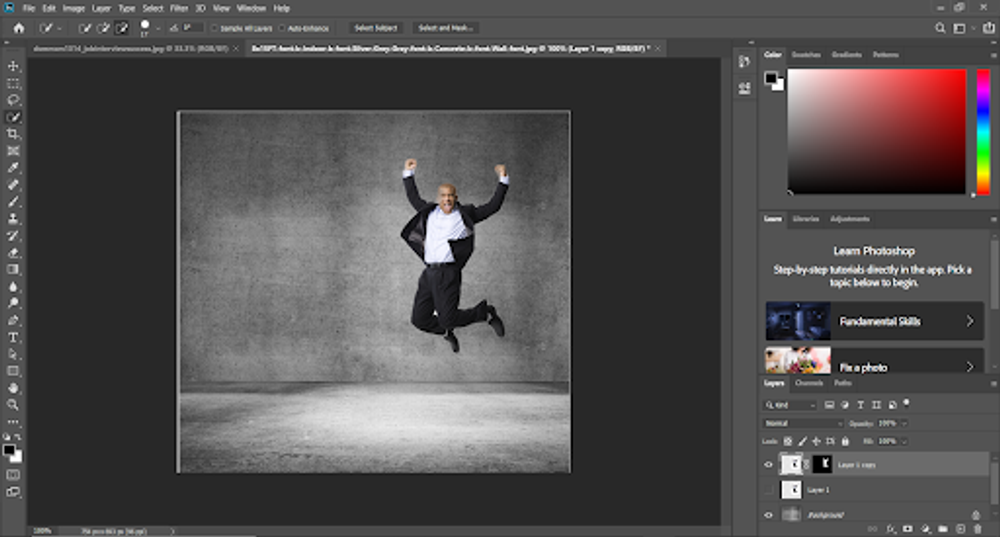
Layer Copy for Shadows
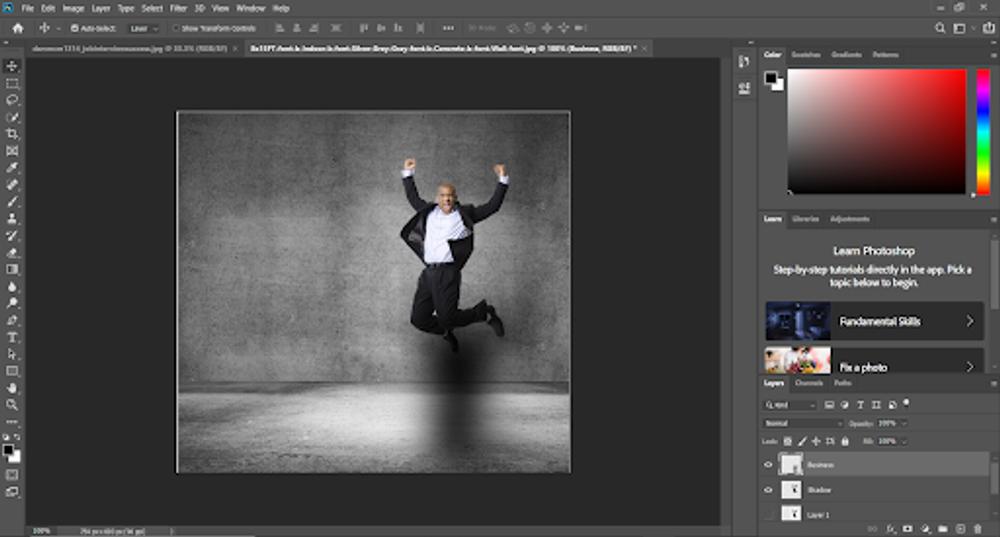
Once you have done those steps, you want to name the new layer. I named my layer Business, but you can name it anything you want other than background. Once you have done this you need to drag the layer onto the New Layer button. Now we can move the next image freely and not worry about messing up the original. You want to know take the new layer and move it under the older layer. This way the shadow will appear on the bottom. Once you have done that, drag the older image from the layer to a lower area of the photo. After you’ve done that, you want to change the color to be completely black. To do this, you need to select the image tab, click adjustments, and then click levels. Your screen should look like the following.
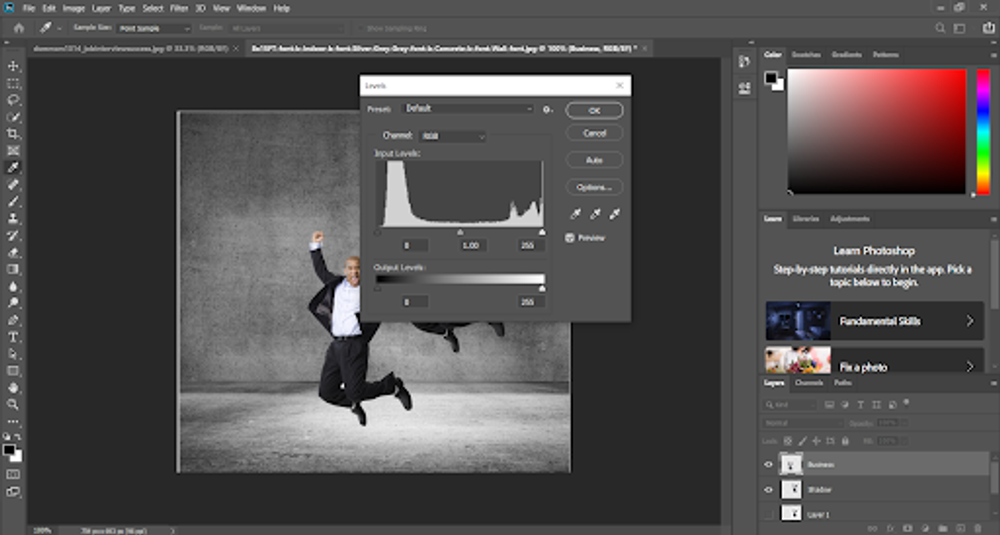
Fancy with Shadows
Once you have adjusted the top sliders to the right and the bottom sliders to the 1 click OK and exit out of that screen. As you can see this is way too dark and crisp to be a shadow. The easiest way to fix that would be to select the Filter tab, select blur, the select Gaussian Blur. After the window has popped up, the pixel count is set to 0. Change the count to around 35 pixels and you should have some sort of a blur. Move the blur under the businessman and use Free Transform to make it smaller. You can also go to the layers area and change the opacity to make the shadow more see-through.