Layers Fundamentals
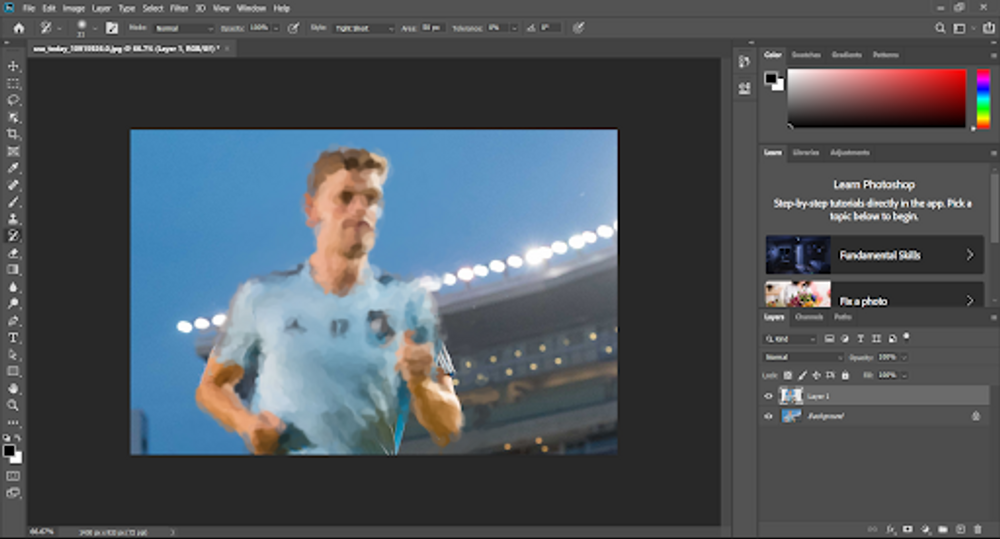
Before we start with the next topic, we must understand what it actually is. Layers are just another page placed on top of your existing photo. Think it is just placing a sheet of plastic over your paper, and you are writing on the page with a magic marker. Once again use any photo you would like, but I am using a soccer player with lights behind him.

Adding and Using a Layer
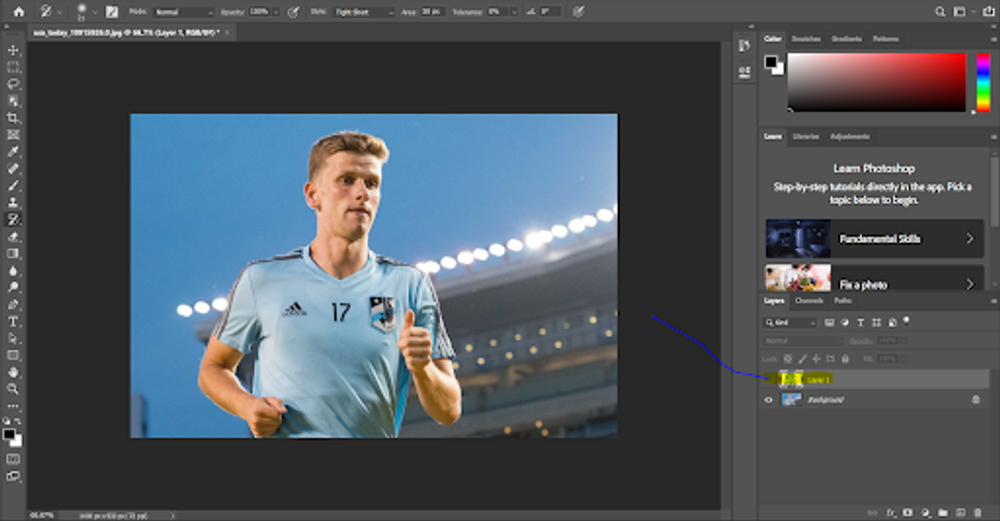
When you are trying to add a layer, you must use the Layer panel in the bottom-right corner. To add and create a new layer, click the plus symbol with the box around it called Add Layer. Once you have done this, you will see a new “photo” enter the panel, which is named Layer 1 or 1 Layer. You can press the “eye” icon to show or hide the layer. Because this layer is just “plastic”, you can’t see that it is there. Select the 11th tool down, the history brush tool, and brush all over the picture. As you can see it is getting messed up. Simply just click the “eye” icon next to the layer and the photo is back to its original position. When you are done using a layer or it is not needed, you can simply drag the layer into the trash can next to the add layer. Layers are important because you can edit the lighting or color of the image without damaging the actual image.