Setting up your files
Before we open any new items, we are going to need to get some photos off the web. Search in any search engine, “boy with acne”, and select any photo you like. I am going to go with the photo placed under this text. Save the image to a new folder so you can access it easily, and then close the window.

Opening with Bridge
You should now open your Bridge application, which came in the student bundle from Adobe Creative Cloud. Bridge is an easy way to open and toggle photos from Photoshop and your folder. This also allows you to work on many photos, finishing one and then moving onto another.
Photoshop Time
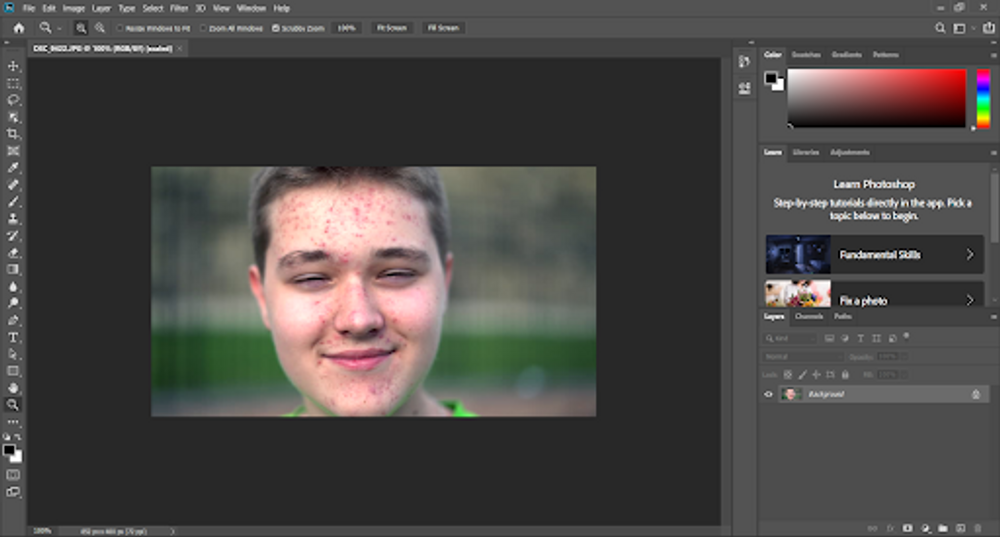
Open your photo from Bridge by just double-clicking the photo, and Photoshop should automatically open. Once you’ve done this, your screen should look like the one below but with your image.
Spot Healing Brush Tool
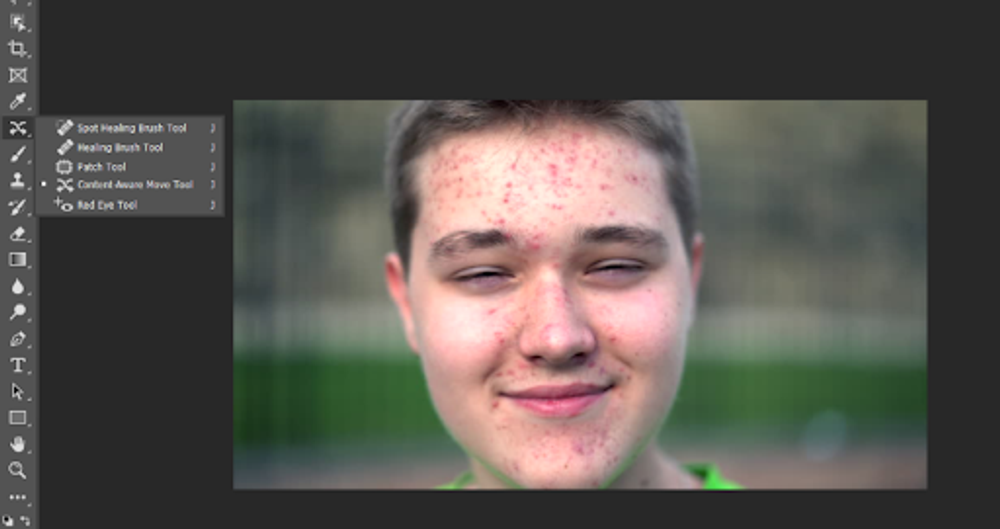
Once your photo has loaded in, you will see the many options to the left of the screen. This is called the toolbar, and will be very helpful in making any changes to your photos. If we advance 8 tools from the top of the toolbar, you will see an “X” with two arrows at the bottom. If you right-click the tool, a menu of other tools will appear. Once this has happened your area should look like the image below. From this menu, select the first option, Spot Healing Brush Tool.
Marking up a photo
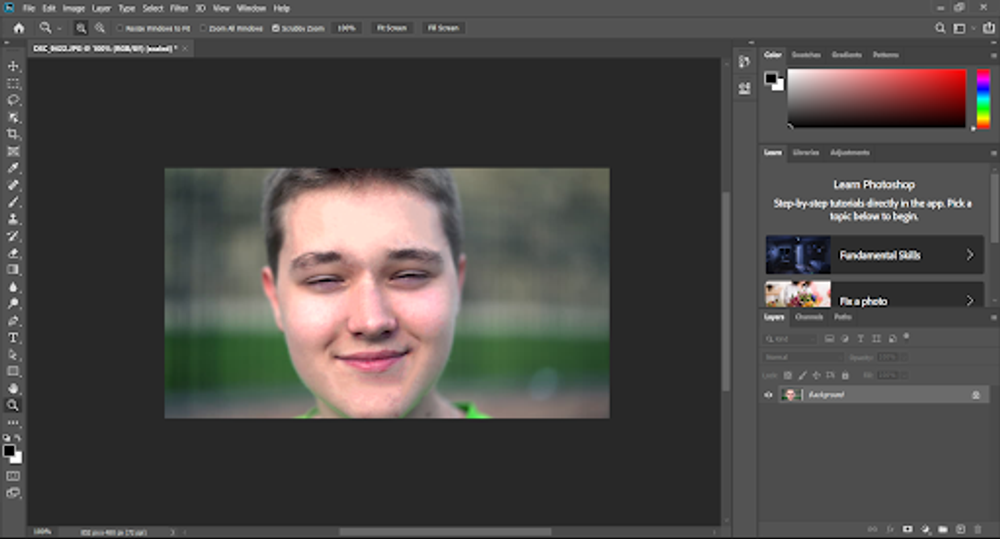
Now that you have the tool selected, draw or paint over the parts that you would like to change. The tool analyzes the surrounding skin around the acne and changes the acne to the skin color. This also allows you to touch up some other scratches and dents within the person’s face. The photo below is the finished version of the photo, after we have marked up the photo and removed the acne. You can also right-click with the tool active to change the size of the brush. As you can see, the photo has changed drastically with just a few changes.
Liquifying a photo
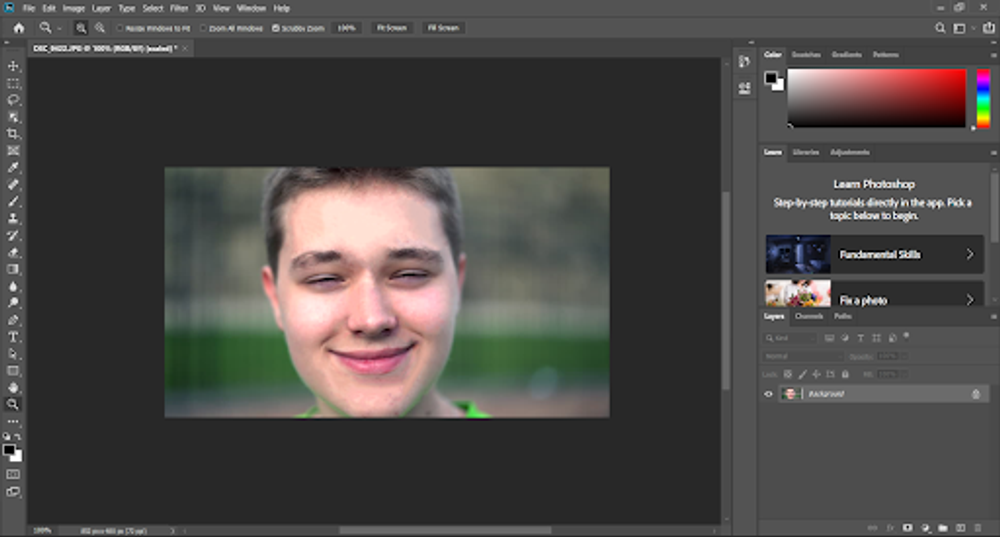
This is how people can manipulate their face/smile to change the mood of the photo. When you liquify an object, the area becomes almost gel-like, and allows you to move the area where and however you want. The image below the image above but we liquified the boy’s normal face to a huge smile. You do this by selecting the Filter tab, then liquify, and then adjusting the image to what you want.
That’s it!
With that first simple task, you are on your way to being a Photoshop pro. That was the first of 10 basic Photoshop topics. It sounds like a lot of material and work, but with a few simple steps, this can be a piece of cake.