Adding a background
First, select the image icon located in the Starter Assets and look through the background options until you see this image, and then select it:
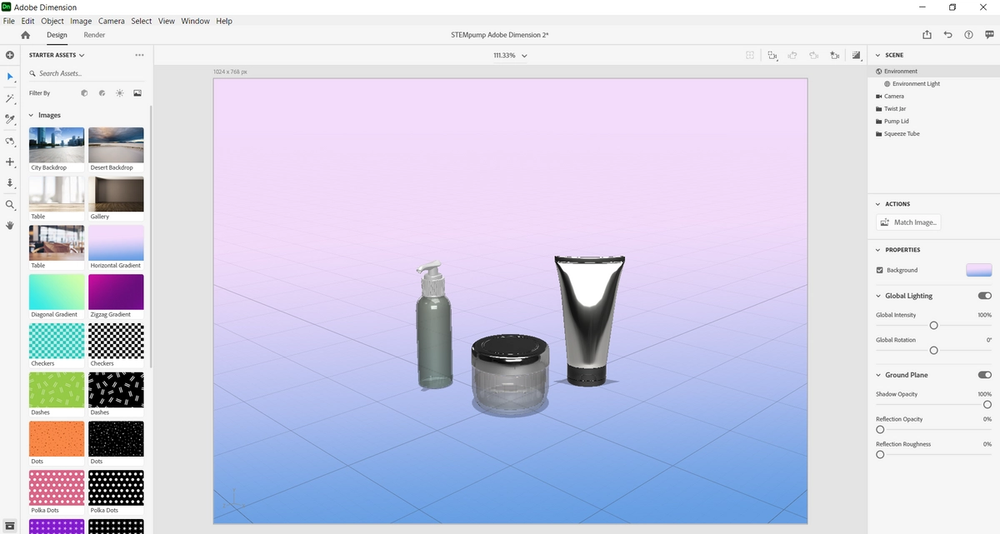
Now, select the Match Image option as shown on the right side of the screen and select OK.
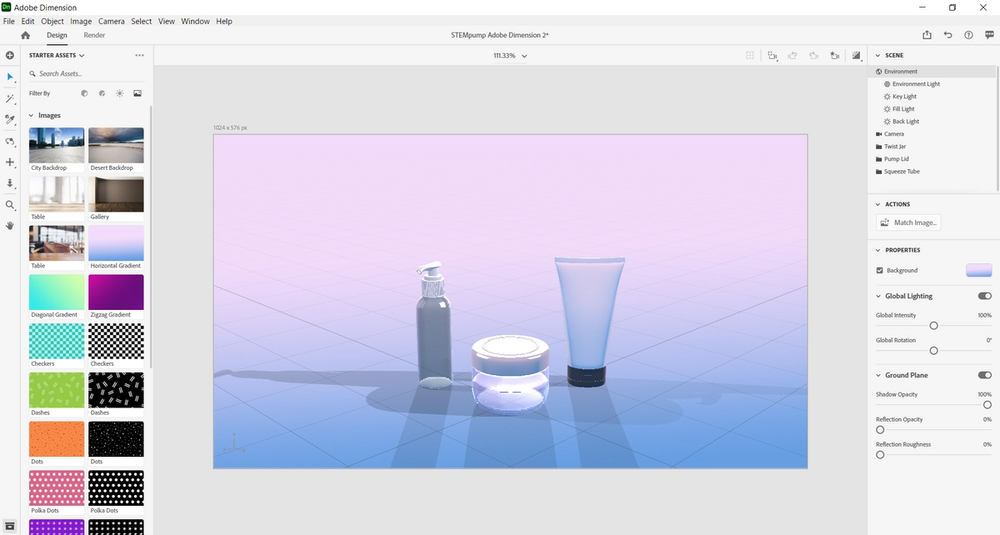
If you followed all the steps appropriately, then your screen should now look like this:
Adding branding
Adobe Dimension does not allow users to directly create a graphic, however you may import graphics from outside sources. We have created a graphic for this lesson, please click the link above to download it.
Now, select the pump lid and then click Body located under Pump Lid in the Scene section and then click on the button with the plus sign in the top left portion of the screen.
Next, select Import Your Content and Place Graphic on Model, then choose the graphic that was just saved.
Then, with the decal still selected, move the slider of Metallic under the Properties section to 100%.
Next, click in any open space to deselect.
Adobe Dimension does not allow users to directly create a graphic, however you may import graphics from outside sources. We have created a graphic for this lesson, please click the link above to download it.
Now, select the twist jar, then choose Jar under Twist Jar in the Scene section. Next, click on the button with the plus sign in the top left portion of the screen.
Next, select Import Your Content and Place Graphic on Model, then choose the graphic that was just saved.
Then, with the decal still selected, move the slider of Metallic under the Properties section to 100%.
If all the steps were followed appropriately, you screen should look extremely similar to this:
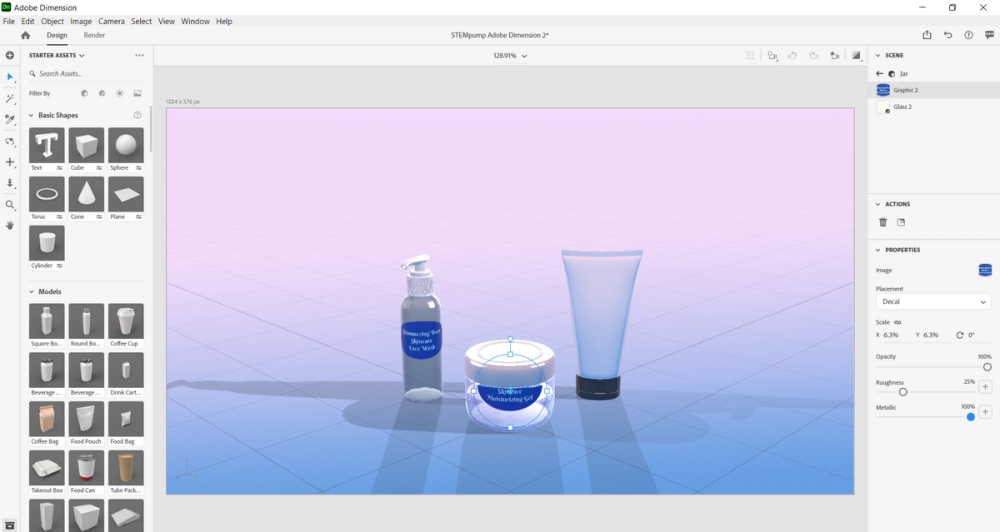
As you can tell, the decal is too far up the jar po## Setting up camera angles First, let’s change the camera angle so that we are looking straight towards the products.
To do so, select Camera under the Scene section in the top right portion of the screen.
Then, under the Camera Perspective section, change the Field of View to 30°.
Next, in the Position section under Camera Perspective change the Y value to 27 cm.
Lastly, select the Orbit Tool located in the sidebar on the left side of the screen.
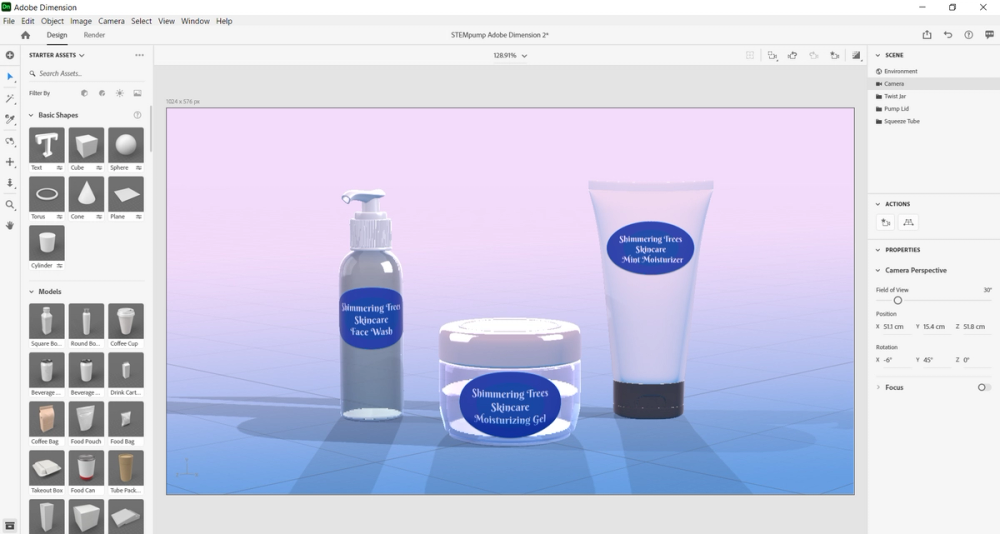
Put the orbit tool in the middle of the canvas, and then click and drag upwards till your screen looks similar to this:
Great work! Now let’s alter the lighting.
Altering the lighting
First, select Environment in the Scene section, then click Key Light.
Afterwards, alter the Intensity under the Properties section to 75%.
Then, click on Back Light located under Environment in the Scene section and alter the Intensity to 20%.
If the steps were followed appropriately, your screen should look similar to this:
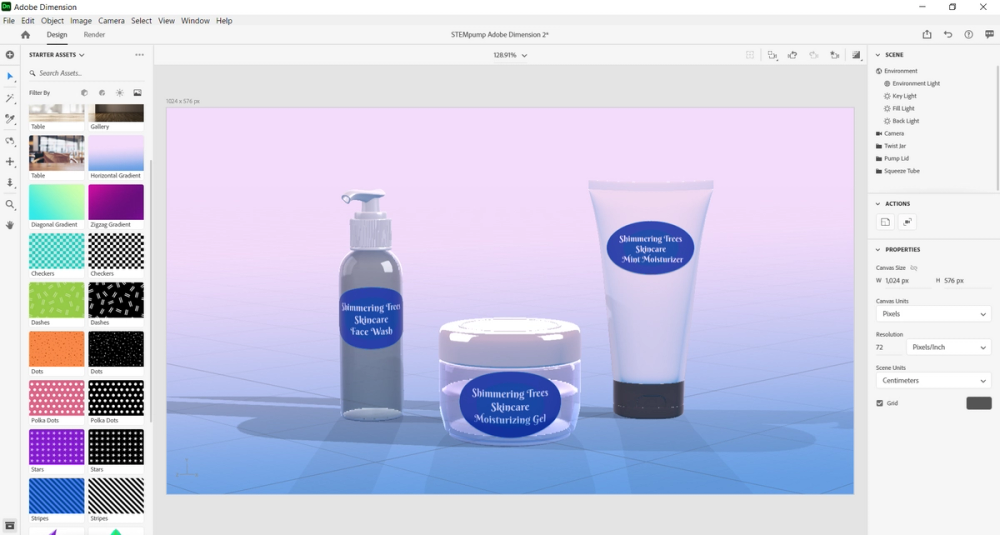
Awesome! Now, let’s finish this off. rtion of the twist jar, in order to fix this simply click in the middle of the decal and drag downwards till the decal is positioned in the middle of the jar.
Next, to deselect click in any open space.
Adobe Dimension does not allow users to directly create a graphic, however you may import graphics from outside sources. We have created a graphic for this lesson, please click the link above to download it.
Now, select the squeeze tube, then choose Body under Squeeze Tube in the Scene section. Next, click on the button with the plus sign in the top left portion of the screen.
Next, select Import Your Content and Place Graphic on Model, then choose the graphic that was just saved.
Then, with the decal still selected, move the slider of Metallic under the Properties section to 100%.
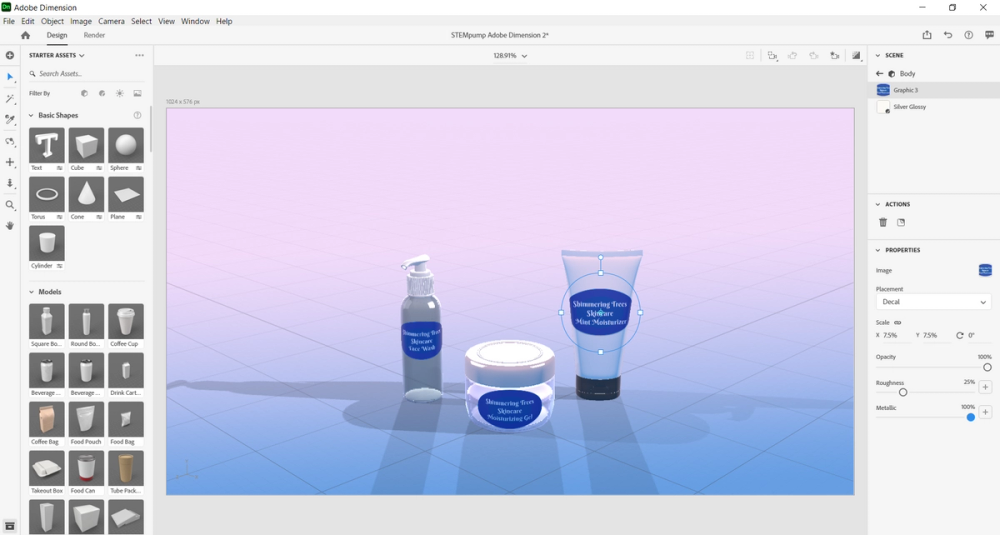
Now, let’s change the scale of the decal to make it a little smaller. With the decal still selected, alter the values in Scale in the Properties section to X= 5.5% and Y= 5.5%.
Let’s also move the label up by selecting the middle of the decal and dragging it upwards till it looks like this:
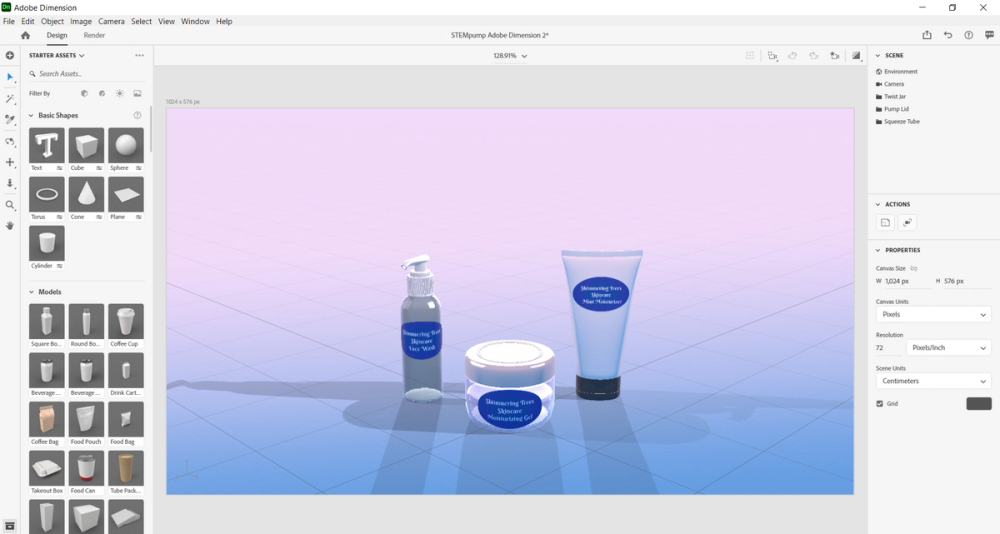
Now that you’ve learned about backgrounds and branding, let’s move to the next lesson.