Adding a logo
Adobe Dimension does not allow users to directly create a graphic, however you may import graphics from outside sources. We have created a graphic for this lesson, please click the link above to download it.
Now let’s get back to our lesson, first select the coffee bag, then click on the button with the plus sign located at the top right portion of the screen.
Then, select Import Your Content and click Place Graphic on Model. Next, select the image from where you saved it and click open.
If all the steps were followed appropriately, then your screen should look like this:
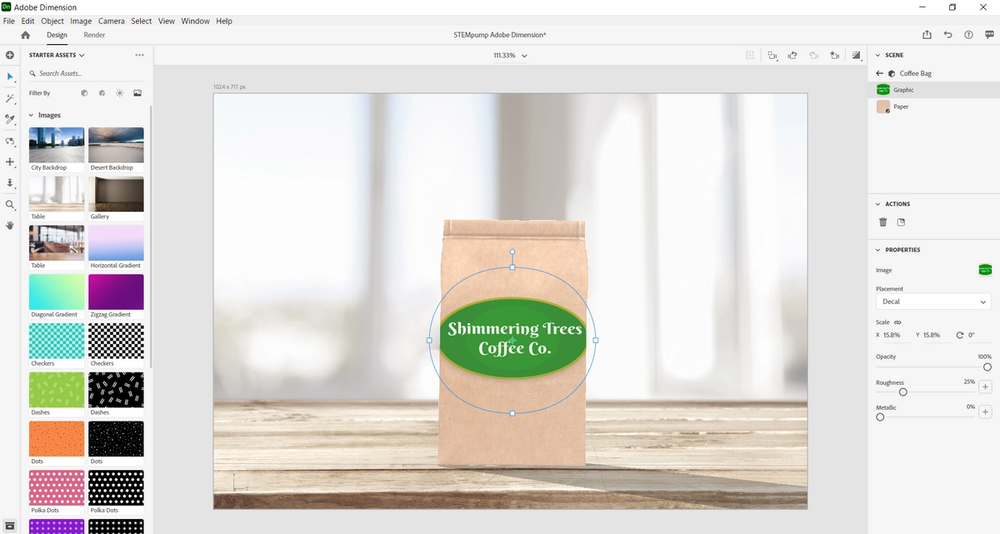
Now let’s adjust the image so that it fits the coffee bag. With the image selected, use the Scale option located under the Properties section and type 14.5% in the X scale.
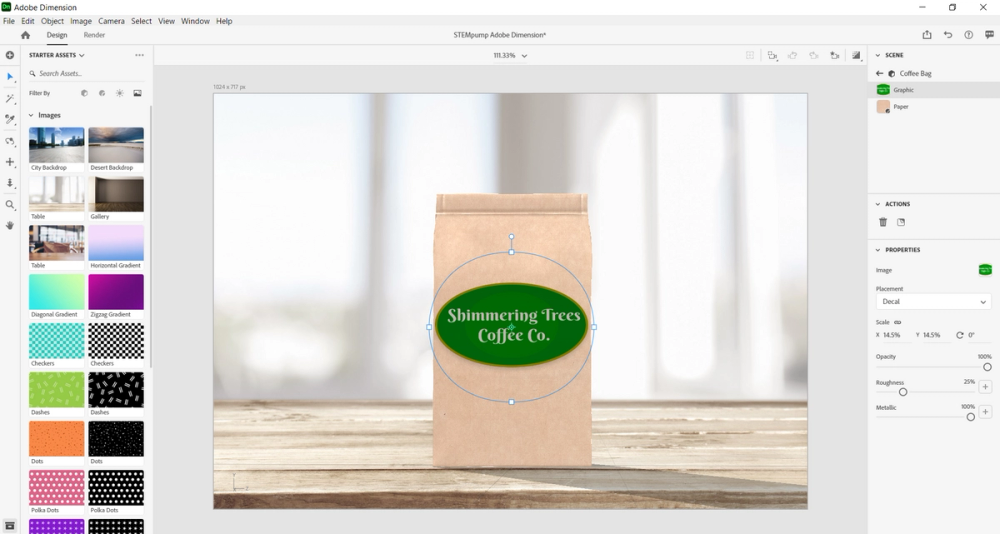
Then move the slider in the section labeled Metallic on the right side of the screen until it is at 100%.
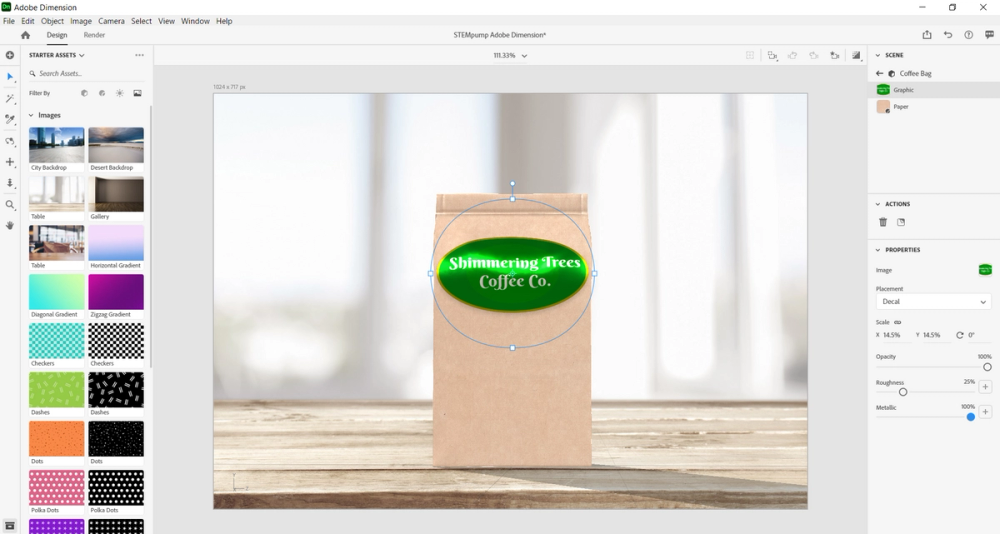
Now let’s move the image upwards until it looks like this:
It looks great! Now let’s move on to text.
Adding text
Dimension does not have an option to type text, however you can import graphics from outside sources. We have created a graphic with text for this lesson, please click the link above to download it.
Now that we have our text, let’s get back to our lesson, first select the coffee bag, then click on the button with the plus sign located at the top right portion of the screen.
Then, select Import Your Content and click Place Graphic on Model.
Next, select the image from where you saved it and click open.
If you followed all the steps appropriately, your canvas should look like this:
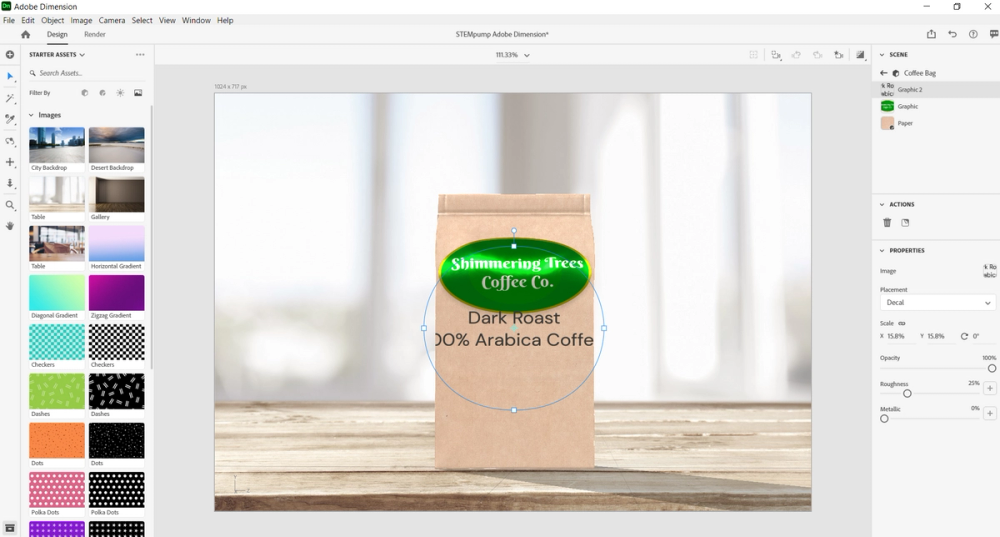
Next, in the Scale section in Properties, change the X scale to 13%. Then, move the slider in the Metallic section to 100%.
Then, move the words down until the coffee bag looks like this:
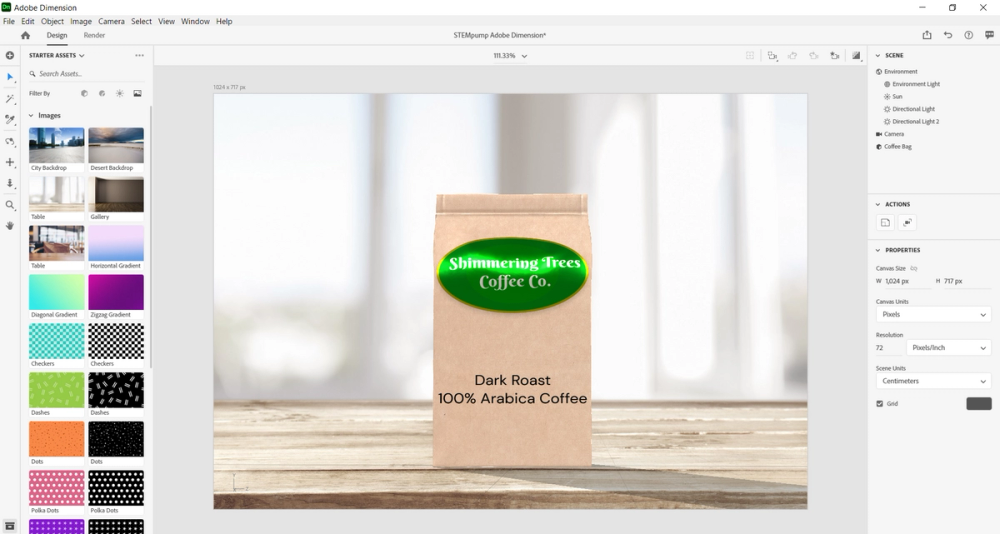
Wow, the coffee bag looks great.
To finish off this lesson lets uncheck the box next to Grid under Properties.
Now, let’s finish up with our coffee bag and render the product!