First, select the Show/Hide Render Preview option located at the top right portion of the screen.
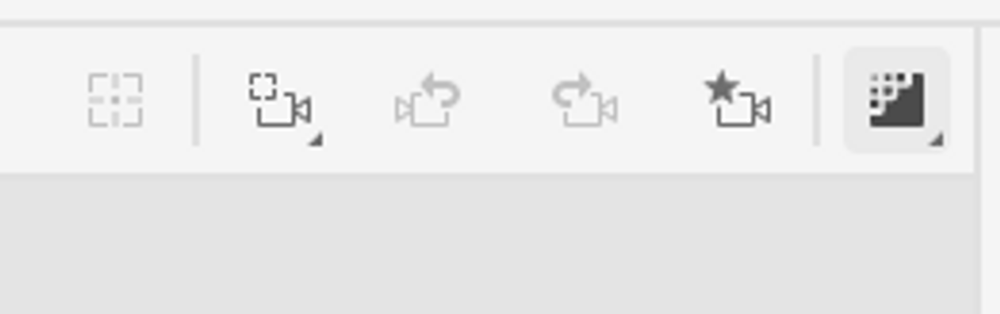
Then, wait till the image renders. This amount of time this process takes depends on the computer or laptop that you are using. This option gives you a preview of the rendered image.
Next, select the Render option located at the top-left portion of the screen.
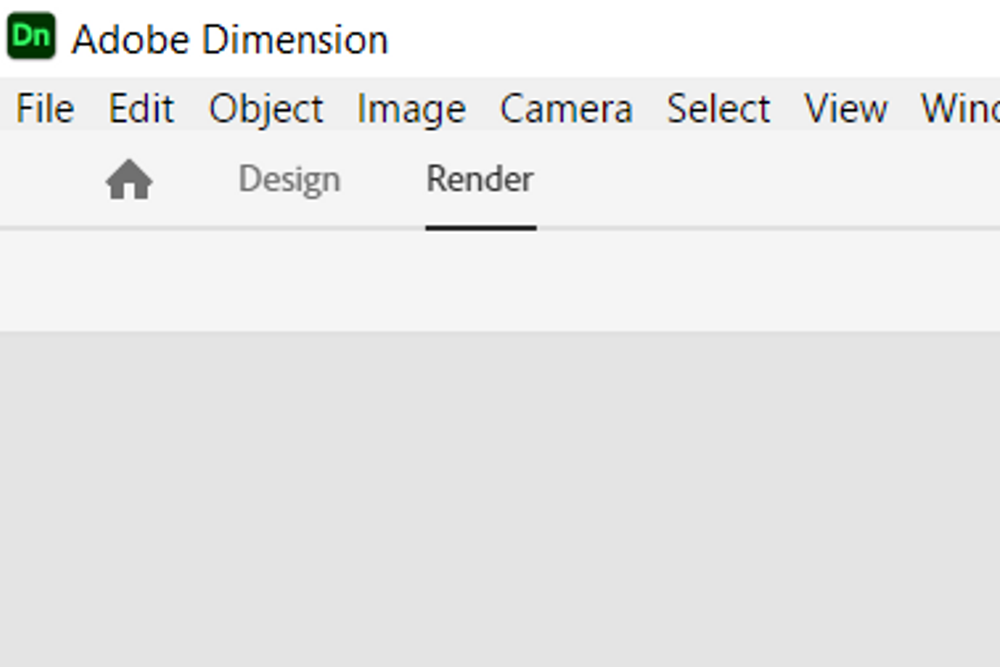
Then, adjust the Render Settings on the right side of the screen to match your preferences.
Next, select Render, which is located towards the bottom of the Render Settings portion.
After your image has fully rendered, simply go into whichever folder you saved it in to view it.

Look how amazing the coffee bag turned out! Before we move on to our next product, let’s make sure to save in Dimension.
To do so simply click the Design option located next to the Render option in the top left portion, and then click File at the top left and then select Save As and save the product wherever you please.
Next, select the home symbol located next to Design and Render in the top left portion of the screen to return to the home page.