Altering Text
First, before we get started, select each text box and click the button with the trash can to delete it.
For this lesson we will only be using the text box labeled “Aida Medrano” so do not delete this. If you accidentally deleted this text box also, do not worry!
Simply click on the undo button located at the top of the screen.
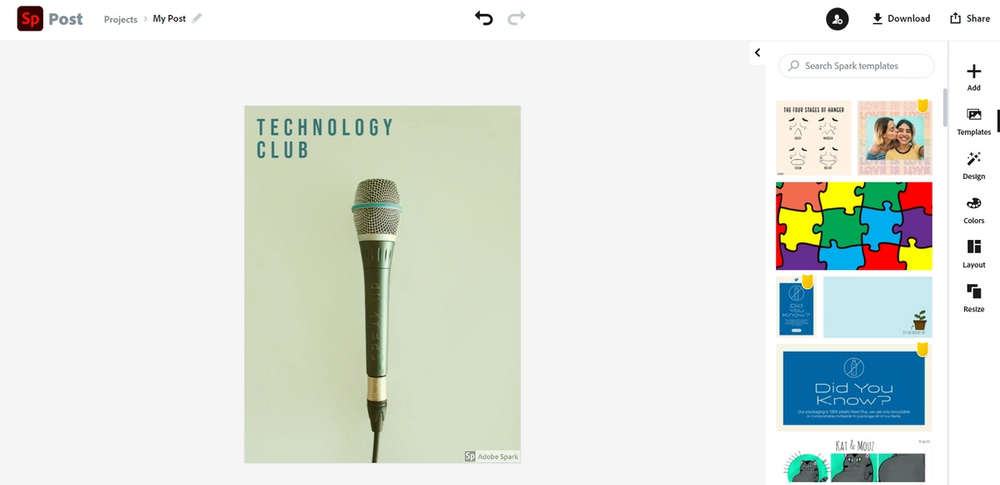
Now in the place of “Aida Medrano” let’s type “Technology Club”. Now that the text has been altered, let’s drag the text box so that it is in the center of the top portion of the post.
If the steps were followed appropriately, the post should be looking like this:
If you click on the text box labeled “Technology Club”, a variety of options will appear, let’s learn about these options before we add more text.
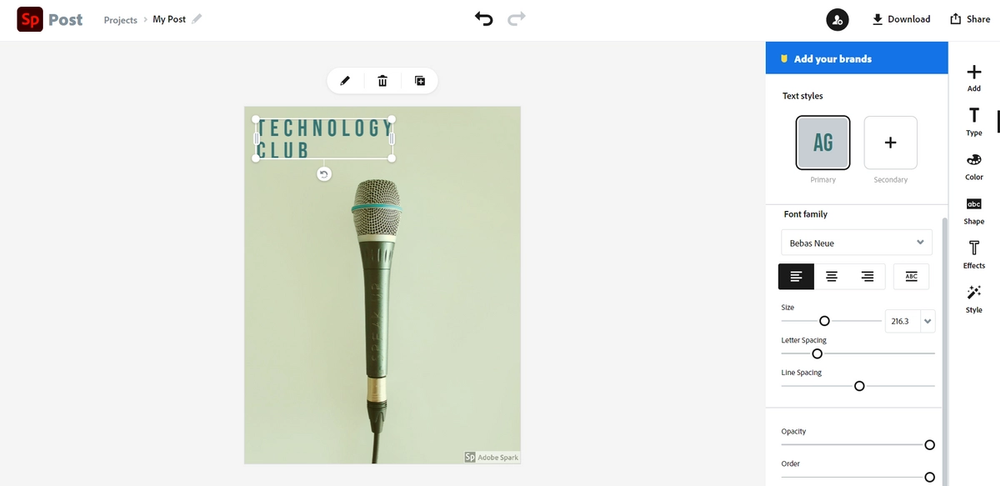
Text styles
If you would like to alter the style of the text that is being used, select this feature.
Font family
If you would like to choose a different font, choose this option.
Alignment
Use this feature to align your text to the left, middle, or right of the text box.
Capitalize & Fit
Use this feature to capitalize your text in the selected text box and also make your text fix to the size of the text box.
Size
If you would like to alter the size of the text, use this feature.
Letter Spacing
To increase or decrease the amount of space between each letter, use this feature.
Line Spacing
To increase or decrease the amount of space between each line, use this feature.
Opacity
Use this feature to alter how opaque or transparent the text appears.
Order
If you would like to change the order in which each text box or image appears; the higher the order number is, the more forward the selected text box moves
Now let’s get back to the task on hand.
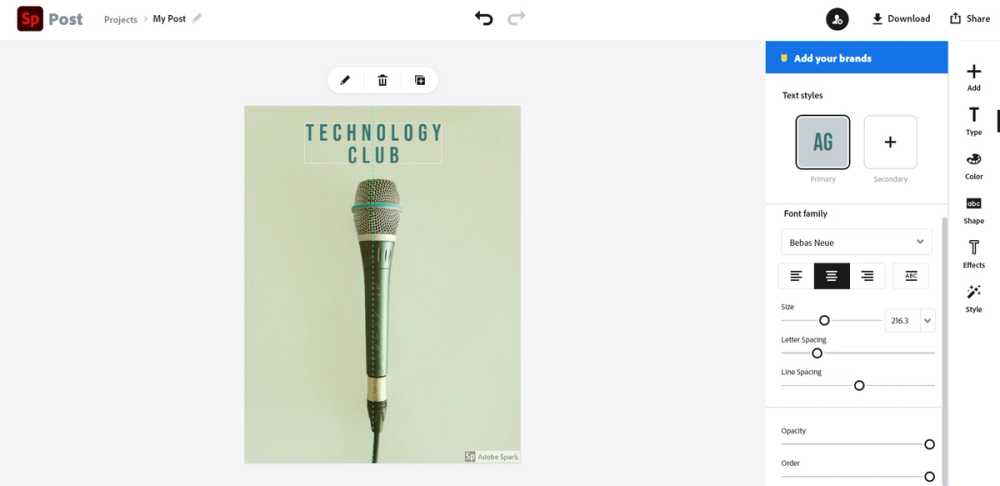
Select the text box and use the “Center align” feature and drag the text box to the center of the top portion of the post until it lines up with the dotted line that appears:
Now let’s add more text, click on the option labeled “Add” on the right side of the screen, and then select the feature labeled “Text”.
Look through the templates until this template is found:
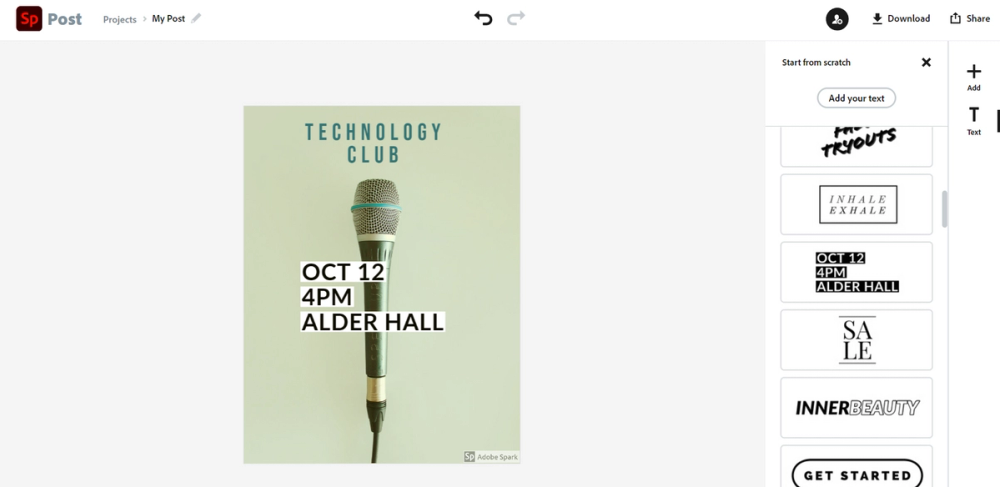
Click on this template and once it is added to the post, drag the text box to the bottom left portion of the post.
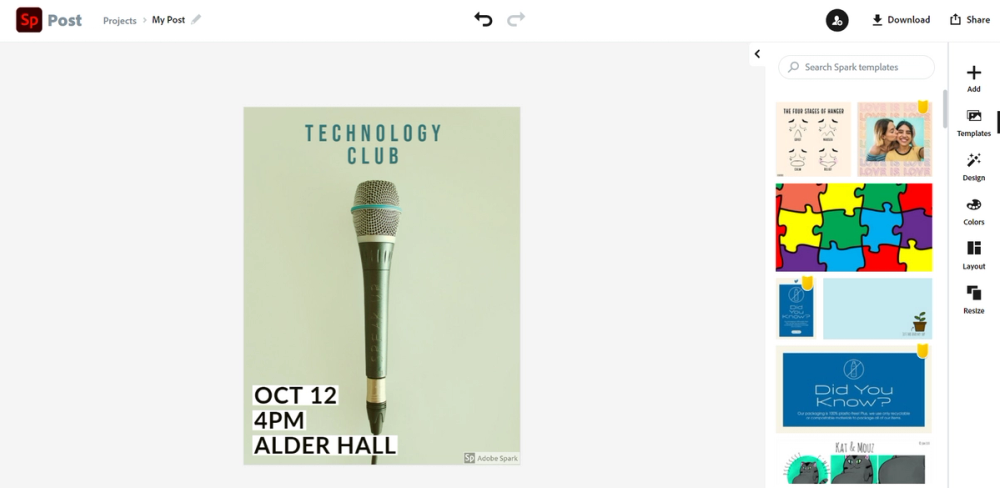
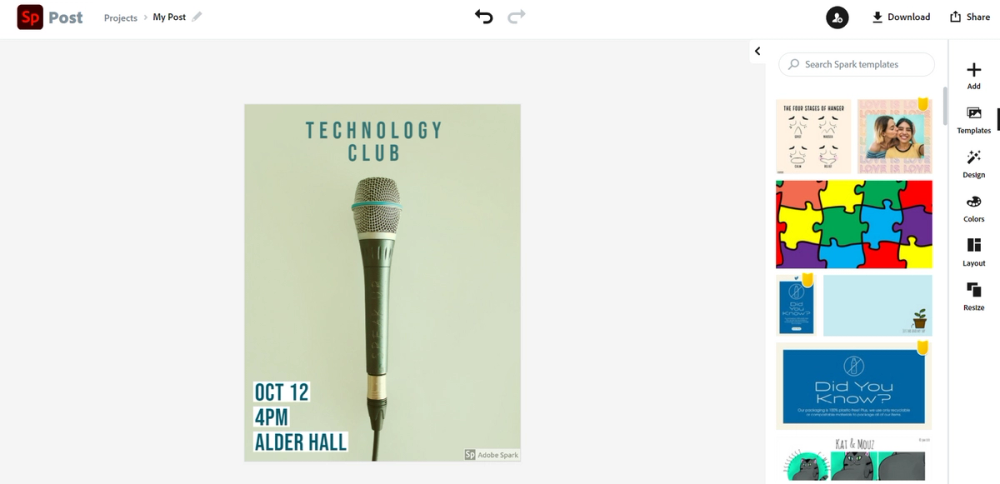
With the text box still selected, look through the font families until you find the font labeled “Bebas Neue Regular” and then select this font. Afterwards, select the text box again and click on the option labeled “Color” on the right side of the screen and then use the option labeled “Change color”.
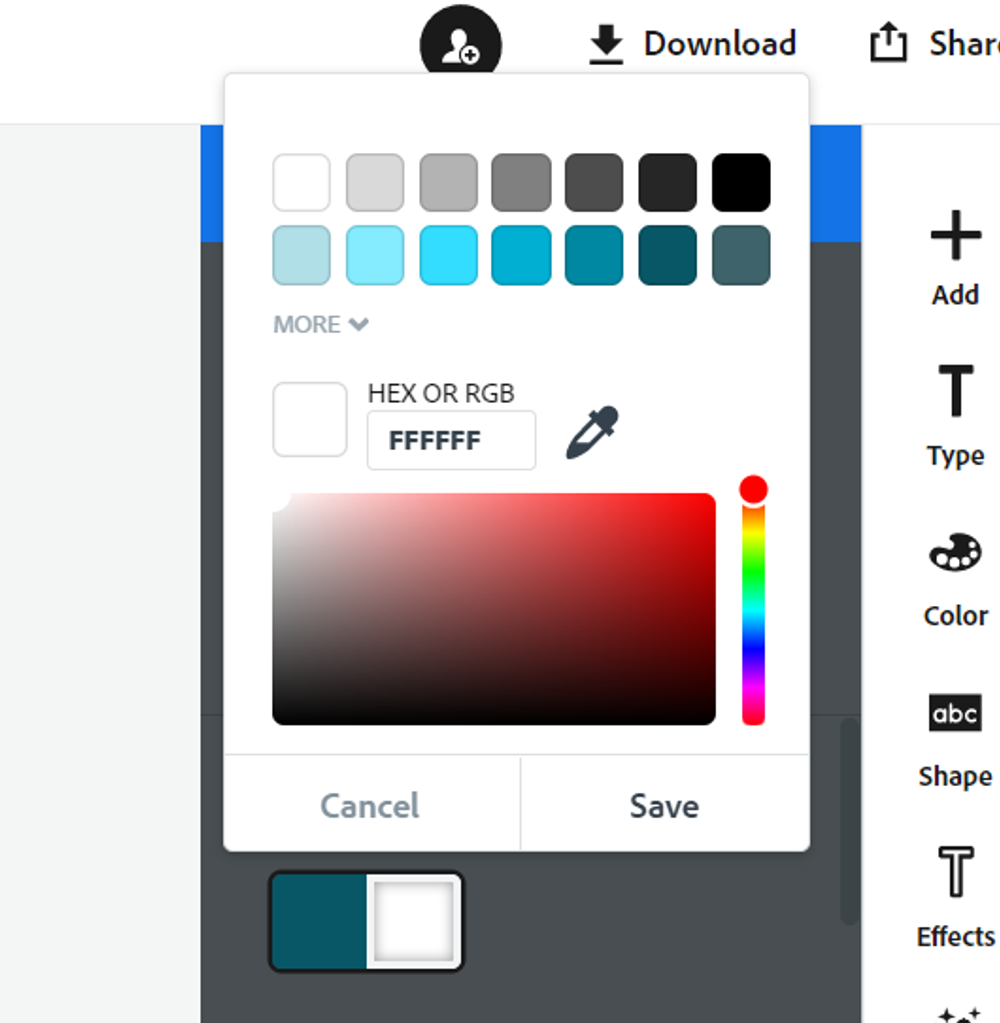
Then in the box with the hashtag, numbers, and/or letters type “#075767”.
Next, select the second square in the rectangle and type “FFFFFF”. Then hit the button labeled “Save”.
Let’s add one more piece of text. Click the “Add” option, then select the feature labeled “Text”. Next, click the button labeled “Add your text”.
In this space type “Join us for our annual research event in which we release the products we’ve created, the information we’ve learned, and our new sponsor! We will have multiple activities for all ages and a panel of remarkable speakers.” Then click the button labeled “Save”.
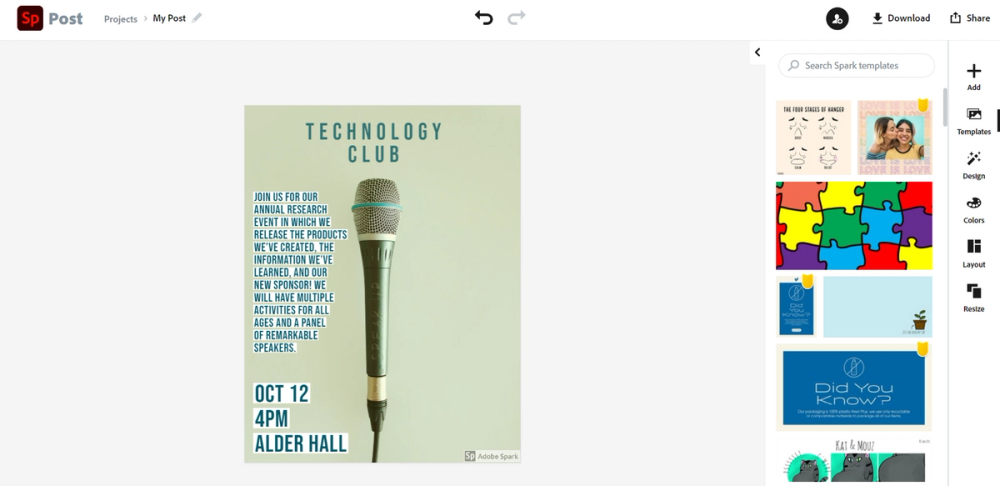
With this text box selected, choose the right align option and then drag the box to the right side of the microphone. Then use bottom right corner of the text box and drag it downwards until all of the text looks somewhat like this:
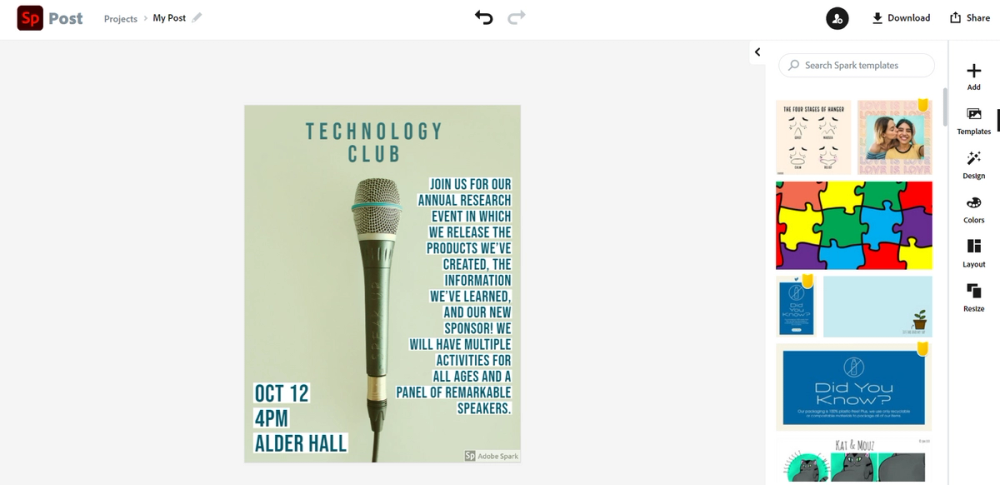
You may need to drag the corner at a diagonal, move the text box, or move another corner of the text to obtain a similar appearance.
Now that we have added our text, let’s add some icons.