Adding a Split Layout
First, scroll past the third image of the glideshow and select the button with the plus sign.
Next, click on the option labeled “Split layout”.
Now, click on the “Add your image” section and choose “Find free photos”.
In the search bar in the “Find free photos” section, type “technology” and select the photo shown below:
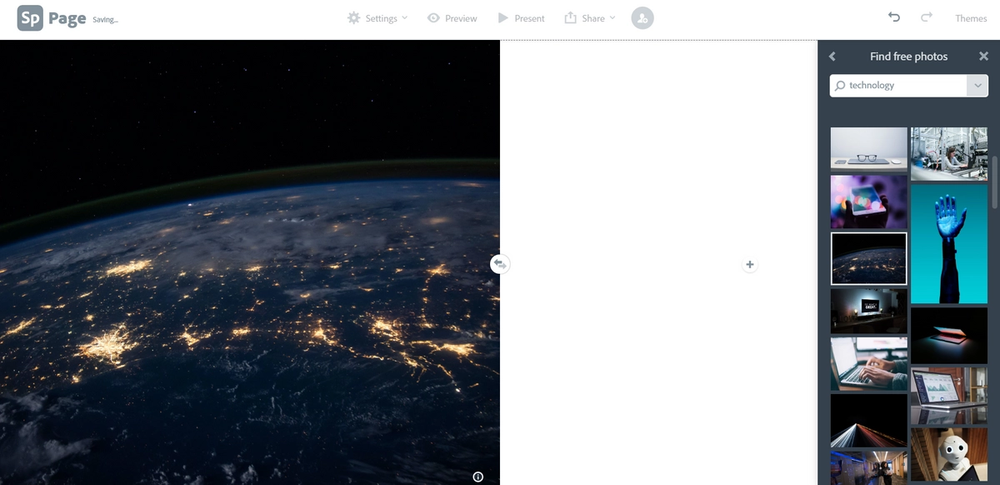
If you were not able to find this image, that’s okay! Use another image from the same category.
If you selected the “Pixabay” option versus the “Unsplash” option for photos, you may not find the pictures for this lesson. In order to check which option is being used select the downwards arrow located at the right portion of the search bar. We are using the “Unsplash” option for this lesson.
Next, select the button with the plus sign located to the right of the image that was just added, and click on the video option.
We will be adding another video from the STEMpump YouTube channel for this lesson.The link is above.

After adding the video, use the button with the two arrows to change which side the image and video appear. For this lesson, move the image to the right side of the screen.
Lastly, scroll to the plus sign located between the last image of the glideshow and the split layout portion.
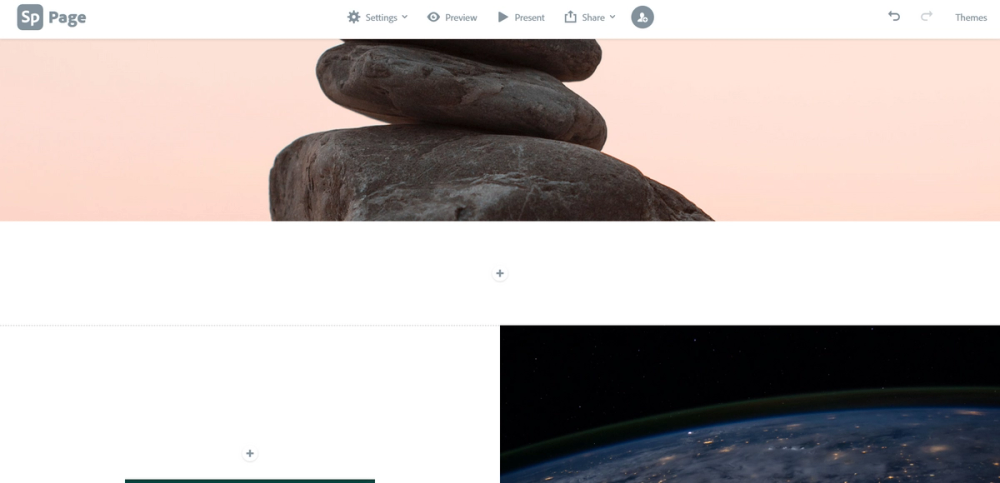
Click on the plus sign and select the text feature.
Next, type “We aim to spread knowledge of the ideas shared and information learned.”
Select the sentence and click on the “H2” and middle align features.
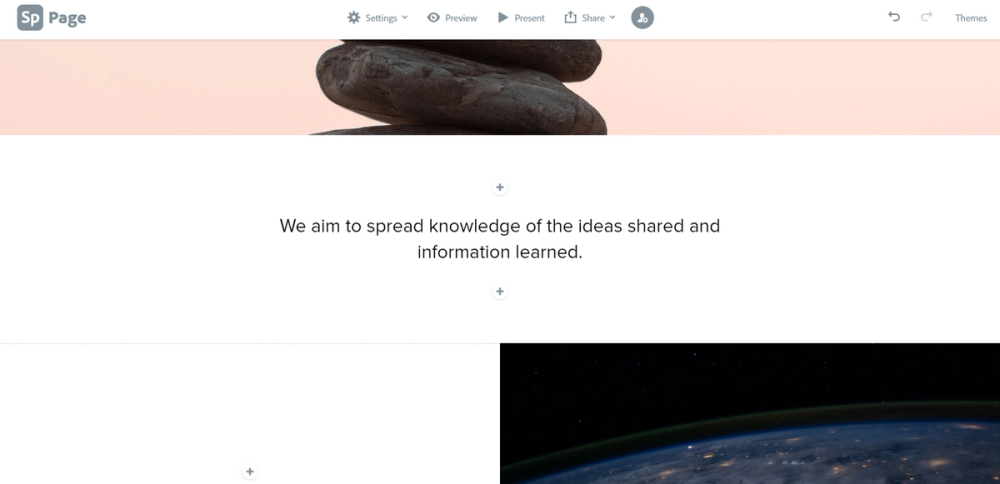
You have successfully created a web page! Now, let’s learn about how to see your finished product.