Adding a Glideshow
-
First, select the button with the plus sign located under the photo grid.
-
Next, click on the option labeled “Glideshow”.
For this lesson we will be using the “Find free photos” option.
In the search bar, in the “Find free photos” option, type “fun”.
Select the photo shown below:
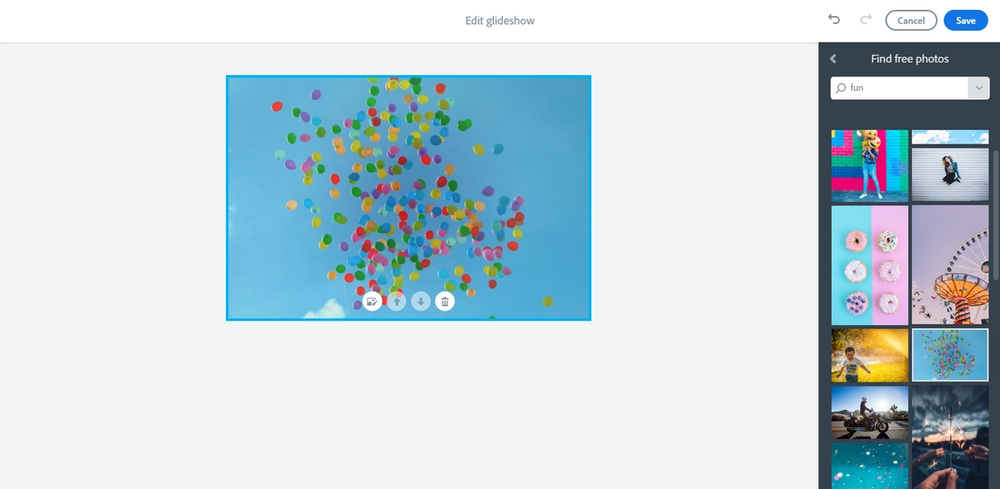
If you were not able to find this photo, that’s okay! Simply select another photo.
Next, type “educational” in the search bar and select the photo shown below:
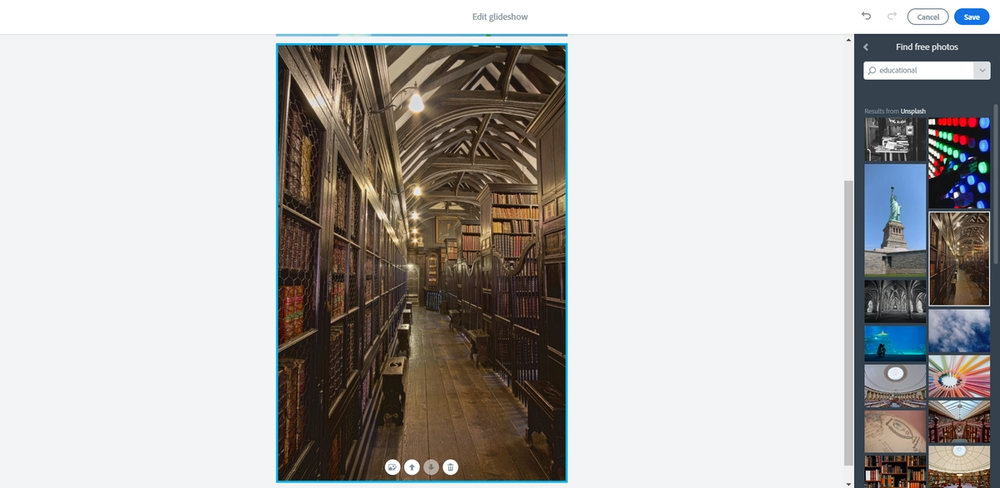
Search for another photo in this category if you were not able to find this image.
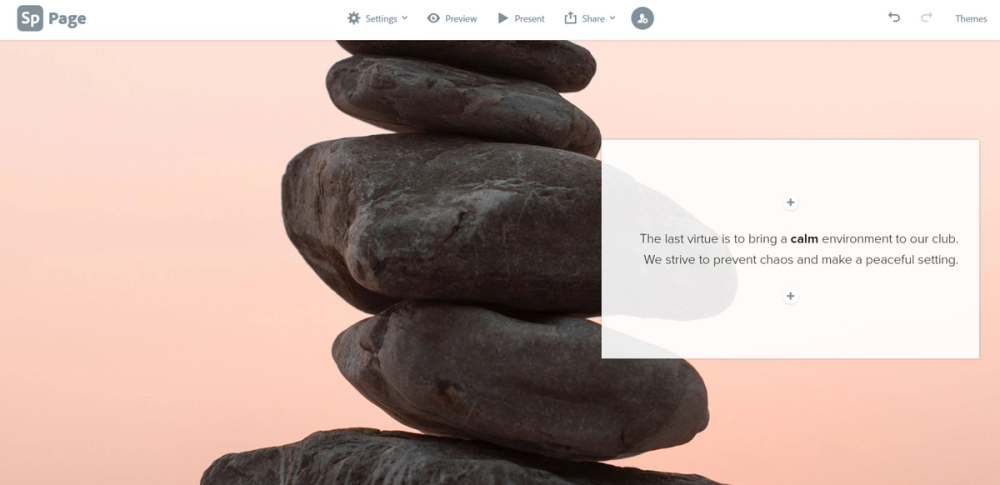
Lastly, type “calm” in the search bar and select the photo shown below:
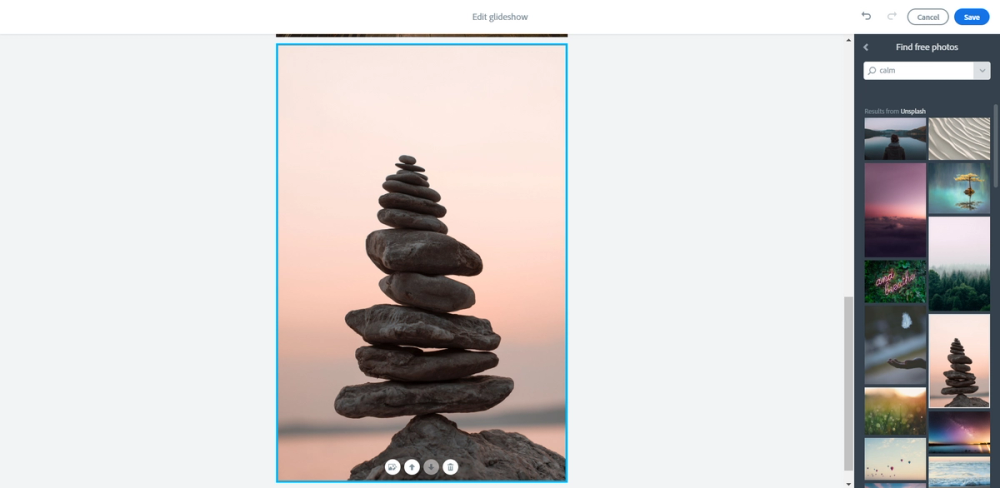
Again, if you were not able to find this image, please select another from the same category.
Now that you have added the three images, let’s learn about the glideshow options:
Replace
To put another picture in the place of the selected image, select this option.
Move Backward
To move the selected image towards the top of the glideshow, select this feature.
Move Forward
To move the selected image towards the bottom of the glideshow, select this feature.
Delete
If you would like to remove the selected image, choose this option.
Now that you have learned about the features, let’s create the glideshow!
To return to the webpage screen with your glideshow, select the button labeled “Save” in the top right corner of the screen.
Next, a box with a plus sign will appear in front of the first image.
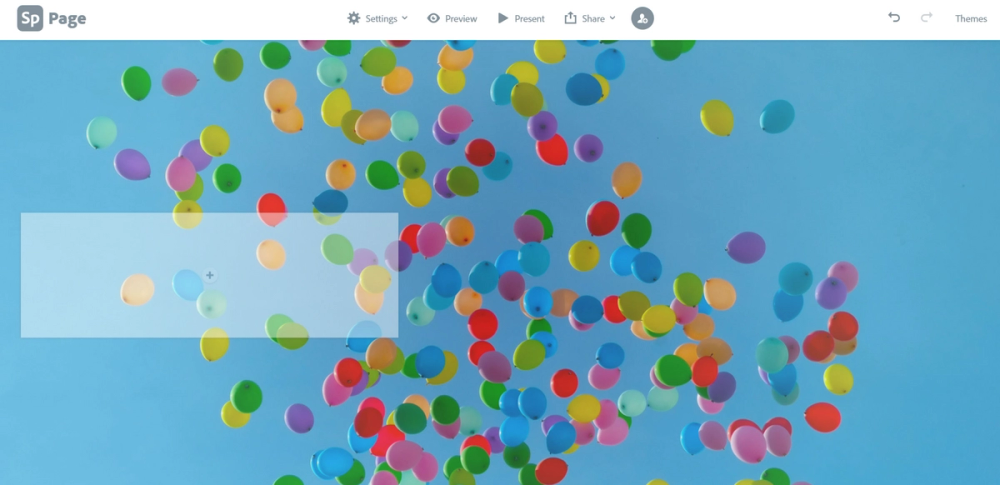
Click on the plus sign in the box and select the text feature.
Here you will type, “The three virtues of the technology club start with fun. We strive to enjoy all the moments that we create.”
Next, select the word “fun” from the sentence and use the bold feature on the word.

Awesome! Now scroll downwards to the second image.
Before adding text to the box located in this image, we will first move the box.
To move the box, put your cursor in the blank space of the box and then hold and drag the box to the middle.
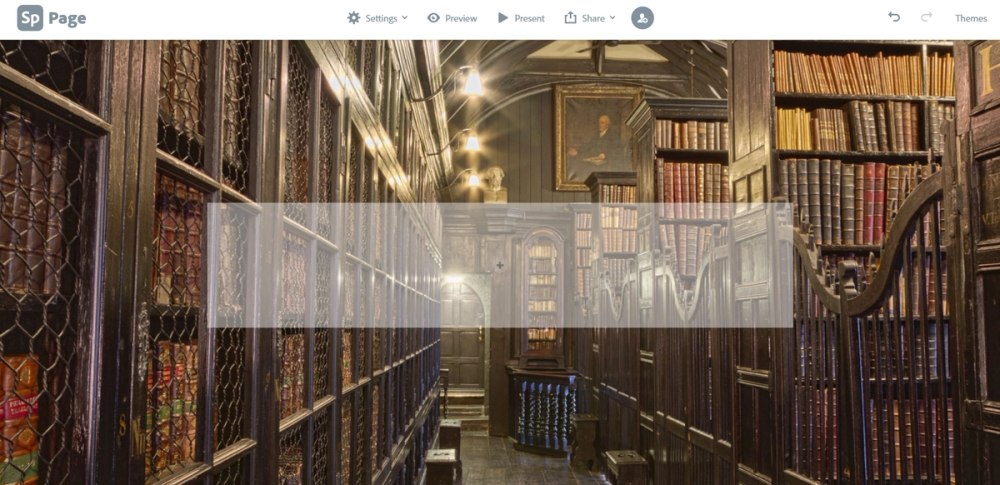
Now click the plus sign located within the box and select the text feature.
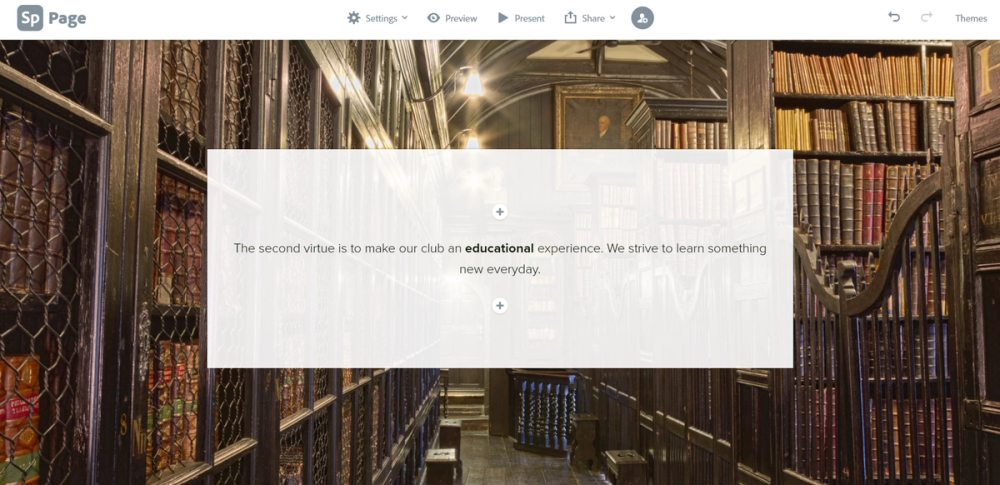
Here you will type, “The second virtue is to make our club an educational experience. We strive to learn something new everyday.”
Next, select the word “educational” within the sentence and use the bold feature on the word and use the middle align option.
Now scroll down to the final image and drag the box to the right side.
The, select the text option after clicking the button with the plus sign.
Here you will type “The last virtue is to bring a calm environment to our club. We strive to prevent chaos and make a peaceful setting.”
Use the bold feature to make the word “calm” appear thicker and use the right align option on this sentence.
Great! Now let’s learn about the final feature, split layout.