Adding a photo grid
-
First, select the button with the plus sign under the button you added.
-
Next, click on the option labeled “Photo grid”.
For this lesson we will be using the option labeled “Find free photos”.
In the search bar of the “Find free photos:” feature, first type “computer”.
Select the photo shown below:
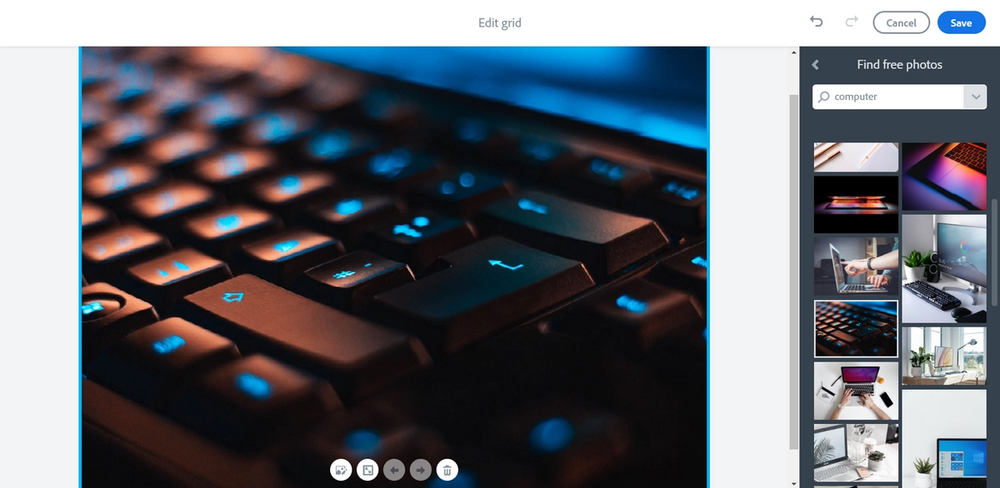
Do not worry if you were not able to find this photo, simply select a different photo from this category.
If you selected the “Pixabay” option versus the “Unsplash” option for photos, you may not find the pictures for this lesson. In order to check which option is being used select the downwards arrow located at the right portion of the search bar. We are using the “Unsplash” option for this lesson.
After selecting the photo, you may notice that there are some options for the photo grid. Before we move to the next step let’s learn about these options:
Replace
If you would like to choose another photo or replace the existing photo, select this option.
Large Photo
If you would like to make this picture larger, choose this feature.
Small Photo
If you would like to make this picture smaller, choose this feature.
Move Backward: choose this option to move the selected image towards the top of the grid after you have added more photos to your grid.
Move Forward
Choose this option to move the selected image towards the bottom of the grid after you have added more photos to your grid.
Delete
If you would like to remove the selected image from your grid, choose this option.
Now that you have learned about these features, let’s move back to the task at hand.
Type “code” into the search bar located in the “Find free photos” option and select this photo:
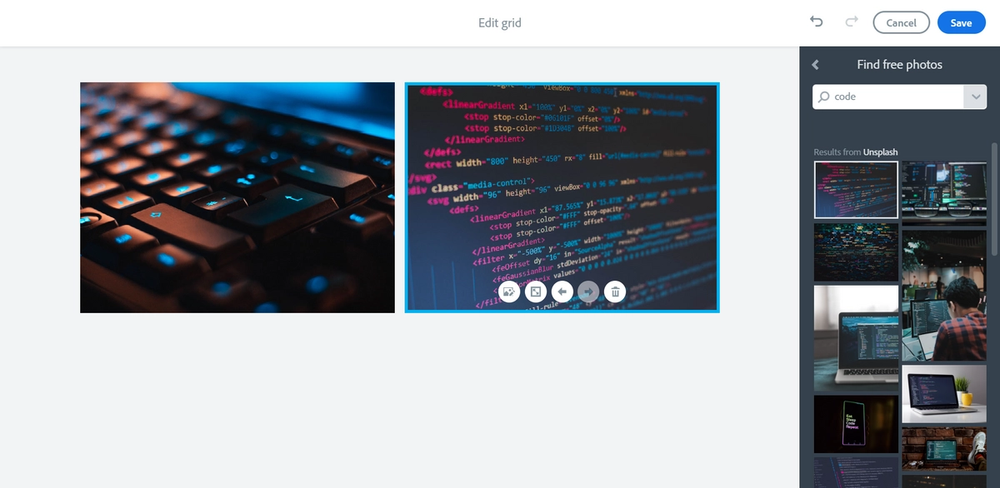
Do not worry if you were not able to find this photo, simply select a different photo from this category.
Let’s choose one more photo. Type “team” into the search bar in the “Find free photos” section.
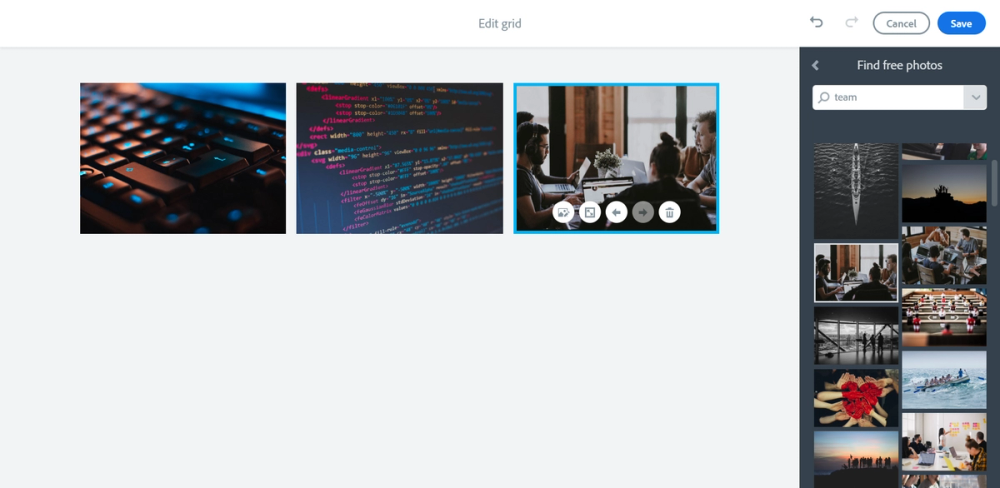
It’s okay if you were not able to find this image, simply choose another image from this category.
Now that we have three images, let’s rearrange the pictures and alter the sizes.
First, select the “large photo” option on the first image.
Next, select the “small photo” option on both the second and third photo.
Lastly, select the “move forward” option twice to move the first image to the bottom.

It looks great! Now let’s select the “Save” option located at the top right of the screen.
Let’s also add a caption to this grid. Under the photo grid there will be a space labeled “Add a caption”, in this space let’s type “We aspire to create a fun, educational, and calm environment in our club.”
Now that you’ve learned how to add a video, button, and photo grid, let’s move to the next lesson.