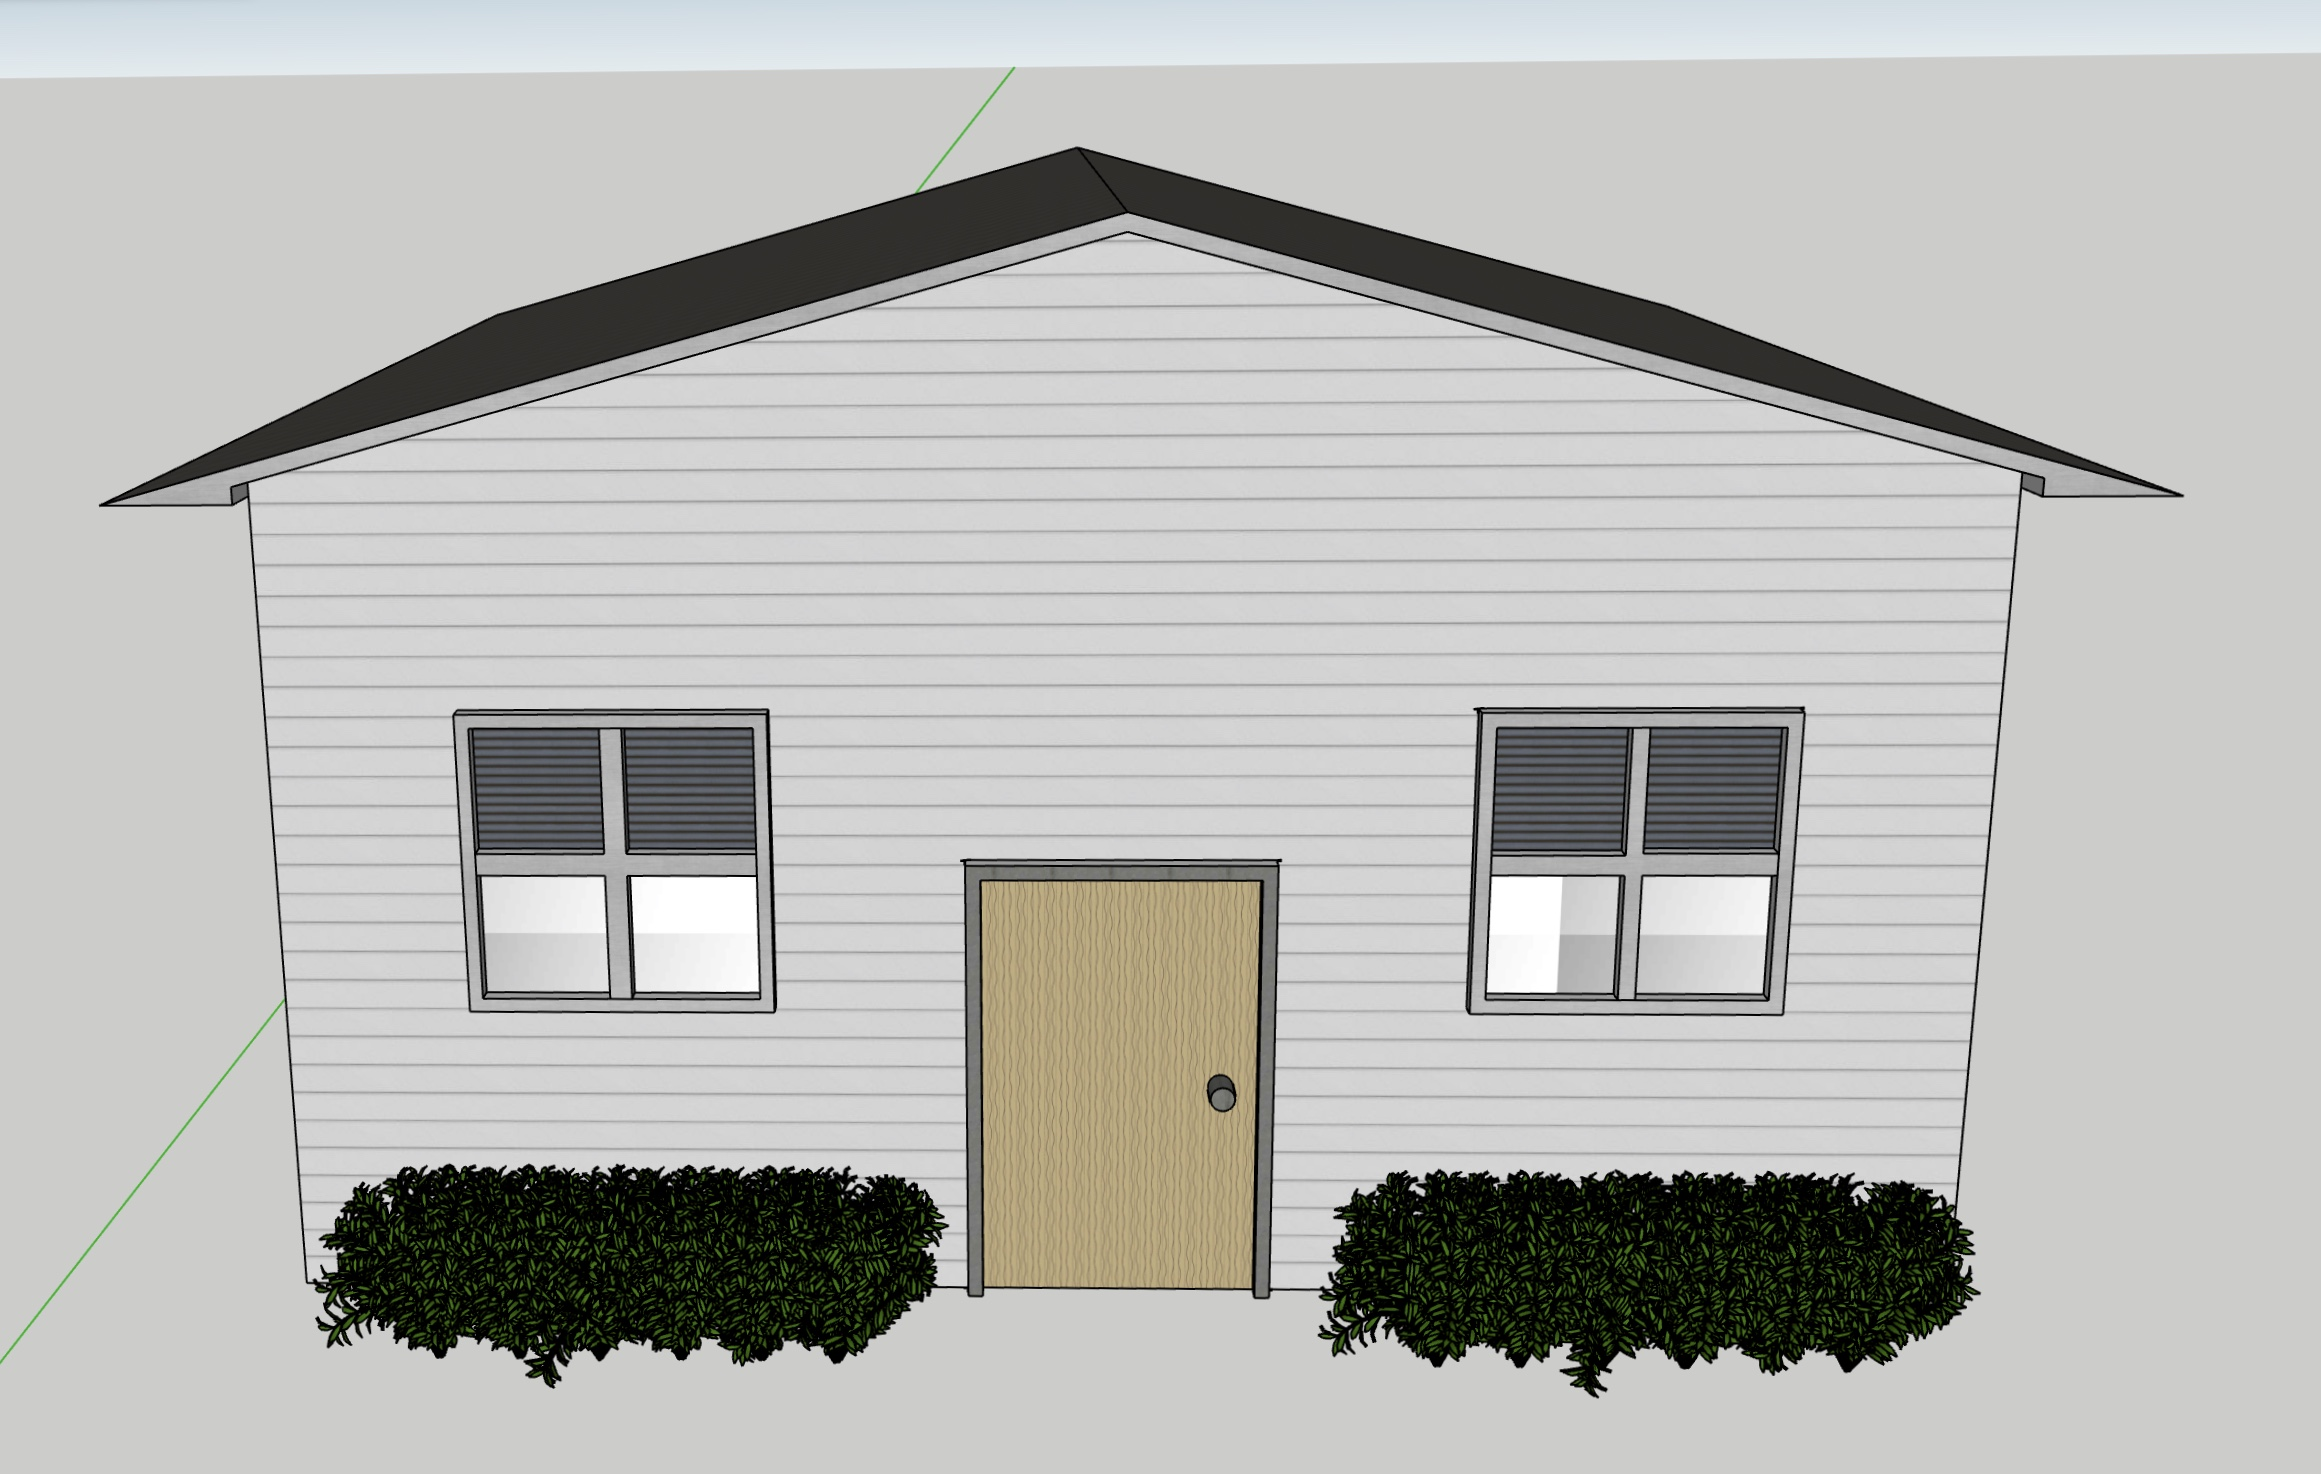
Adding Details to the 3D House
For the panels mini-project, we are going to be adding details to the 3D house model we created in the 3D Models Mini-Project. We are going to be using the Modeling panels to make our 3D house model more detailed.
You can either follow along and use the materials we select for the model or choose the materials you would like to use for your model. There are many panels that help while building and modeling objects, however, since we have already finished creating the model of the house, we are going to be using the panels that add additional details to the model.
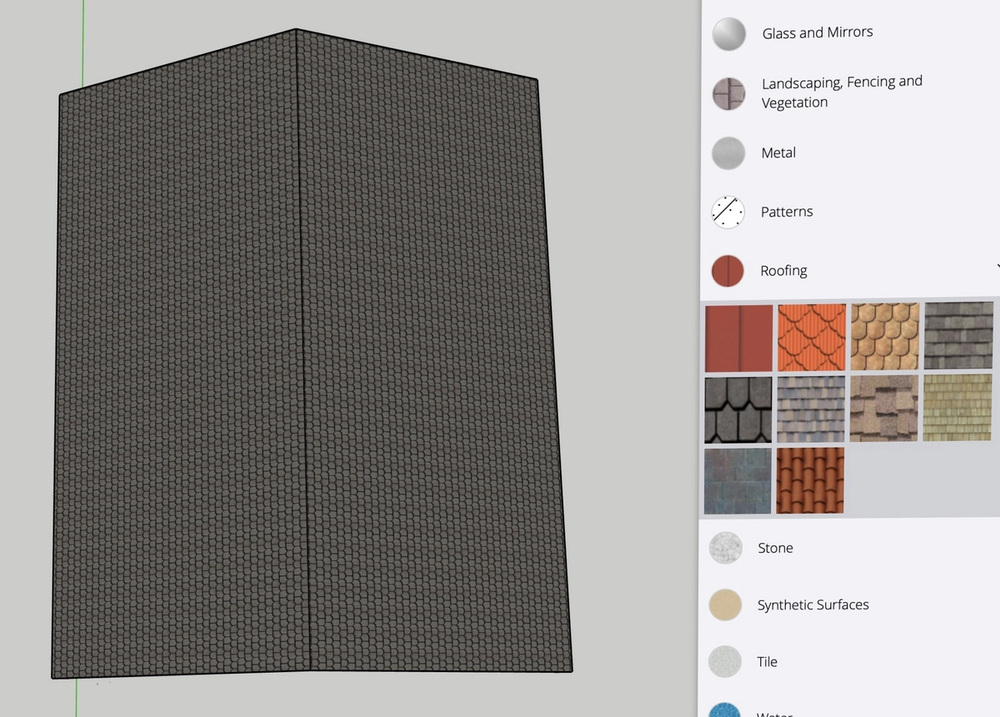
First, we are going to be using the Materials panel to add color and materials to the house. We are going to start off by adding materials to the roof. Once you select the Materials panel, click the search icon instead of the home icon.
You should be able to view various groups and types of materials. For the roof you can choose any of the Roofing materials. If you are following along with our model, we used the Roofing Shingles GAF Estates material.
You should be able to view the material you selected at the top of the materials panel. Select your material and click on where you would like to apply the material.
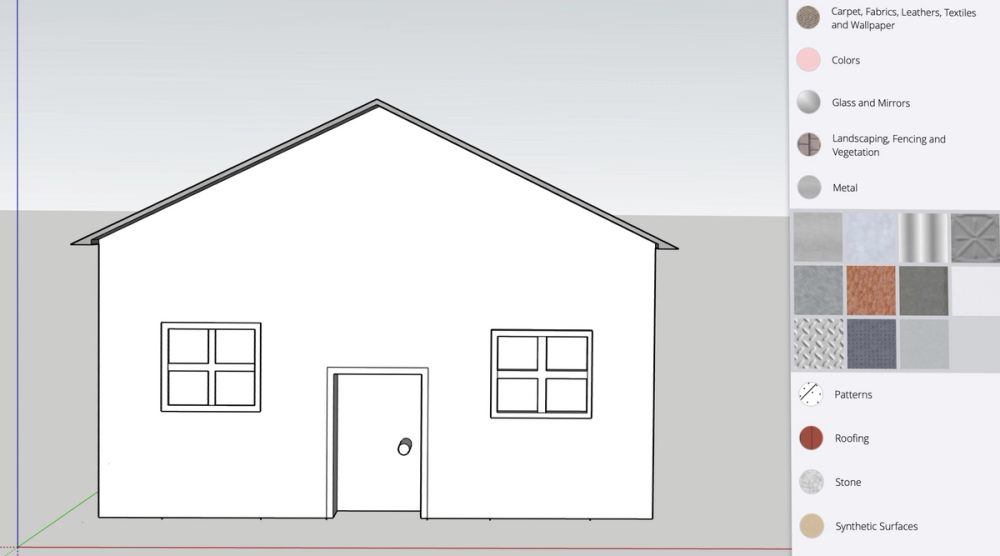
Next, we are going to be adding material to the border of the roof. You can choose a material or a paint color from the Materials panel for the border of the roof. We used the Metal option for the border. Make sure to apply the material or color to all sides of the border of the roof.
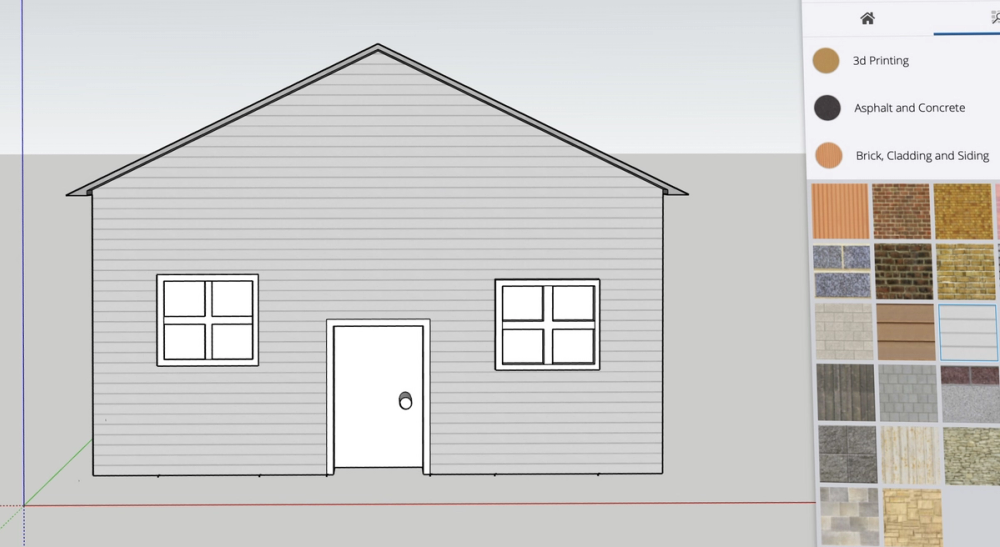
Now that we are done with the roof, we can focus on the walls of the house. For the walls of the house, we chose the Cladding Sliding White material from the Brick, Cladding and Siding section of the Materials panel. And again, don't forget to apply the material to all sides of the house.
For the 4 panels on the windows, we are going to add the Mirror 02 material from the Glass and Mirrors section.
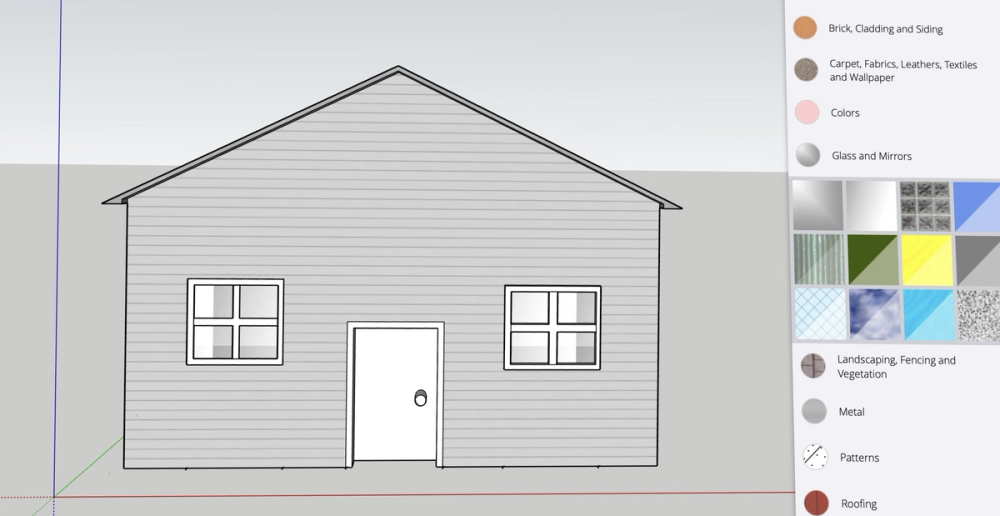
We are going to make the windows more detailed by adding the Blind Roman Hobbled Blue material from the Window Coverings section on the top 2 window panels on each window.
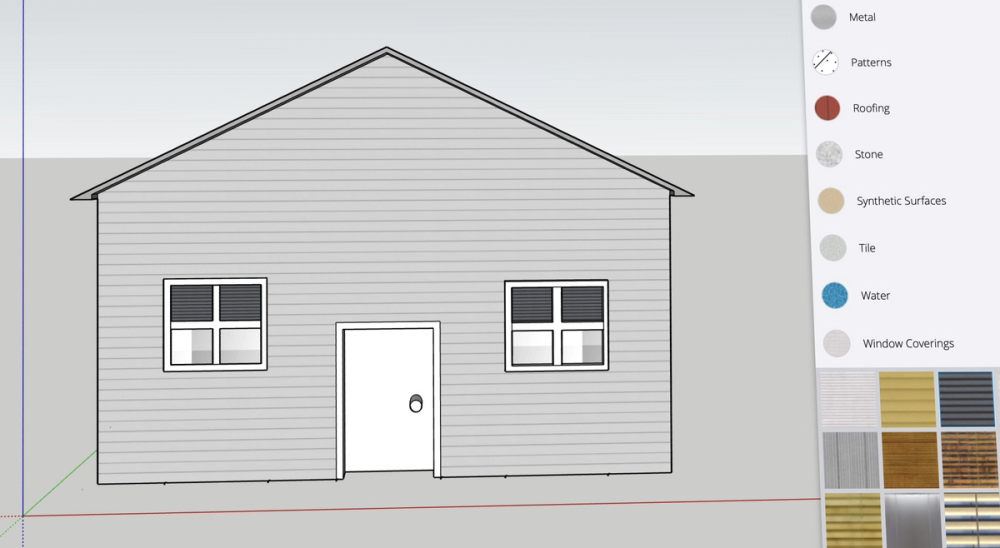
For the frame of the windows, we applied the same Metal material we used on the border of the roof.
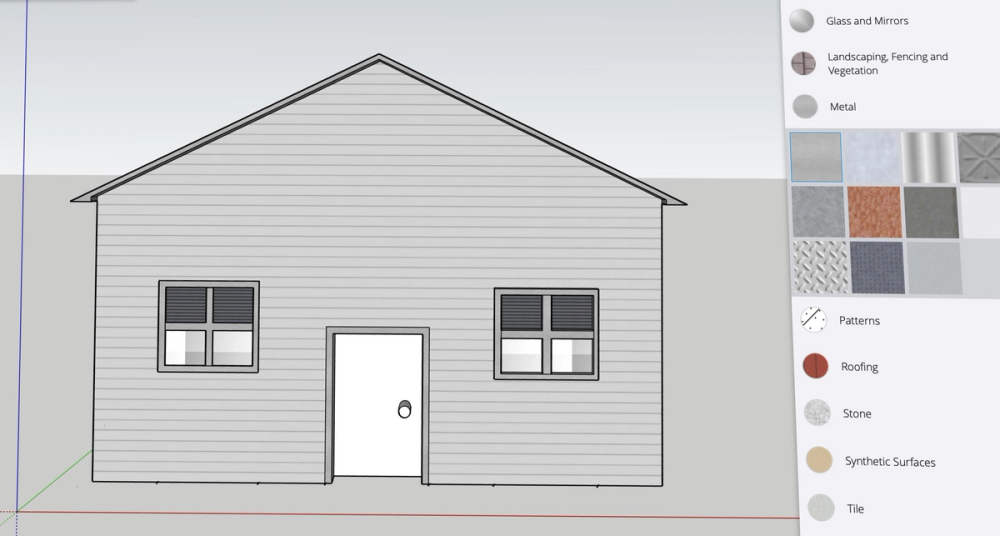
Then, we added the Wallpaper Thin Brown Stripes material to the door on the model.
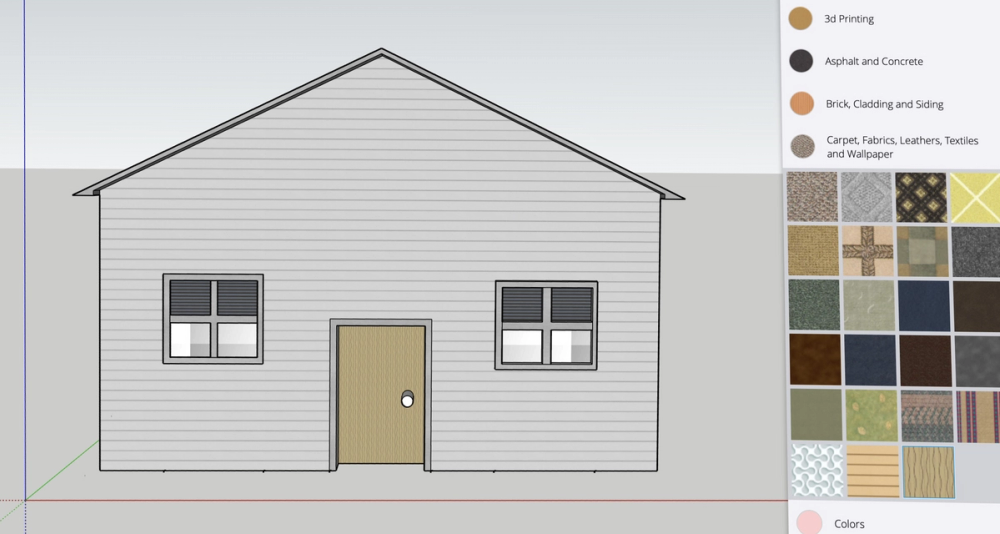
Finally, for the doorknob and frame on the door we selected the Metal Seamed material from the Metal section.

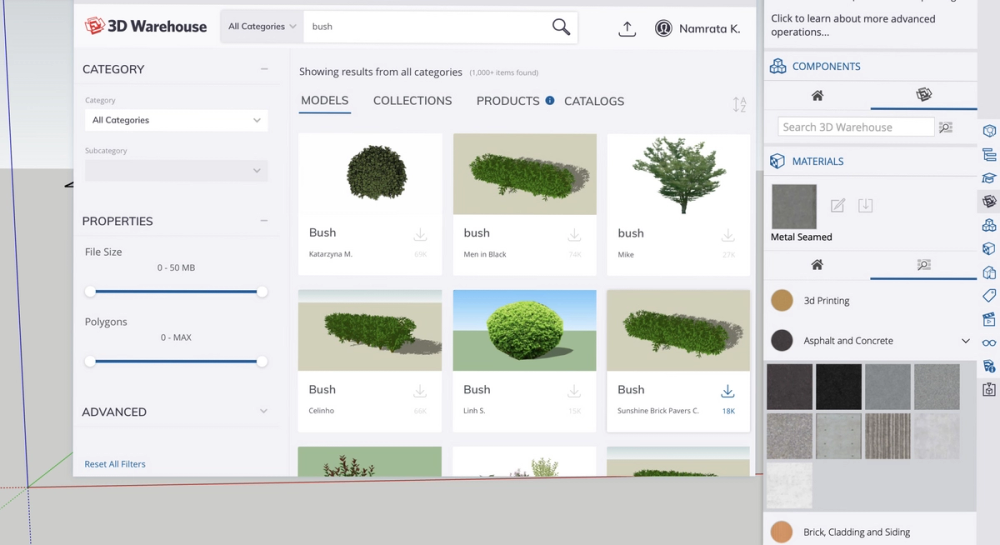
Now that we have finished selecting materials for the house, we can add models from the 3D Warehouse or Component panels. We can select completed models to add to our model. After clicking on the panel, search up what you would like to add into your workspace. We decided to add bushes to the front of our house. After finding your model, click the download button and then you can place the model into your workspace.
Yayy! You have completed decorating and adding details to your model.