Orientation
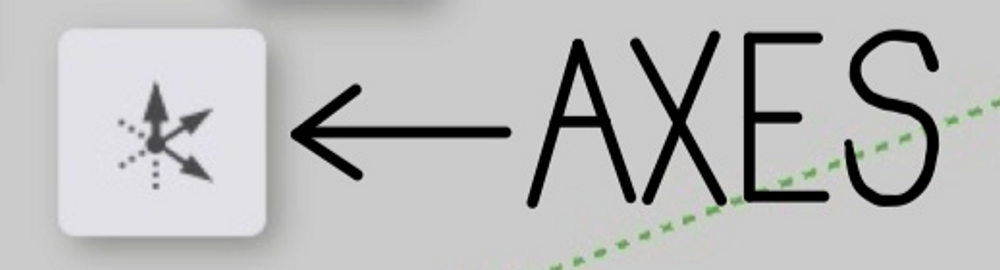
First off, we will focus on how to manipulate the orientation of the axes. You can change the axes’ orientation by clicking the tool with the measuring tape icon on the left side of the screen, then when the 6 variation tools pop up, click on the last one, which is the Axes tool. After you select the Axes tool, click where you would like to select the point for the origin of the axes. Then, you will be able to change the direction of each of the axes by clicking in the direction you want each of them to go. After choosing the orientation of the 3 axes, the workspace will automatically adapt into the new axes’ orientation.
Users can also change the orientation of the workspace using the Look Around and Orbit tools. The Look Around tool maintains the position of the user in the workspace, however, it allows users to rotate to look around the other space in the workspace. To first access the tool, you will need to click on the footstep icon on the left hand toolbar, and then when the variation tools pop up beside the tool, click the eye icon to access the “Look Around” tool. To use the tool, press down and drag your cursor in the direction you want to turn the camera.

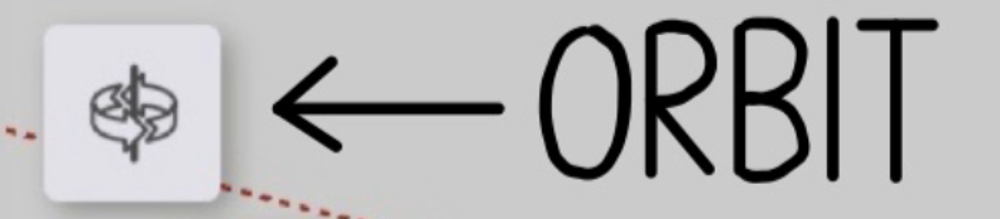
The Look Around and Orbit tools may seem to have similar functions, but the biggest difference between these two tools is that the Look Around tool rotates around the position the user is in in the workspace while the Orbit tool rotates around the drawing or model you are viewing. The Orbit tool is the very last tool on the left hand toolbar with the icon of two arrows rotating around a pole, and is also the first variation tool beside the tool. After clicking on the tool, click and drag your cursor around the object in the direction you want to orbit.
Navigation
Another form of changing the view of the workspace is through navigation. You can navigate around the workspace using either the Walk or Pan tools.
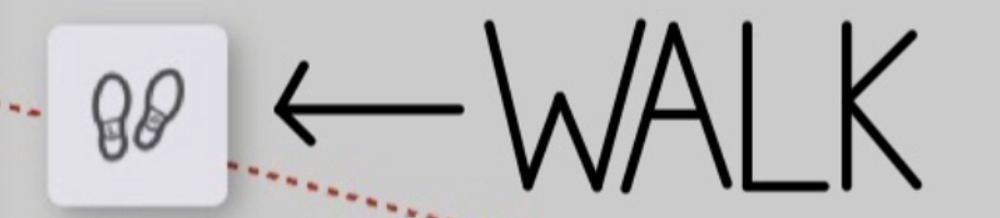
The Walk tool is also located in the main toolbar with the footsteps icon, it is also the first variation tool with the same footsteps. After selecting the tool, click and drag your cursor in the direction you would like to “walk” towards. To move towards a model, click and drag your cursor forward; to move away from the model, click and drag your cursor back.
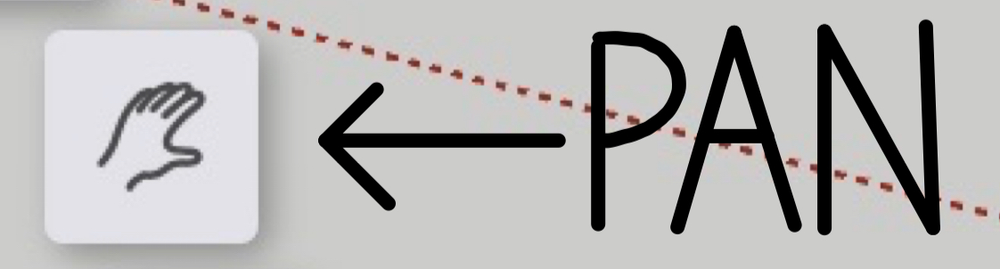 If you want to move sideways, it’s easier to use the “Pan” tool. The “Pan” tool has the hand icon and is the second variation tool of the last tool in the main toolbar. When you need to move sideways or up and down, you can select the “Pan” tool and click and drag the cursor in the direction you would like.
Point of View
The Point of View (POV) is the final way in which users can alter their view of the workspace. There are 4 main methods of changing the perspective.

The first tool to change the POV is the Position Camera tool. The Position Camera tool changes the position of the user in the workspace. To select the tool, click on the tool in the left hand side toolbar with the footsteps icon. Then click on the variation tool next to the footsteps icon with the icon of a person. To change your perspective in the workspace, select the Position Camera tool and click wherever you would like the camera, which is your view of the workspace, to be positioned.
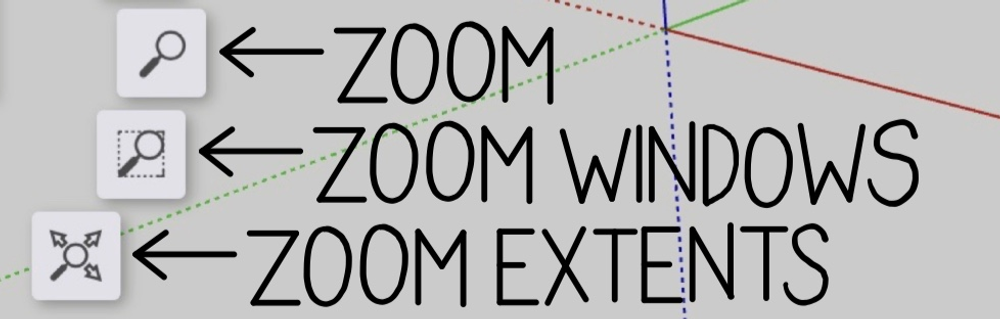
The next tool is the Zoom tool, which has 3 variations of Zoom. All 3 of the Zoom tools are variation tools from the very last tool on the main toolbar.
The Regular Zoom tool is the 3rd variation tool, the Zoom Windows is the 4th variation, and the Zoom Extents is the last variation tool from the last tool on the main toolbar. To use the Regular Zoom tool, click and drag your cursor forward to zoom in and away to zoom out.The Regular Zoom tool is used if you are already able to view the general area you would like to zoom into or away from.
You can also use the “Zoom Windows” tool to zoom into a particular area in the workspace. To zoom into a specific area, select the tool and then click and drag your cursor diagonally so that the area you want to zoom into is inside the box.
When you have enclosed all of the area, you can release. The last tool used for altering the user’s view of the workspace is the Zoom Extents tool. This tool is very easy to use, click on the tool and it will automatically zoom out, so that you will be able to see all of the drawings or models you have created in the workspace.