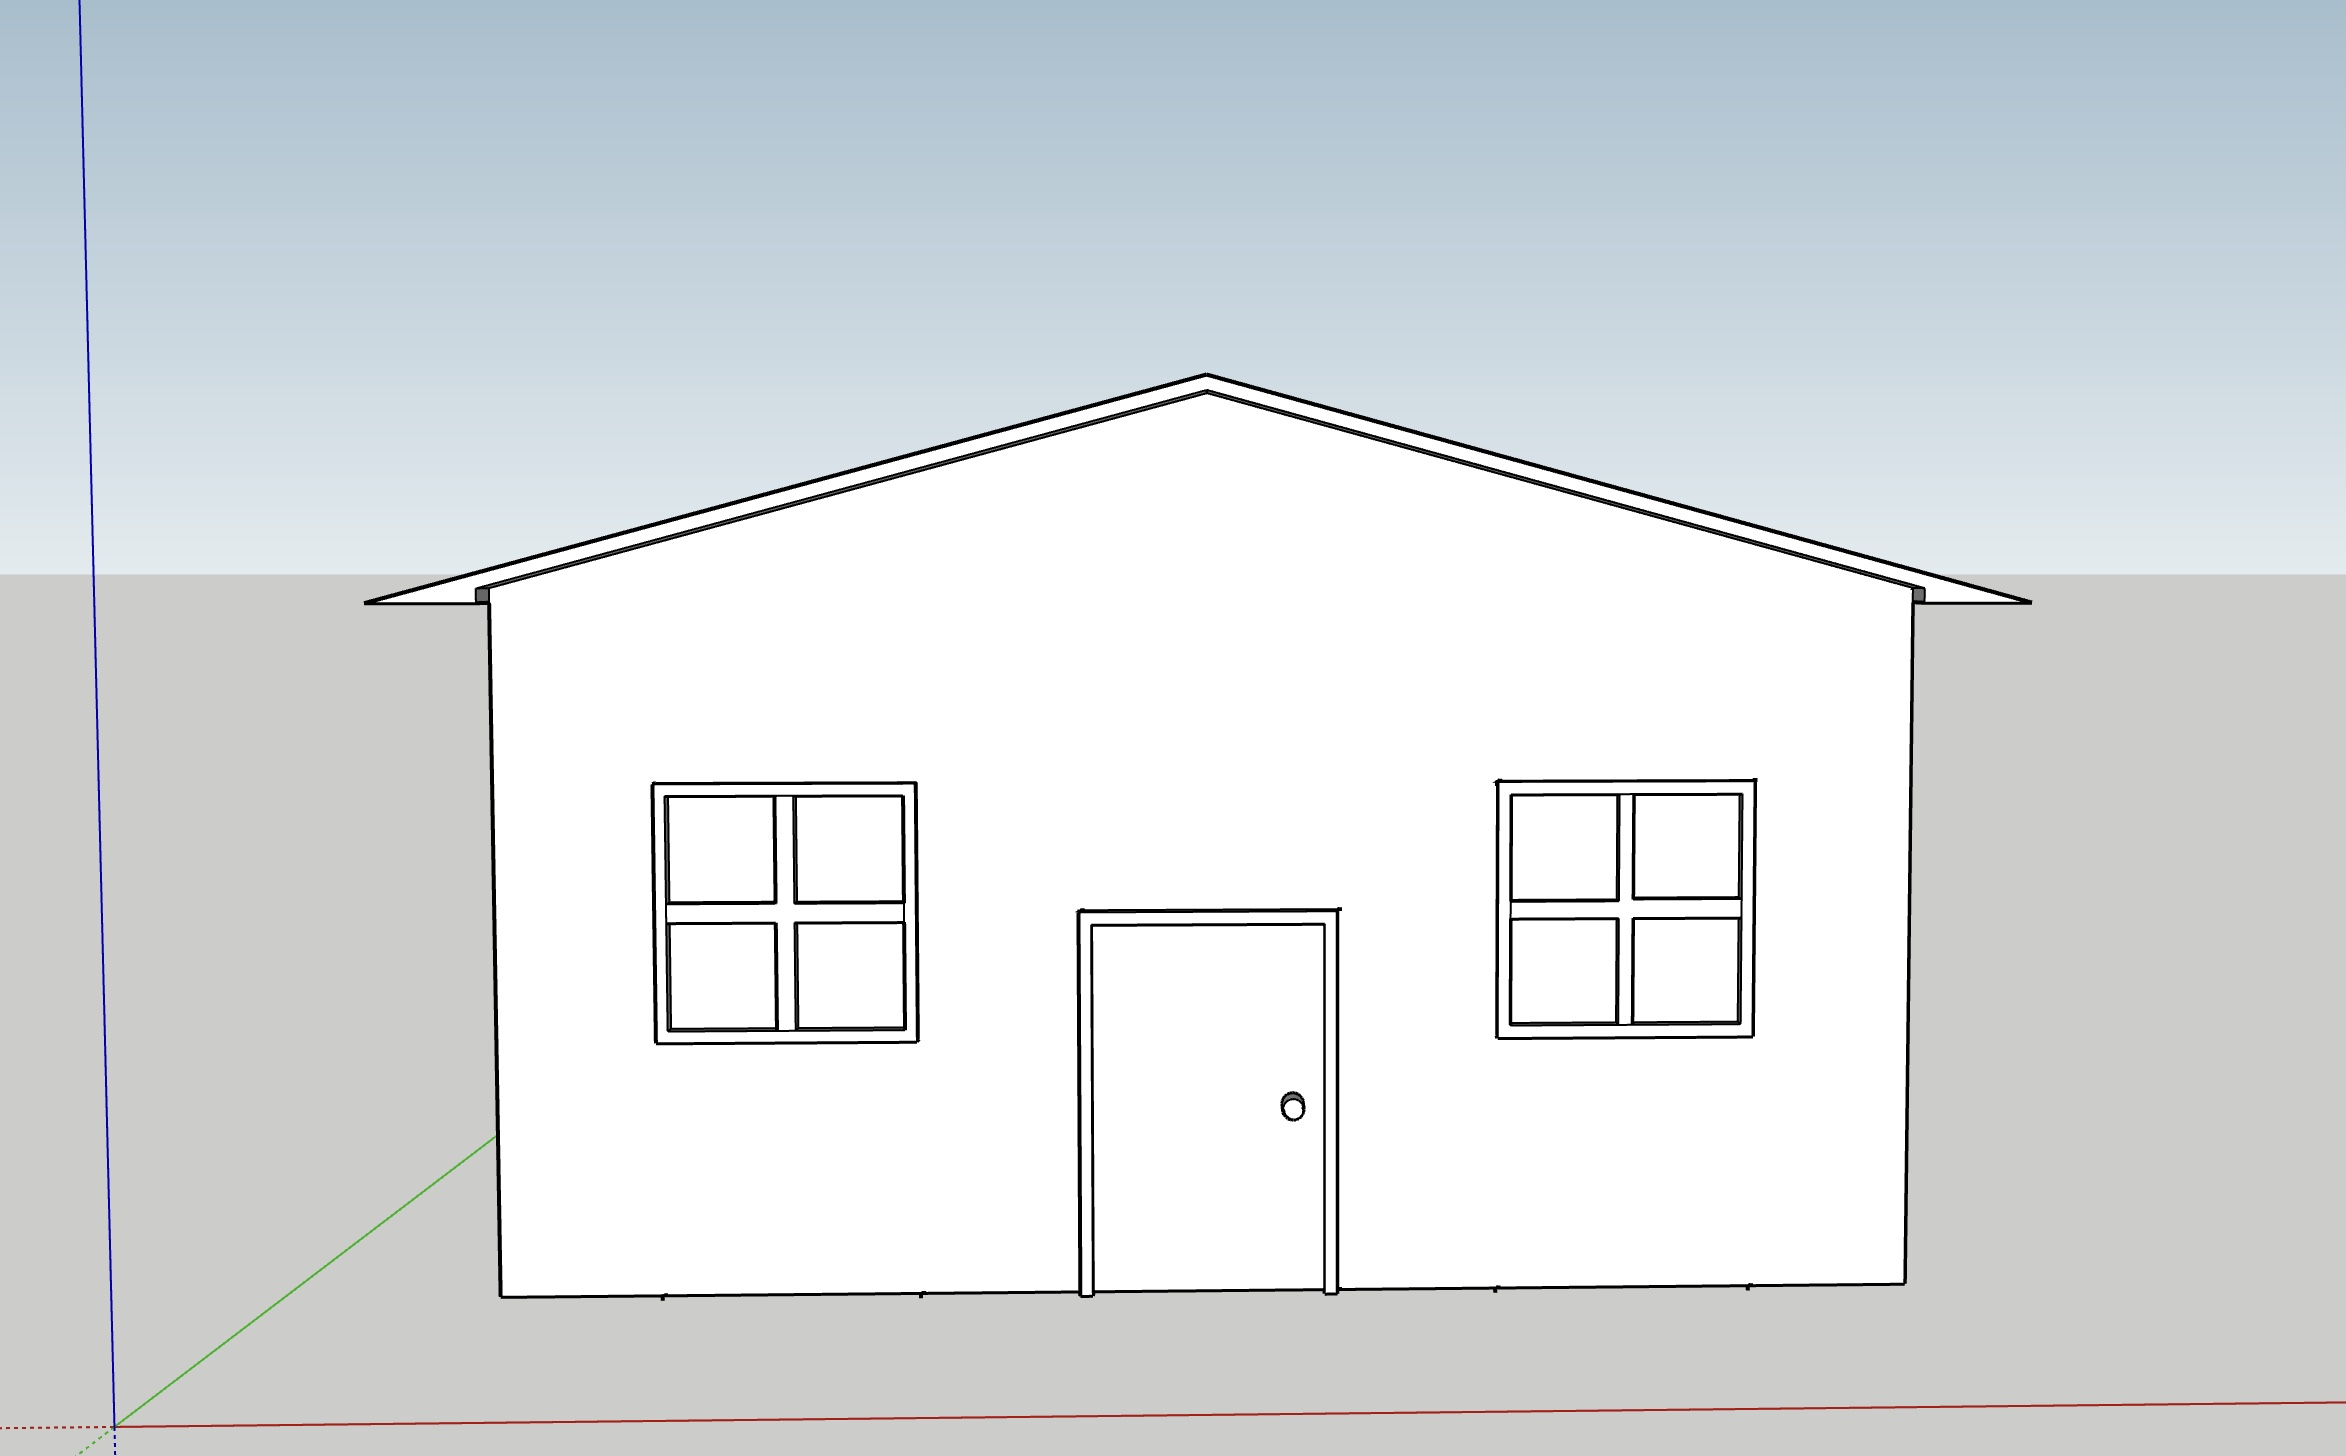
Complete the 3D House Model
Now that the top of the house is covered, we can focus on creating a roof. Using the “Orbit” tool again, change your view so that you can see both the front of the house and front edge of the top of the house. To begin creating a roof, select the “Line” tool and create a 6’ 2’’ line from the midpoint of the front edge of the top of the house going up. Then, create a line from the top of that line to both ends of the edge. To create a face, you may need to create another line from the ends of either edges back to the midpoint of the front edge of the house.
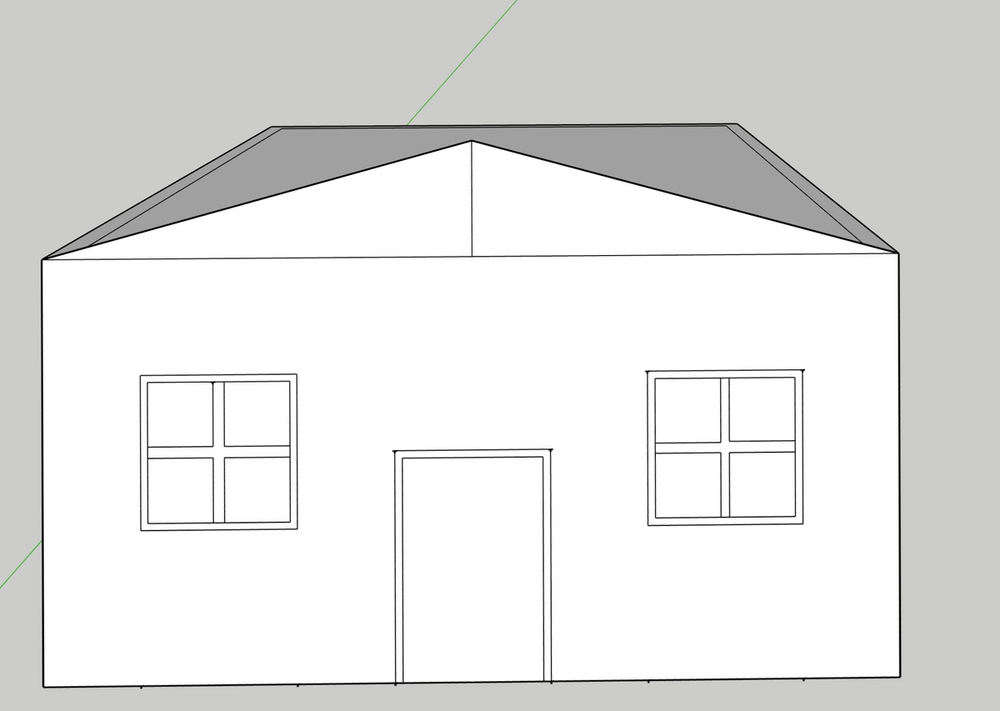
To get rid of the line running through the middle of the roof, select the “Eraser” tool and remove the line.
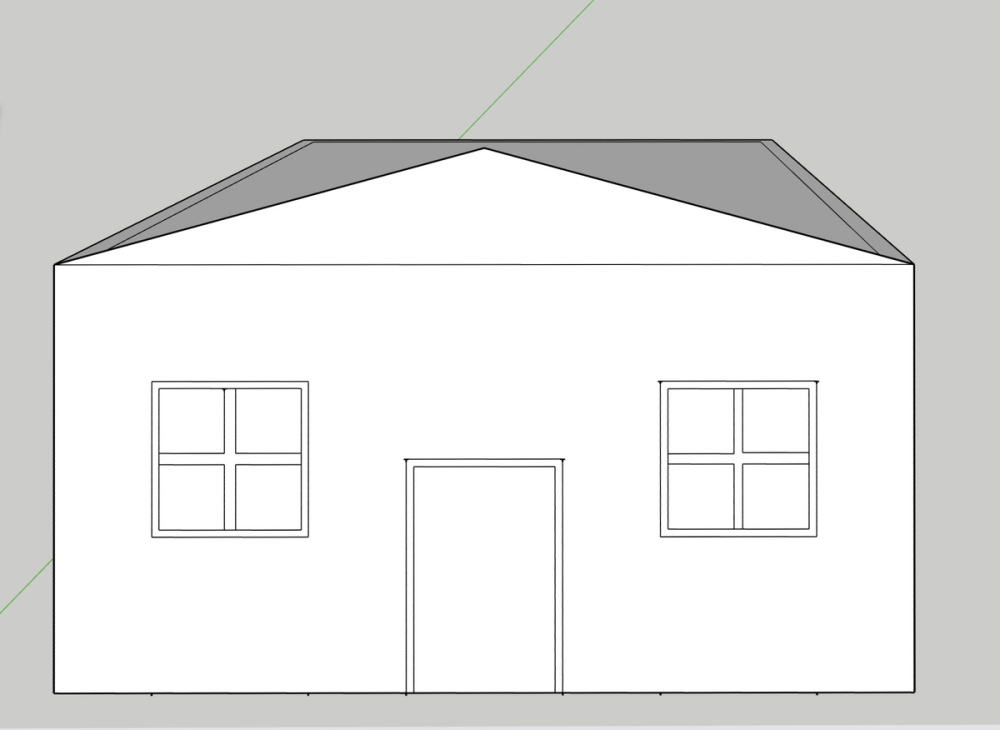
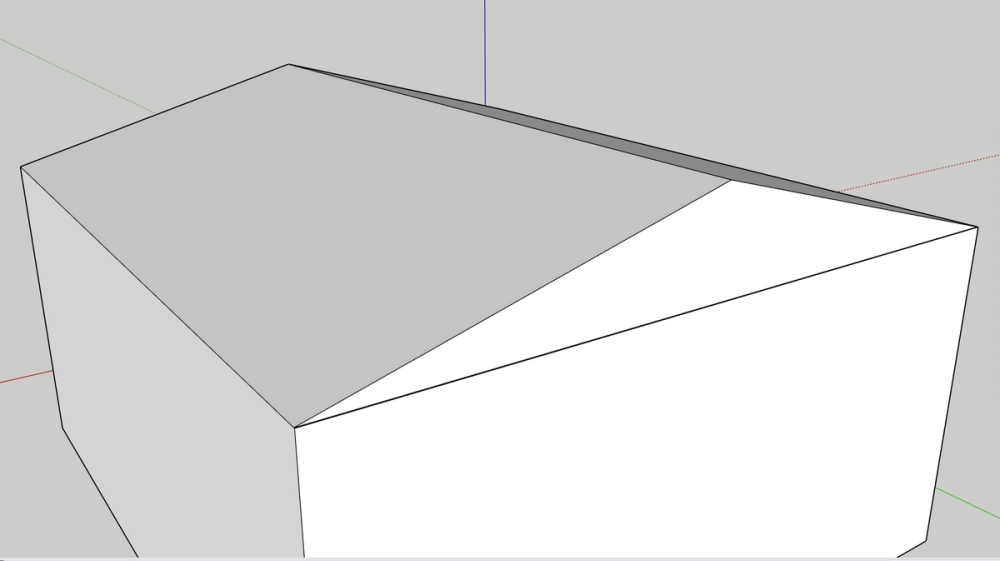
Since the roof is a 2D face right now, to make it 3D, we are going to extrude the face using the “Push/Pull” tool. Use the “Orbit” tool again to rotate in order to see the back of the model. Now that we can see the back of the roof, select the face of the roof and using the “Push/Pull” tool, extrude the face till the edge of the back of the house.
Great, now we have a rough model for the roof of the house, but remember, details will allow the model to look more realistic and accurate. So we are going to be creating a frame for our roof. Use the “Orbit” tool again to view the front of the house again. Then, use the “Offset” tool to offset the front face of the roof by 5 ½’’.
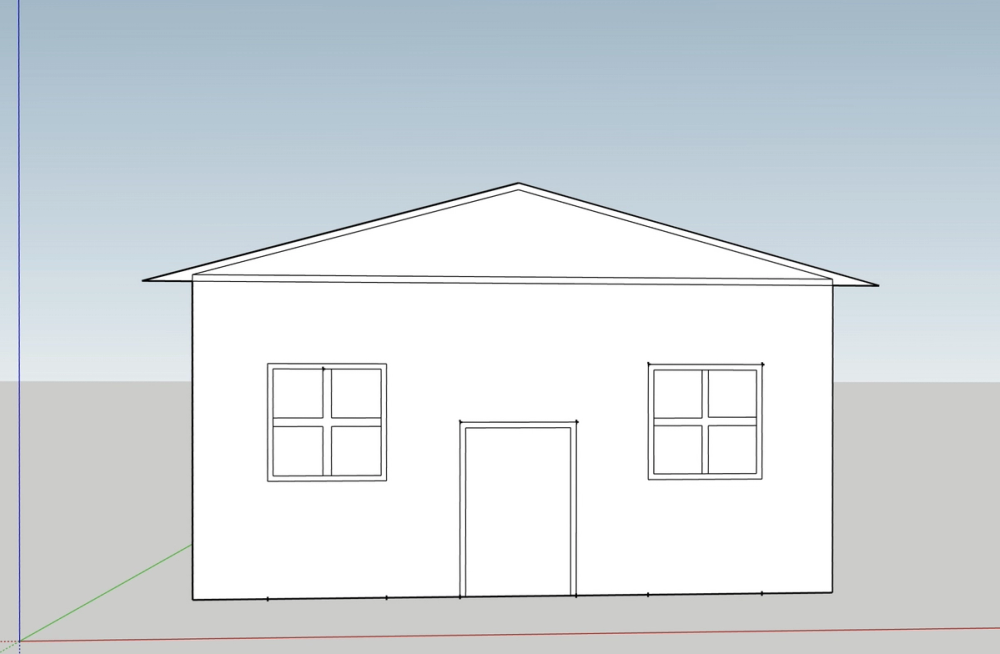
Now we need to get rid of the bottom edge of the inner triangle and the part of the bottom edge of the outer triangle which goes from the ends of the front of the house. Use the “Eraser” tool to get rid of those lines.
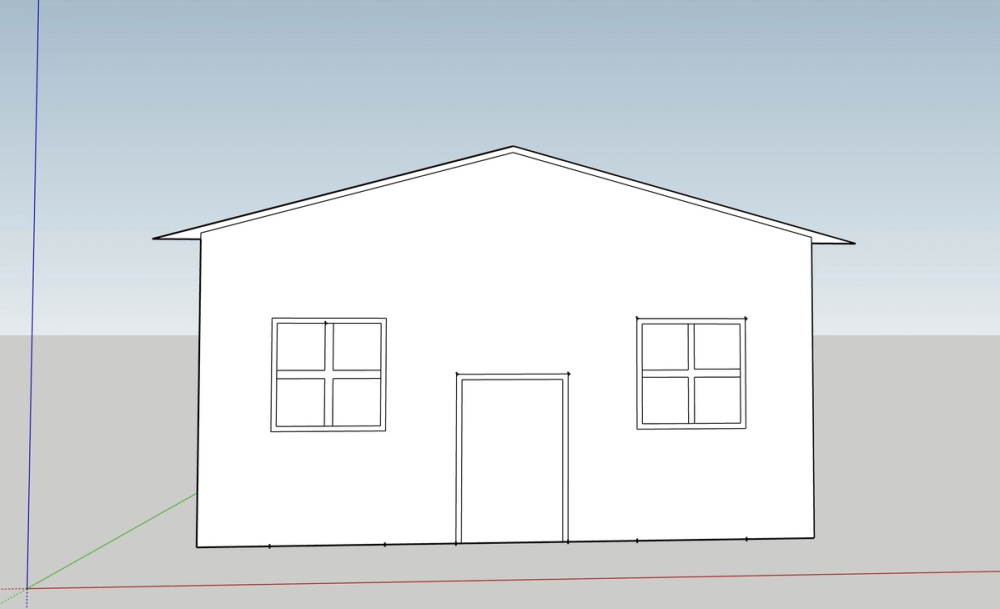
To give the roof a more realistic look, we are going to extrude the border of the roof, which we just created. Using the “Push/Pull” tool extrude the border 1’ 5’’ in front of the house and also orbit to the backside of the house and extrude the border 1’ 5’’ past the back edge of the house.
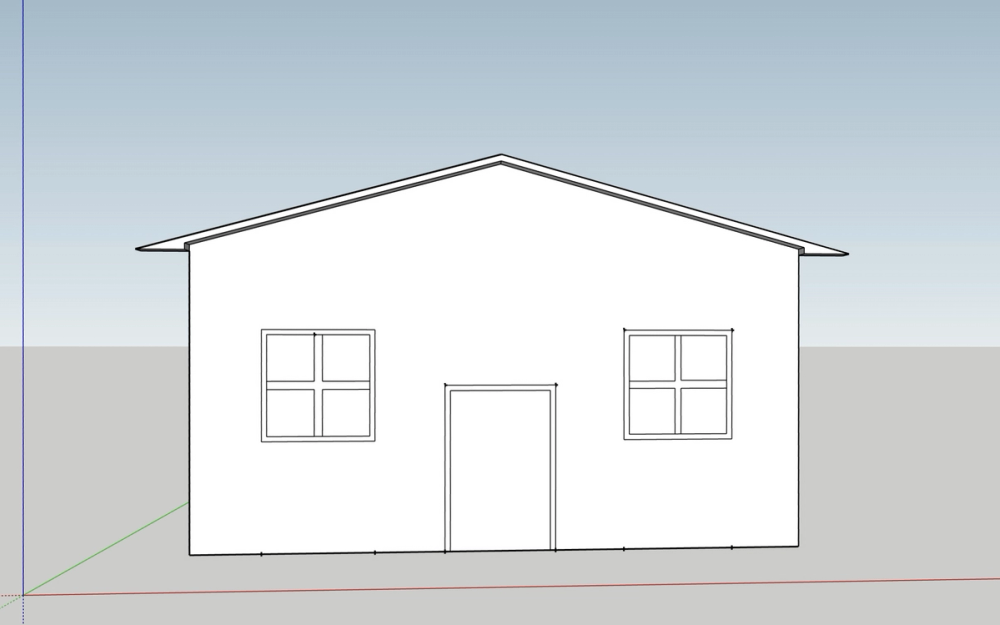
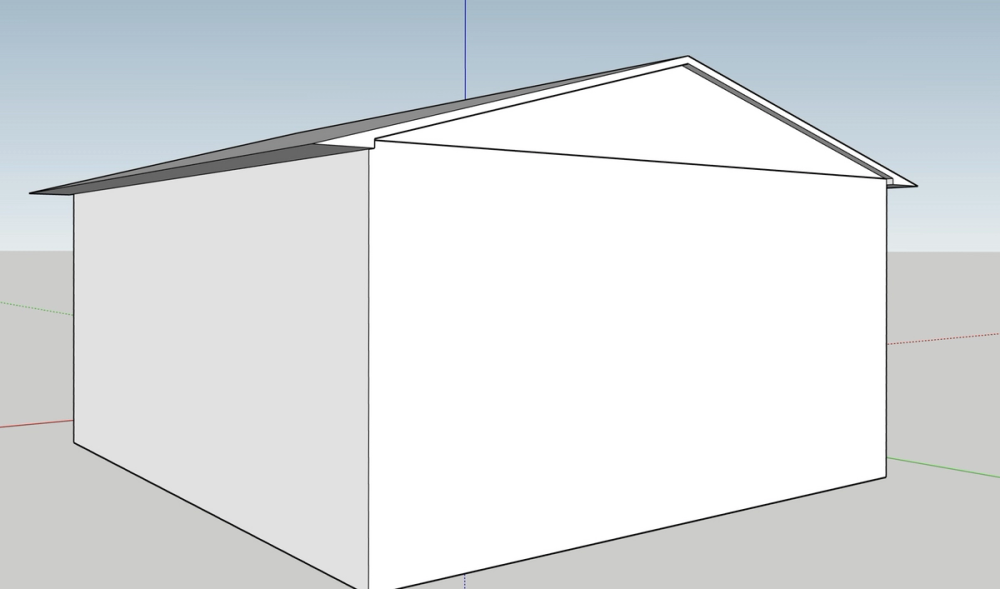
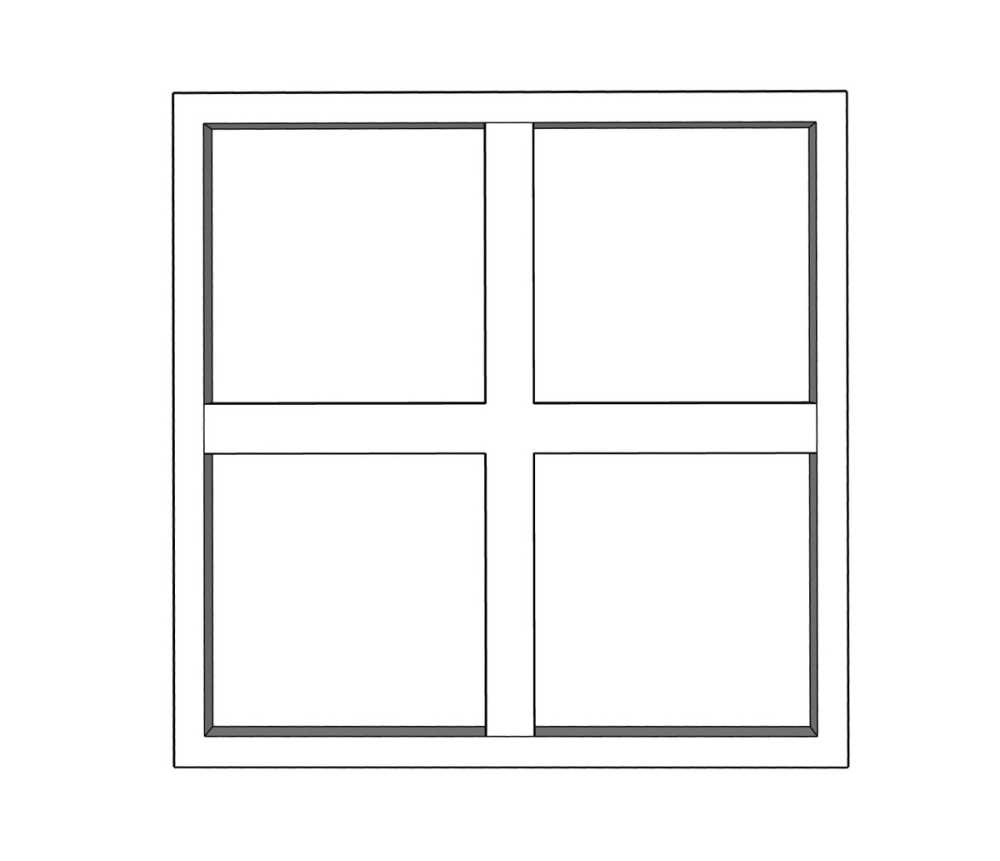
Yay! We completely finished modeling the roof of the house. We are going to go back and add a few more details to the windows and door before we are done with the model. Choose the “Push/Pull” tool and extrude the frame and border of the windows and door by 6’’. This gives a more realistic and 3D look to these objects.
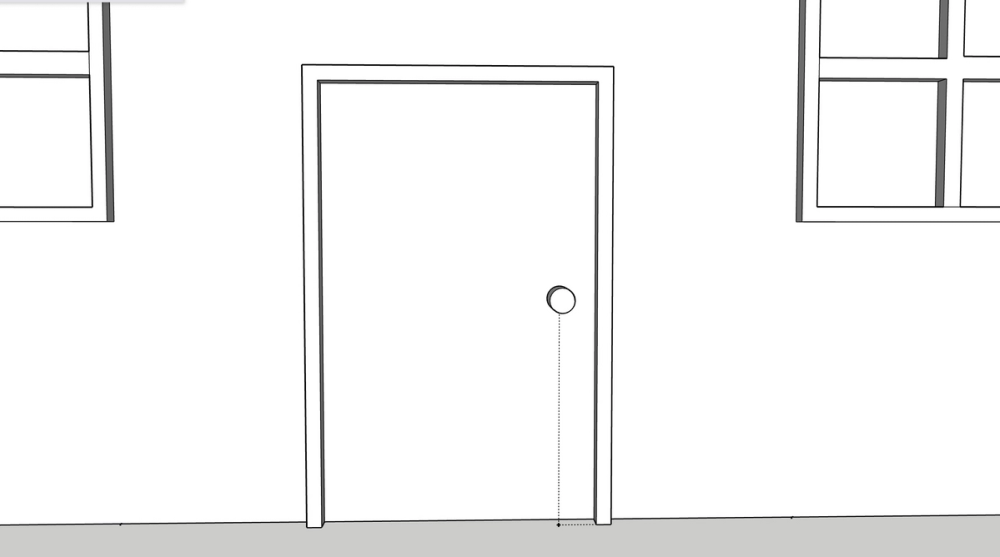
Finally, we are going to be finishing our 3D model of a house by creating a doorknob on our door. To create the door knob, use the “Measurement” tool to create a reference mark from the bottom corner of the inner door frame that goes 1’ to the left. Then, from that point, create another reference mark that goes up 6’ 2’’. The reference point you just created is going to be the center point to the circle. Choose the “Circle” tool and select the reference point as the center and enter a 4’’ radius. You can then delete the reference marks using the “Eraser” tool. Lastly, using the “Push/Pull” tool, extrude the circle out 11’’ to create a doorknob.
Hooray! You have finished creating your first 3D model in SketchUp! You can zoom out and view the complete model. In the future, you can save and add on to this model.