Practice using the Tools
Now, it's your turn to try using the tools! For the mini-project you're going to create the layout of a basketball court using the 2D tools we just learned how to use. But first, you should spend some time practicing using each tool we learned about to be comfortable operating each tool.
Creating a Basketball Court
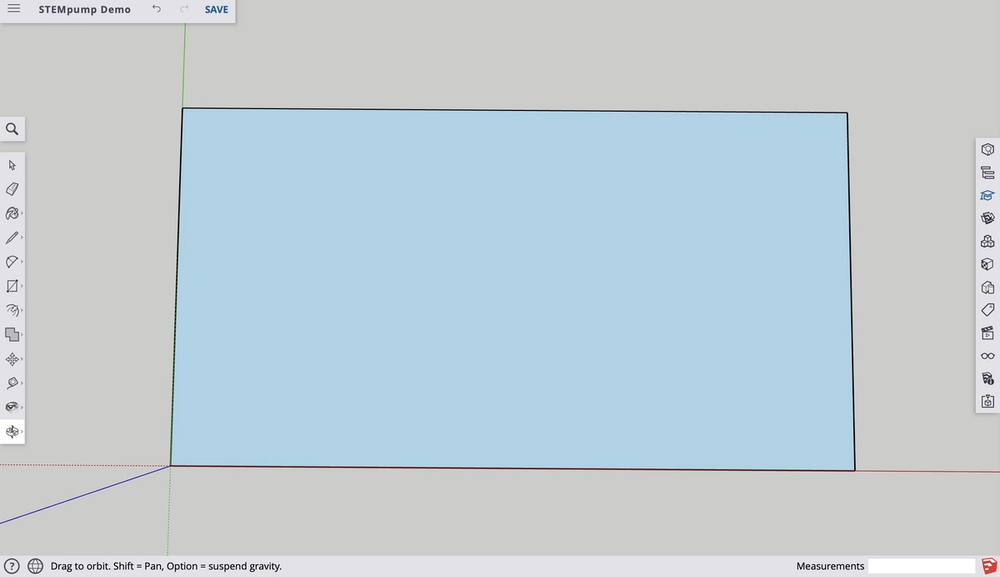
We can start creating the layout of a basketball court using the 2D tools. First, you need to make sure the scale of your workspace is in feet and inches. Then, select the “Rectangle” tool, and create a rectangle with the following dimensions: 94’ by 50’. It is easier if you use the “Orbit” tool to have a birds-eye view of the workspace when creating this 2D model.
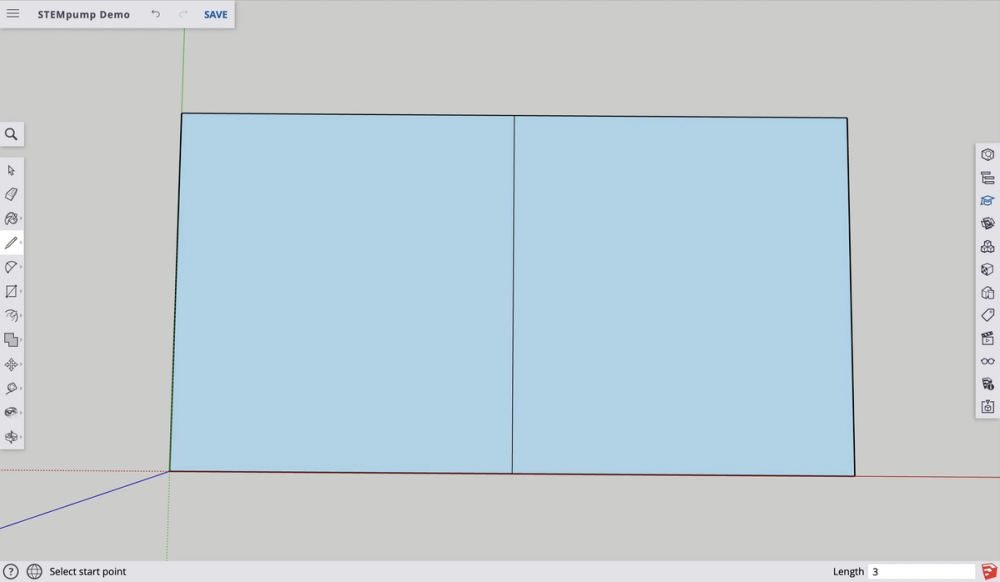
After making the rectangle, select the “Line” tool and create a line running across the middle of the rectangle. This divides the court into halves.
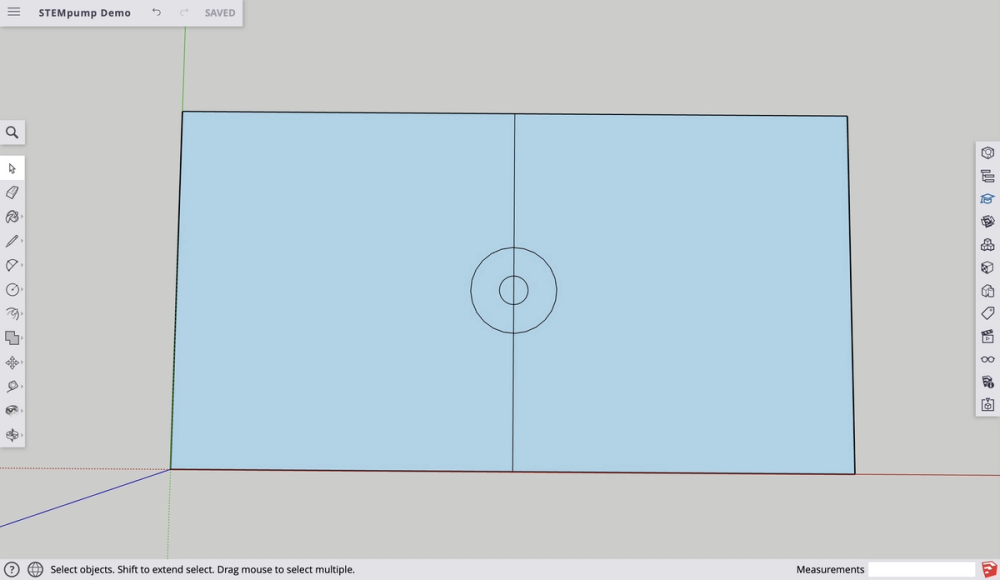
Now that we have divided the rectangle in half, we will need to create 2 circles at the middle of the rectangle.
Choose the “Circle” tool and select the center point of both circles at the midpoint of the line.
Then, create a circle with a 2’ radius and another with a 6’ radius.
Next, we are going to use the measurement tool to set the first point at the top right hand side of the rectangle and go down 19’.
Then, click at that point to set a reference mark. Now that we have set the reference point, choose the line tool and create a 19’ line that begins at the reference point and goes to the left. Do this for all of the corners, make sure to start at each corner and either go 19’ up or down and then create a reference point towards the middle of the court.
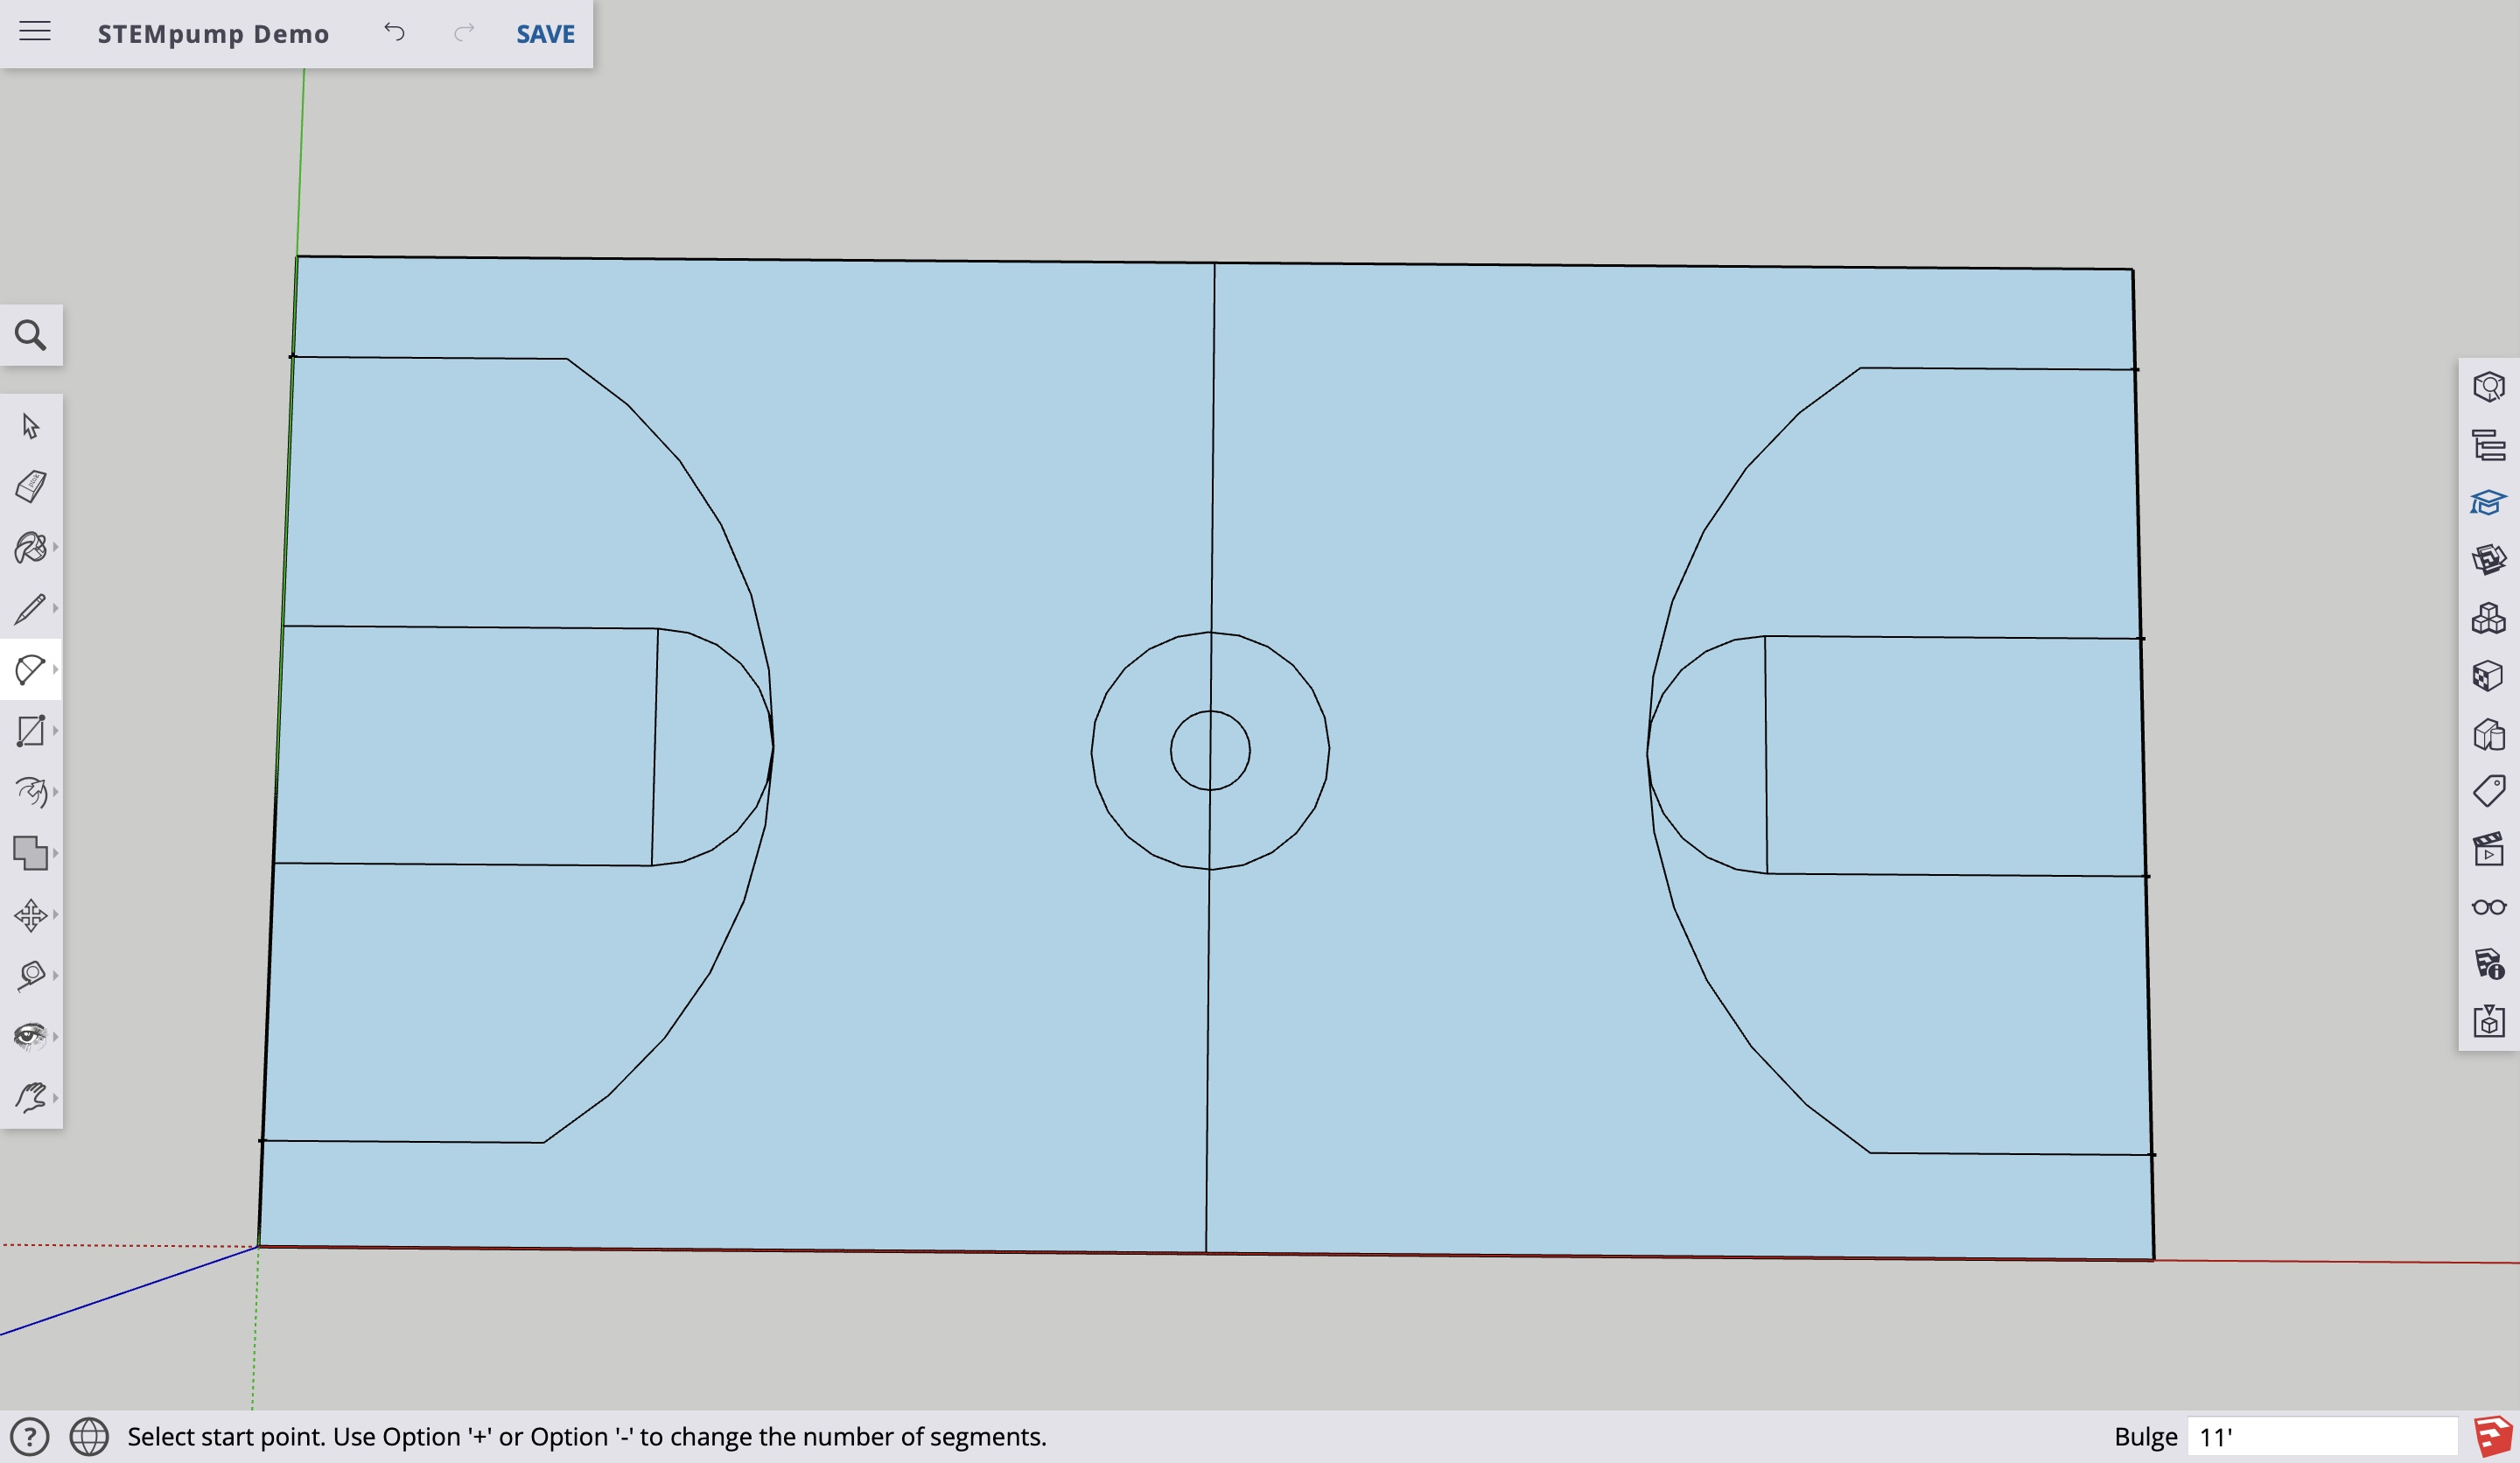
Then create another 19’ line from that reference point that goes left or right, towards the center of the court. Connect the lines on the same side of the court to create the free throw line. Then, choose the “3 Point Arc” tool.
Click on the corners of the rectangles that are closer to the middle of the court and then for the third point of the arc, create a half circle bulge that is 6’ towards the center of the court.
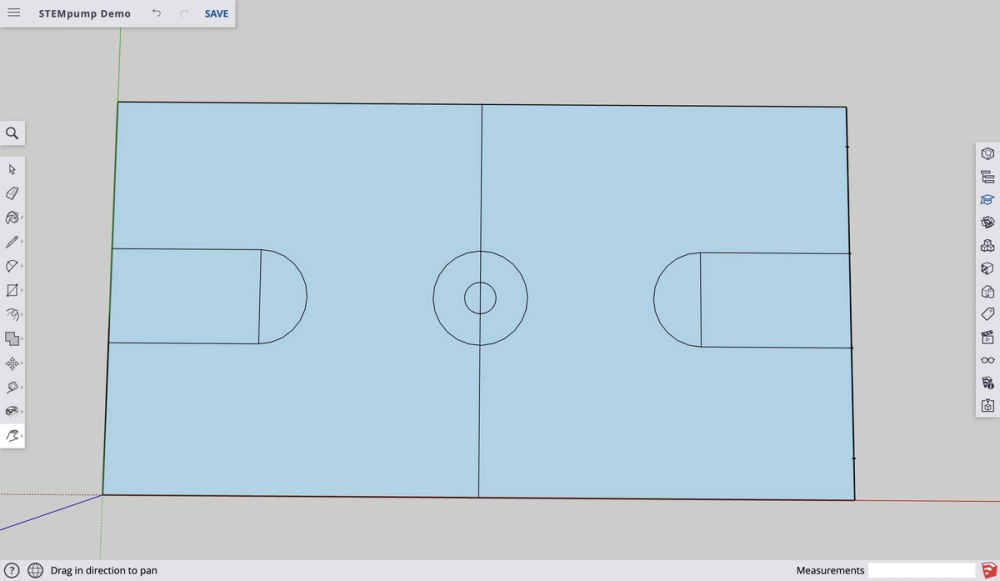
Finally, we need to create the 3-Point line. We will need to use the measurement tool again to create a reference point that goes from the top right hand corner of the rectangle and goes down 5’. Do this for all of the corners, make sure to start at each corner and either go 5’ up or down and then create a reference point towards the middle of the court.
From this point, create a line that goes to the left for 14’. Do the same in each corner of the rectangle, make sure the 14’ line goes toward the middle of the court from each reference point. Finally, choose the “3 Point Arc” tool and on each side of the court, choose the end of the 2 lines as 2 points of the arc and for the last point, make the bulge of the arc end at the same point as the tip of the previous arc.
Yay! You have finished the 2D model of a basketball court! Check your final product with the solution below.