Practice using the 3D tools
Great, since you have learned what the 3D tools do and how to use them, spend some time getting used to operating these tools. Make sure you know how to operate each tool and try using them all a couple of times. If you are unable to use any of the tools properly, make sure to look at the instructions in the left hand side of the status bar after selecting the tool. This will give you a quick explanation on how to use the tool if you are having trouble operating any of the 3D tools.
Create a 3D model of a House
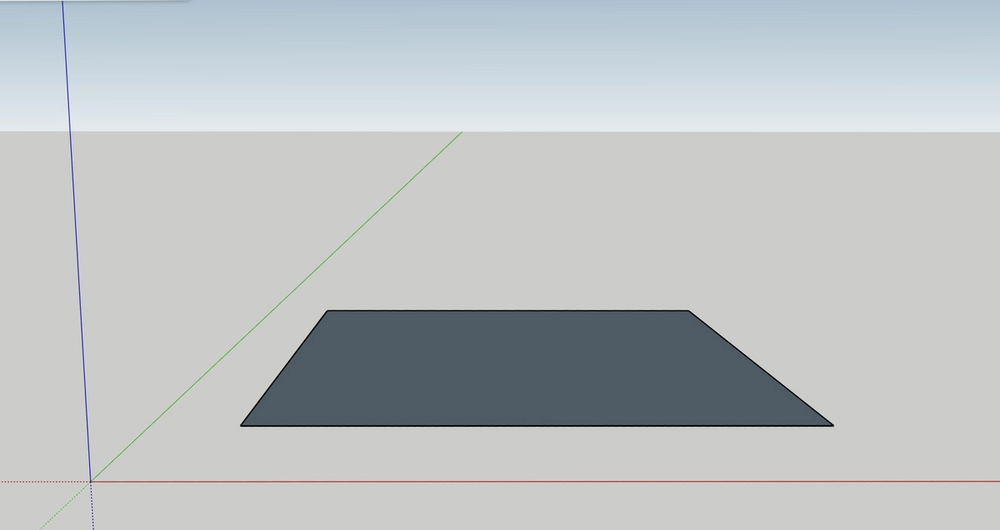
You can finally begin using the 3D tools to create a model! We are going to be making a 3D model of the exterior of a house using the tools we just learned about. We will begin creating the 3D model of a house by making the 2D base for the house. Make sure the scale of your workspace is in feet! For the base, create a 44' by 54' rectangle using the Rectangle tool.
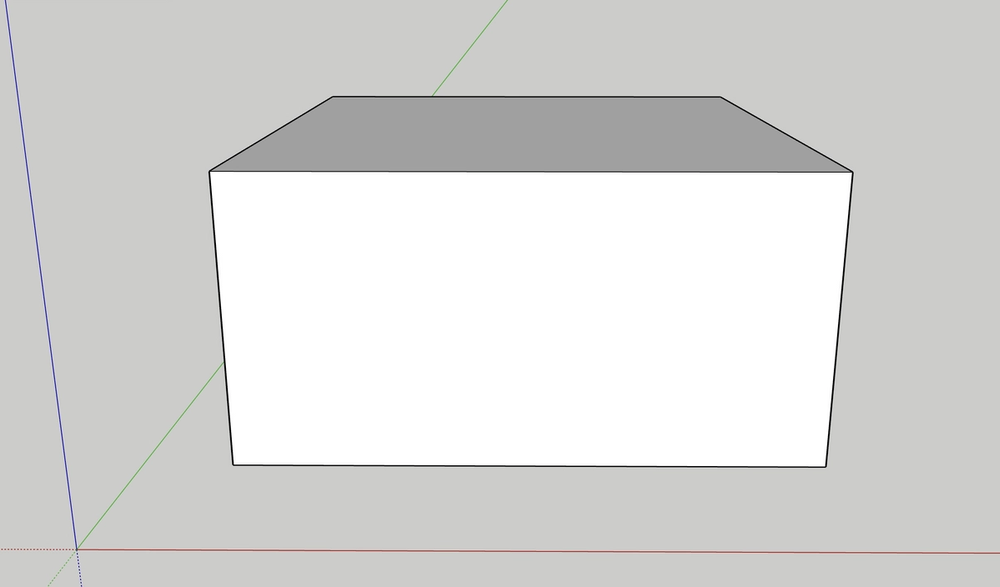
Now, we are going to extrude the 2D base using the Push/Pull tool to create a 3D model. Use the Push/Pull tool to pull the base up 22'.
Great, now that we have created a 3D model, we can begin creating the door of the house. When we create the door, we want to make sure that the door is aligned and centered properly. We are going to start off by creating reference marks for a door. Using the Measurement tool, create a reference mark from each bottom corner of the house that goes either to the left or right 18' towards the middle of the house. Then, from each of those points create a reference line, using the Measurement tool, that goes 12' up. After creating both the reference lines, create another reference line that connects the top ends of both the lines. Now you have finished the reference marks for the door!
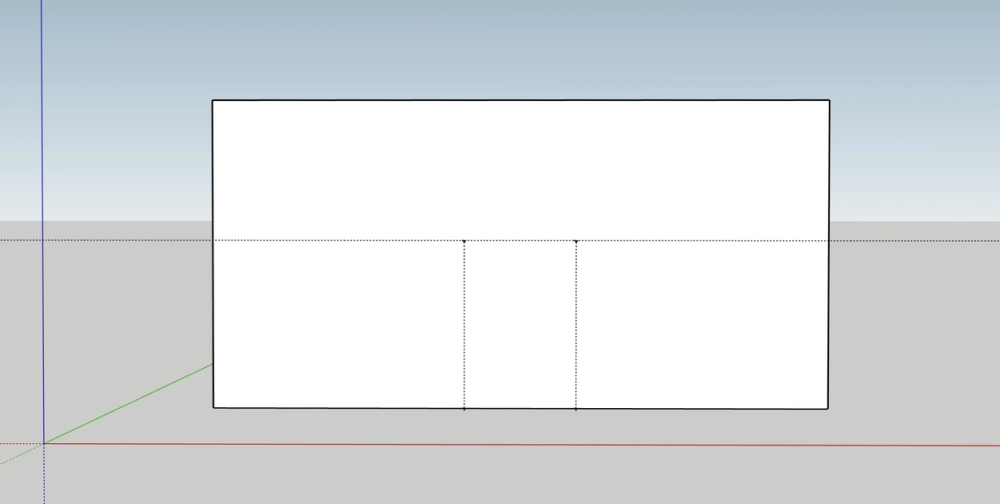
We are also going to be creating reference marks for 2 windows to the left and right side of the door. Just like the door, we also want the windows to be properly aligned and measured. From the bottom corners of the house create a reference mark that is 5' towards the center of the house. And starting from each bottom corner of the door, create another reference mark that goes 5' away from the door. Next you are going to want to create a 16' line going up from each of the reference marks. Connect the top ends of those lines with another reference line and then create reference points at the midpoint of the reference lines that go up. Then, connect the reference marks you just created by a reference line.
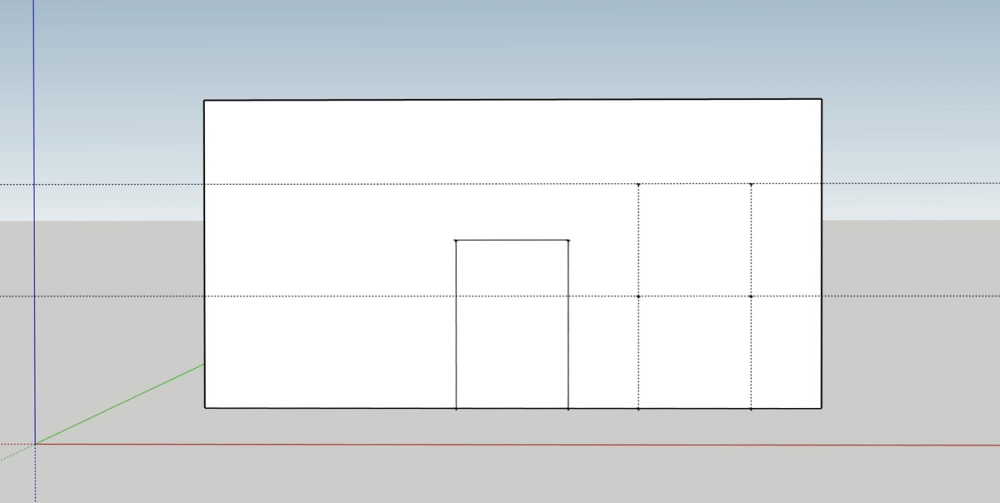
Since we have created the reference marks for the door and windows, we can now create a properly measured out and aligned door and windows. Choose the Rectangle tool and create rectangles along the reference marks we created. Once you have created the rectangles, which are the door and windows, along the reference marks, you can erase the visible reference marks using the Eraser tool.
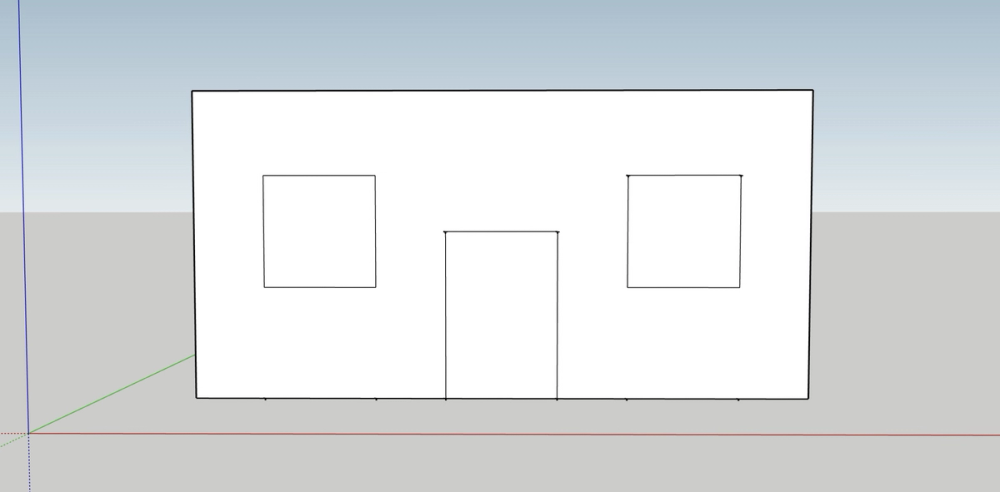
To make the house more realistic, we are going to create frames for the door and windows. To create a frame, we are going to select the Offset tool. Offset both windows and the door by about 4 ½".
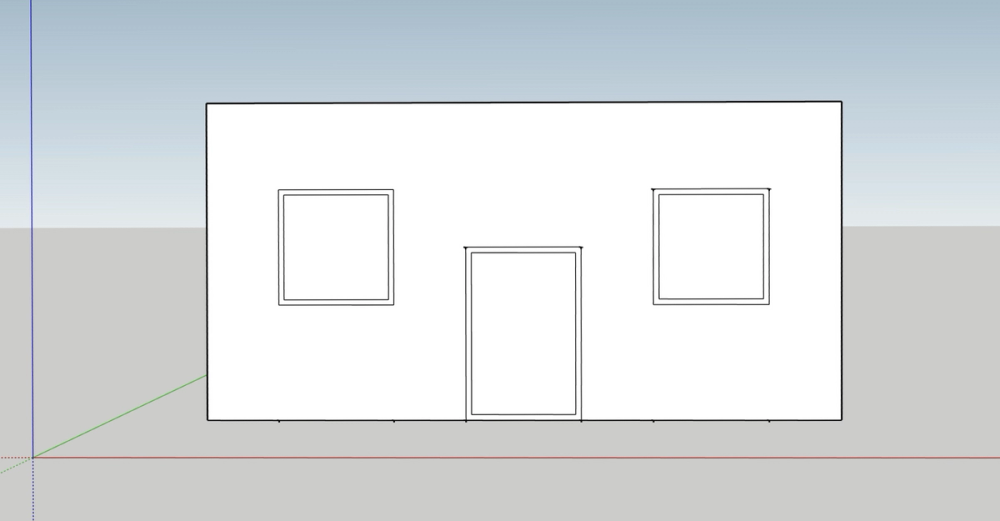
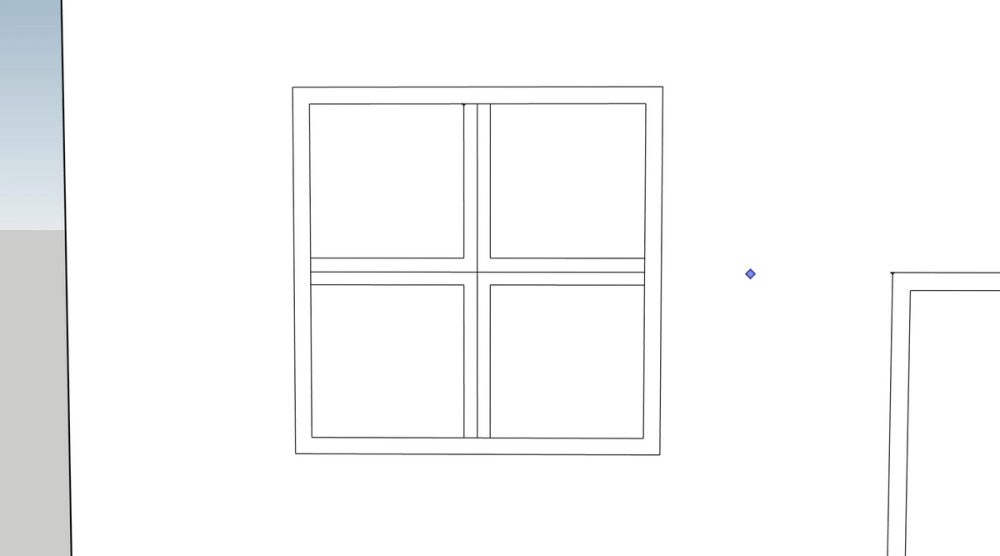
We are now going to focus on adding bars to the windows. Remember, the more details you add to a model, the more realistic and accurate it's going to look! Choose the Line tool and create 2 lines running across the midpoints of the edges of the window. Make sure to do this for both the windows!
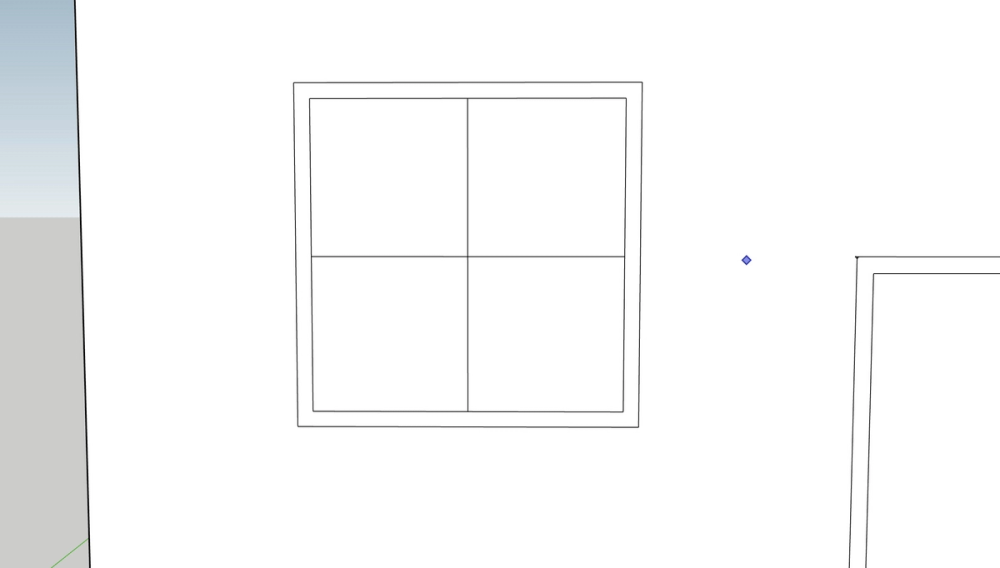
We are going to be creating a border for the lines we made inside of the windows. Using the Line tool again, create a line running beside each side of the lines from the previous step. Each line should be 3 ½" away from the original lines and be about 3' 4" long. Now that we have created a border for the lines, we can erase the original line we created in the previous step.
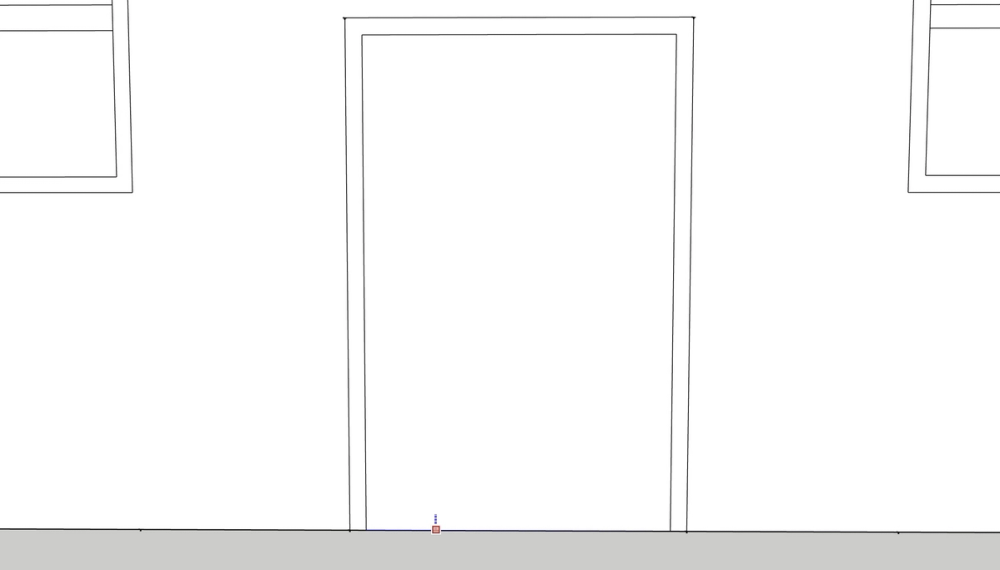
Since we have added details to the windows, we can also add a few details to the door to make it more accurate. We used the Offset tool to create a frame on the door, however, we need to move the bottom edge of the smaller rectangle lower so that it is alongside the bottom of the house. To do so, select the Move tool and click on the bottom edge of the smaller rectangle. Then, move the edge lower to be in line with the bottom of the house.
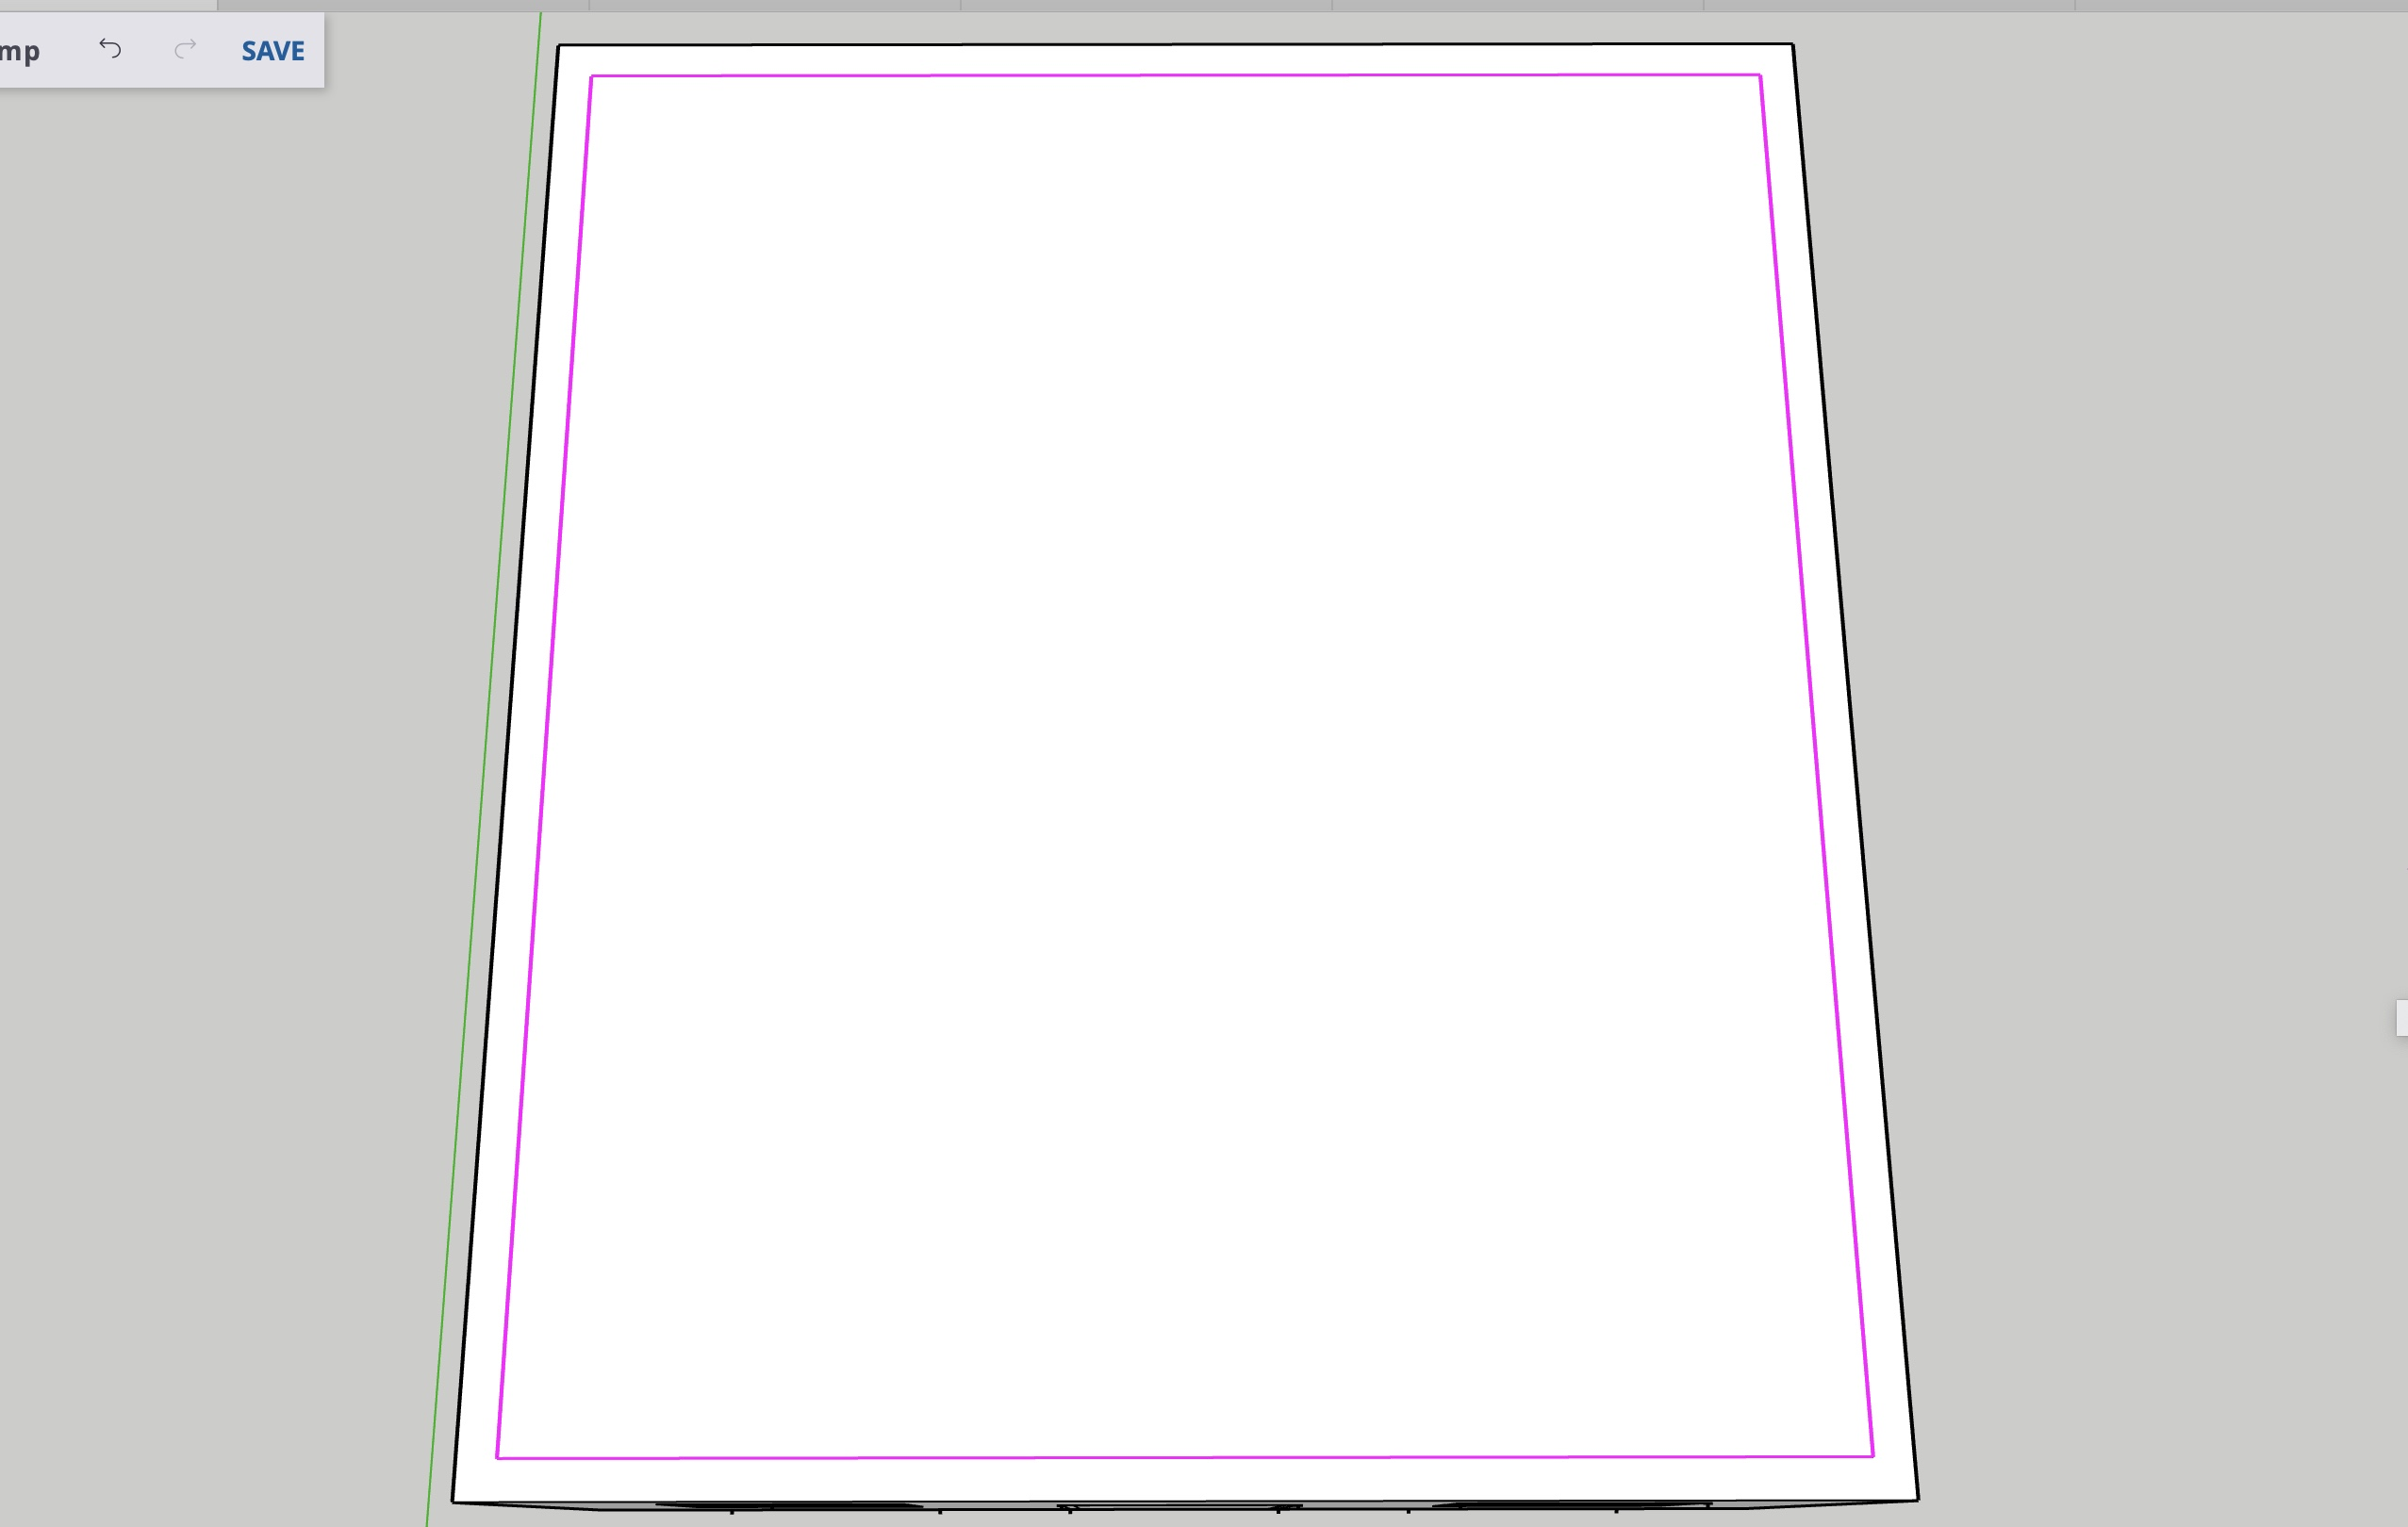
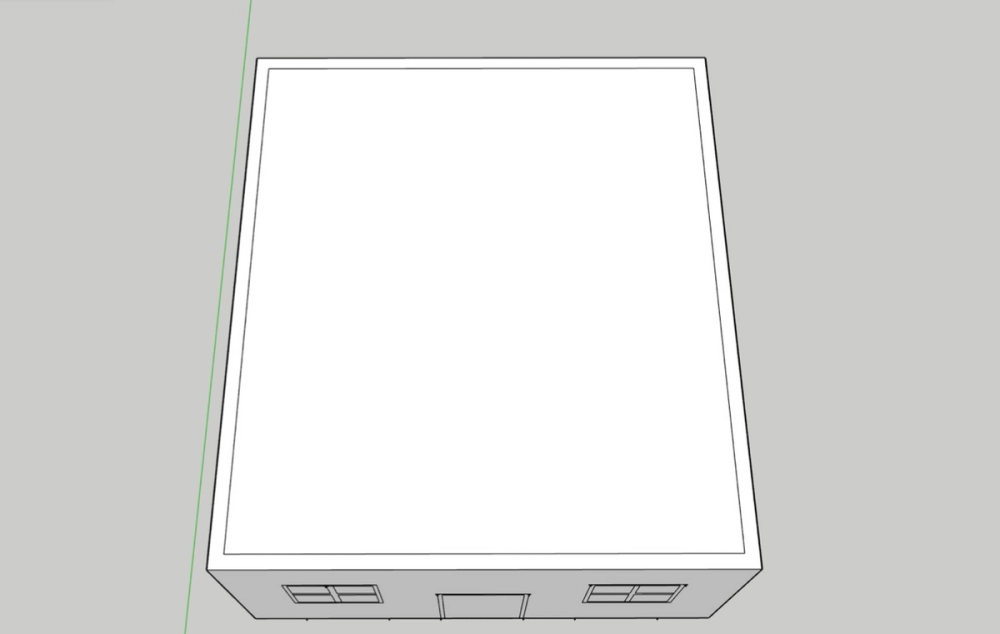
For now, we are going to leave the door and windows, and focus on the inside and top of the house.Since we extruded the 2D face into a 3D object, the inside of the house is completely filled in right now. Though we are not going to be adding details to the inside of the house in this lesson, it is important that we create walls instead of creating a completely filled in rectangular prism. To do so, we are going to rotate our view using the Orbit tool to view the top of the house. Once you are able to see the top of the house, choose the Offset tool and offset the rectangle at the top of the house by 2'.
Now we are going to extrude into the inner rectangle using the Push/Pull tool so that it is pushed down to the very bottom of the floor. Once the rectangle is pushed completely down into the floor, it will say On Face. This will create walls for the house and make sure that there is open space inside the house.
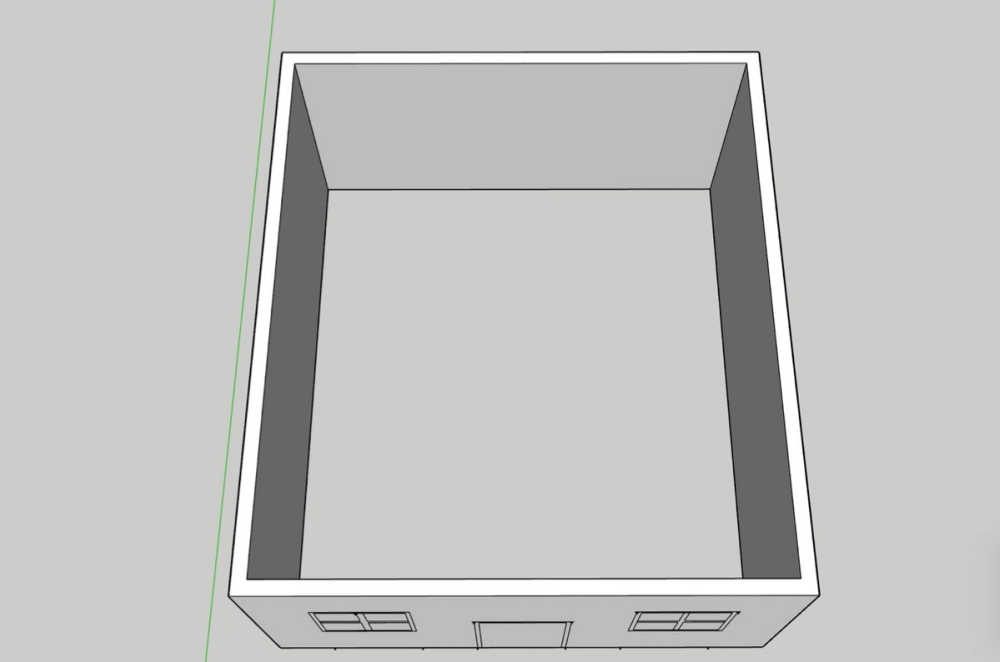
We have successfully created walls for our house, but since we are focusing on the exterior of the house in this lesson, we will now create the roof of the house. However, since the top of the house is open, we are going to have to fill it in. Remember, filling in the top of the house will not fill in the area inside the house; it will simply just create a cover on top of the house. Choose the Rectangle tool and create a rectangle on top of the house from the inner corner of one side to the inner corner of the opposite side on the top.
We will finish this up in the next project.