How do we create an enemy?
The first thing we need to do to make our obstacles is select an asset that we want to use to represent them.
Like we did to make our floor and ceiling, we need to go to the "Asset Library" and choose an asset that will fit the obstacle role.
You can choose any asset you want. You could make your obstacles some random plants if you want to. For this game, we will be using the asset labeled "Enemy 1". As I mentioned before, this does not have to be your obstacle, but it can be if you want.
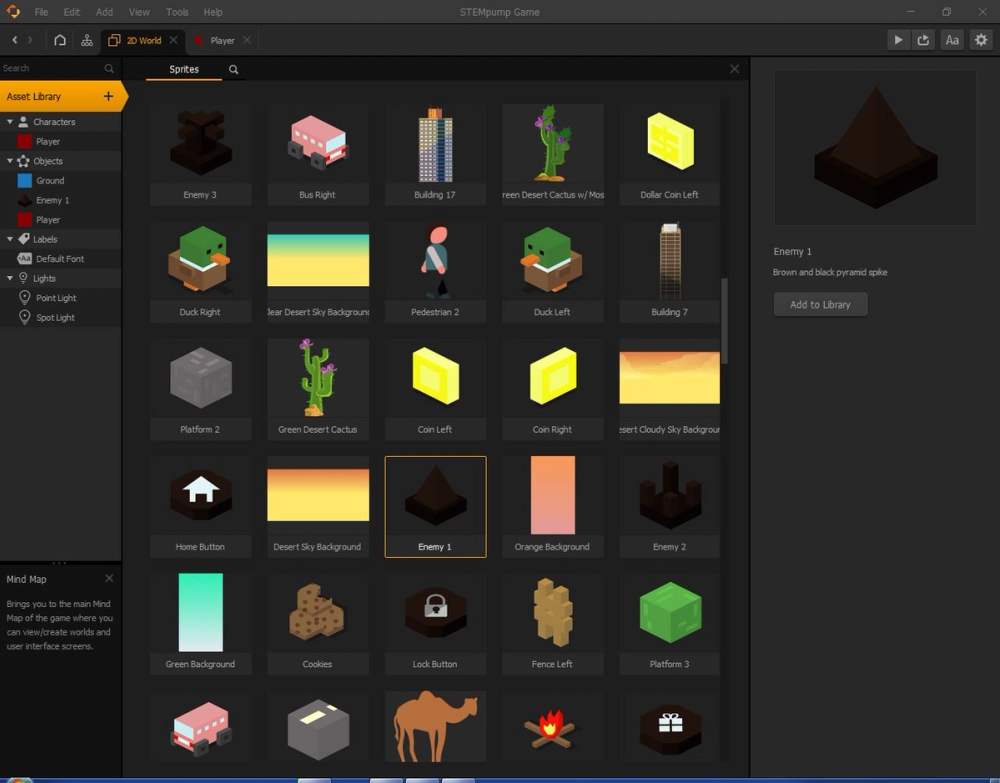
To add it to our Assets panel, double click on it.
What are the properties of the enemy?
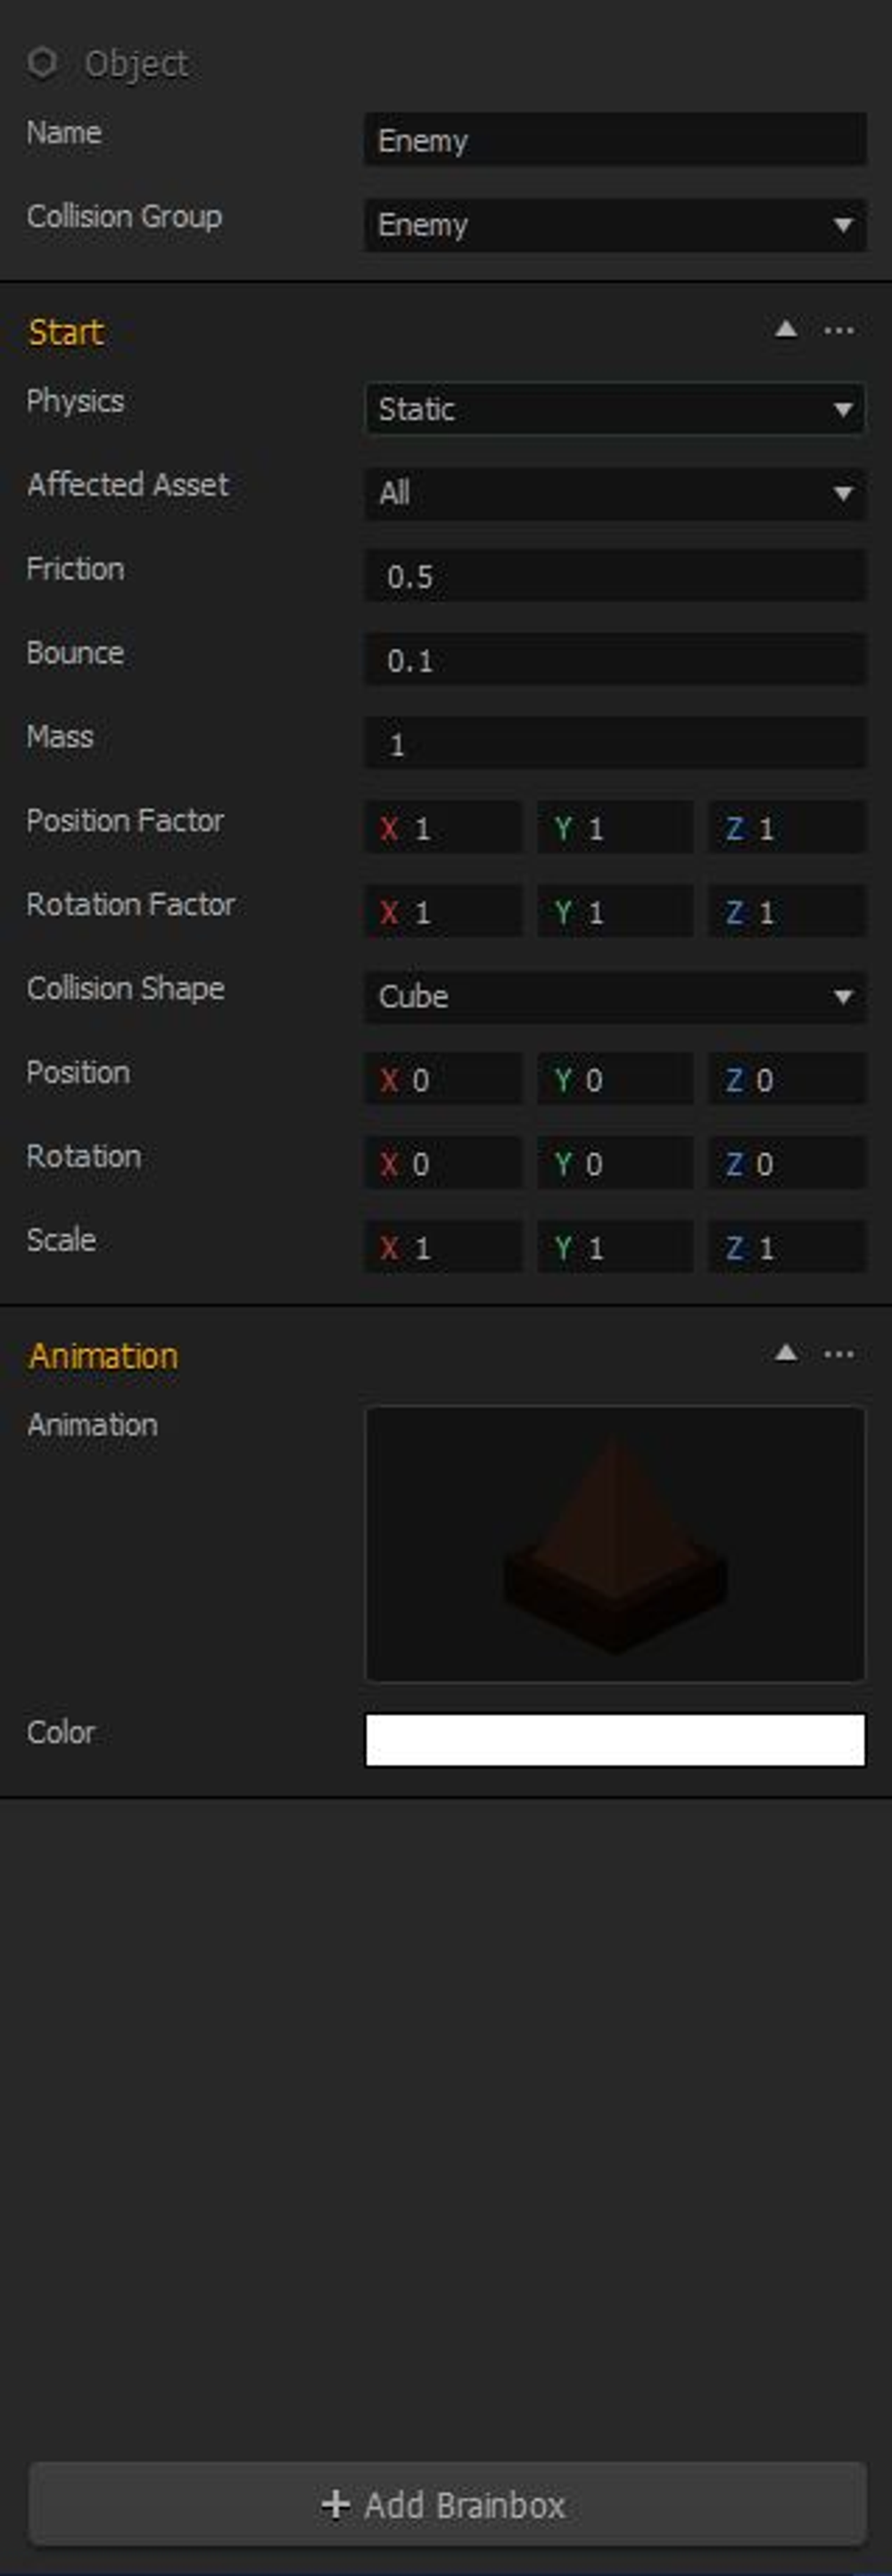
Change the name from "Enemy 1" to just "Enemy" so that all of our assets are kept simple. This makes it much more convenient to identify which asset is which, especially when you make a complex game with plenty of assets.
Now, directly under the "Name" area, there is an area called "Collision Group". Click on the drop down menu next to the "Collision Group" and select "Enemy".
Next, under the "Physics" area, we are going to choose "Static", just like how we did for the "Ground" asset.
With those properties all put together, you should have your enemy with these properties:
Customizing the design of the enemy (optional)
If you chose "Enemy 1" as your asset for your enemy, this applies to you. The colors of the spike are quite dark, so it would be unfair for the player to avoid them if they are having a hard time seeing them.
To fix this, find the "Animation" area of the asset and put your mouse over the image of the spike.
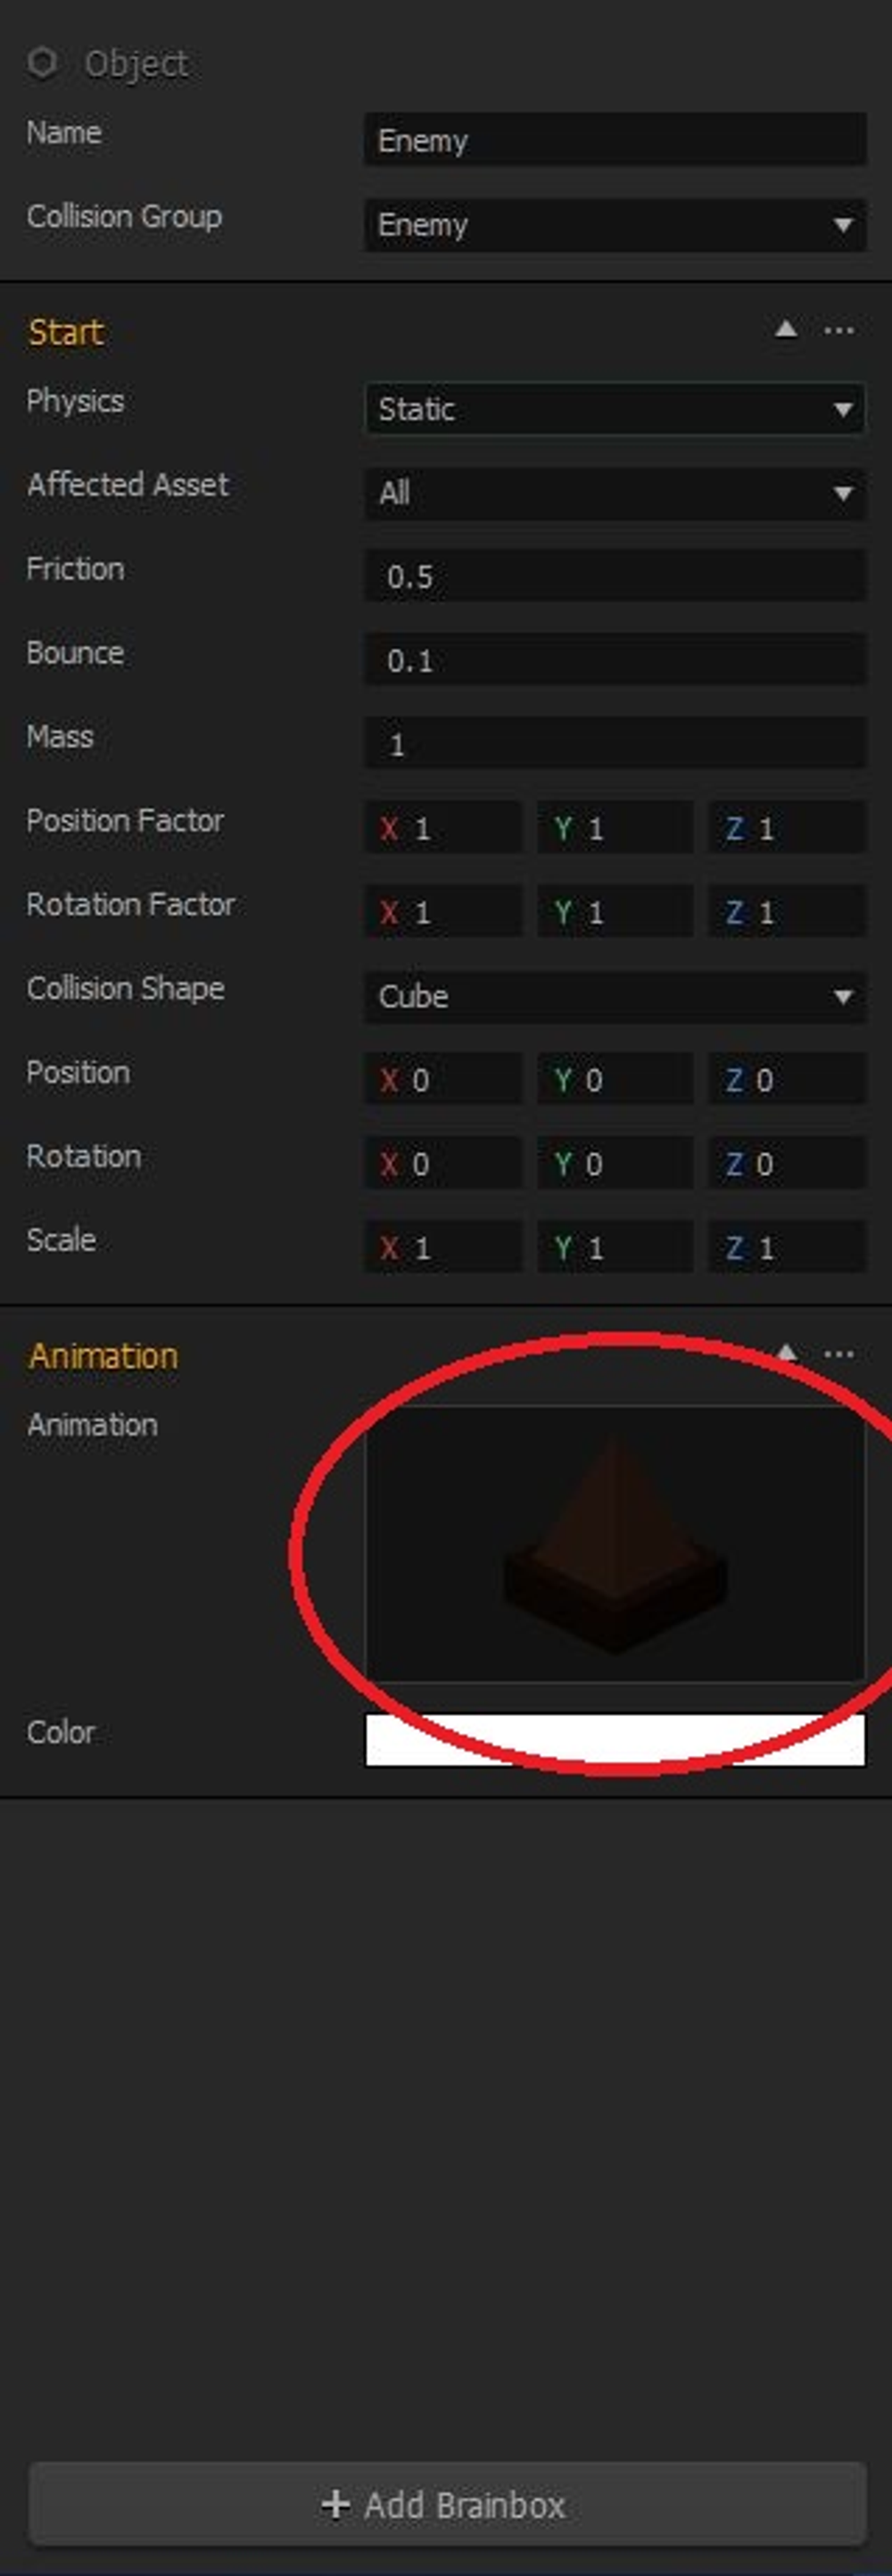
When your cursor is over the image of the spike, you should see a pencil icon in the top right corner. Click on that.
The first thing we should do once we are in the Animation Editor is change the rotation to -90 degrees. If the player is moving towards the right, it doesn't make sense for the player to be damaged by a spike that is facing up.
The last thing we should do is make the spike easier to see. We can do this by hovering over the image of the spike in the "Image" area, and clicking on the pencil icon in the top right corner.
In the Sprite Editor, the only thing we need to do is slide the contrast all the way to 3. This makes the colors more vibrant, making it much easier to the obstacles coming towards the player.
Click "Save" once you finish making the sprite brighter.
The one thing you should remember when adding the spike to the scene, is that it will look as if nothing changed: the sprite will still be dark and facing upwards. However, when you test the game, you will see that the sprite actually did change.
In the next lesson, we will cover what we want to happen if the player hits the enemy.